Follow along our step-by-step pool construction process from excavation to filling it with water.
In this portfolio project, we outline the step-by-step pool construction process from beginning to end. Follow along day by day for only sixteen days from digging to swimming!
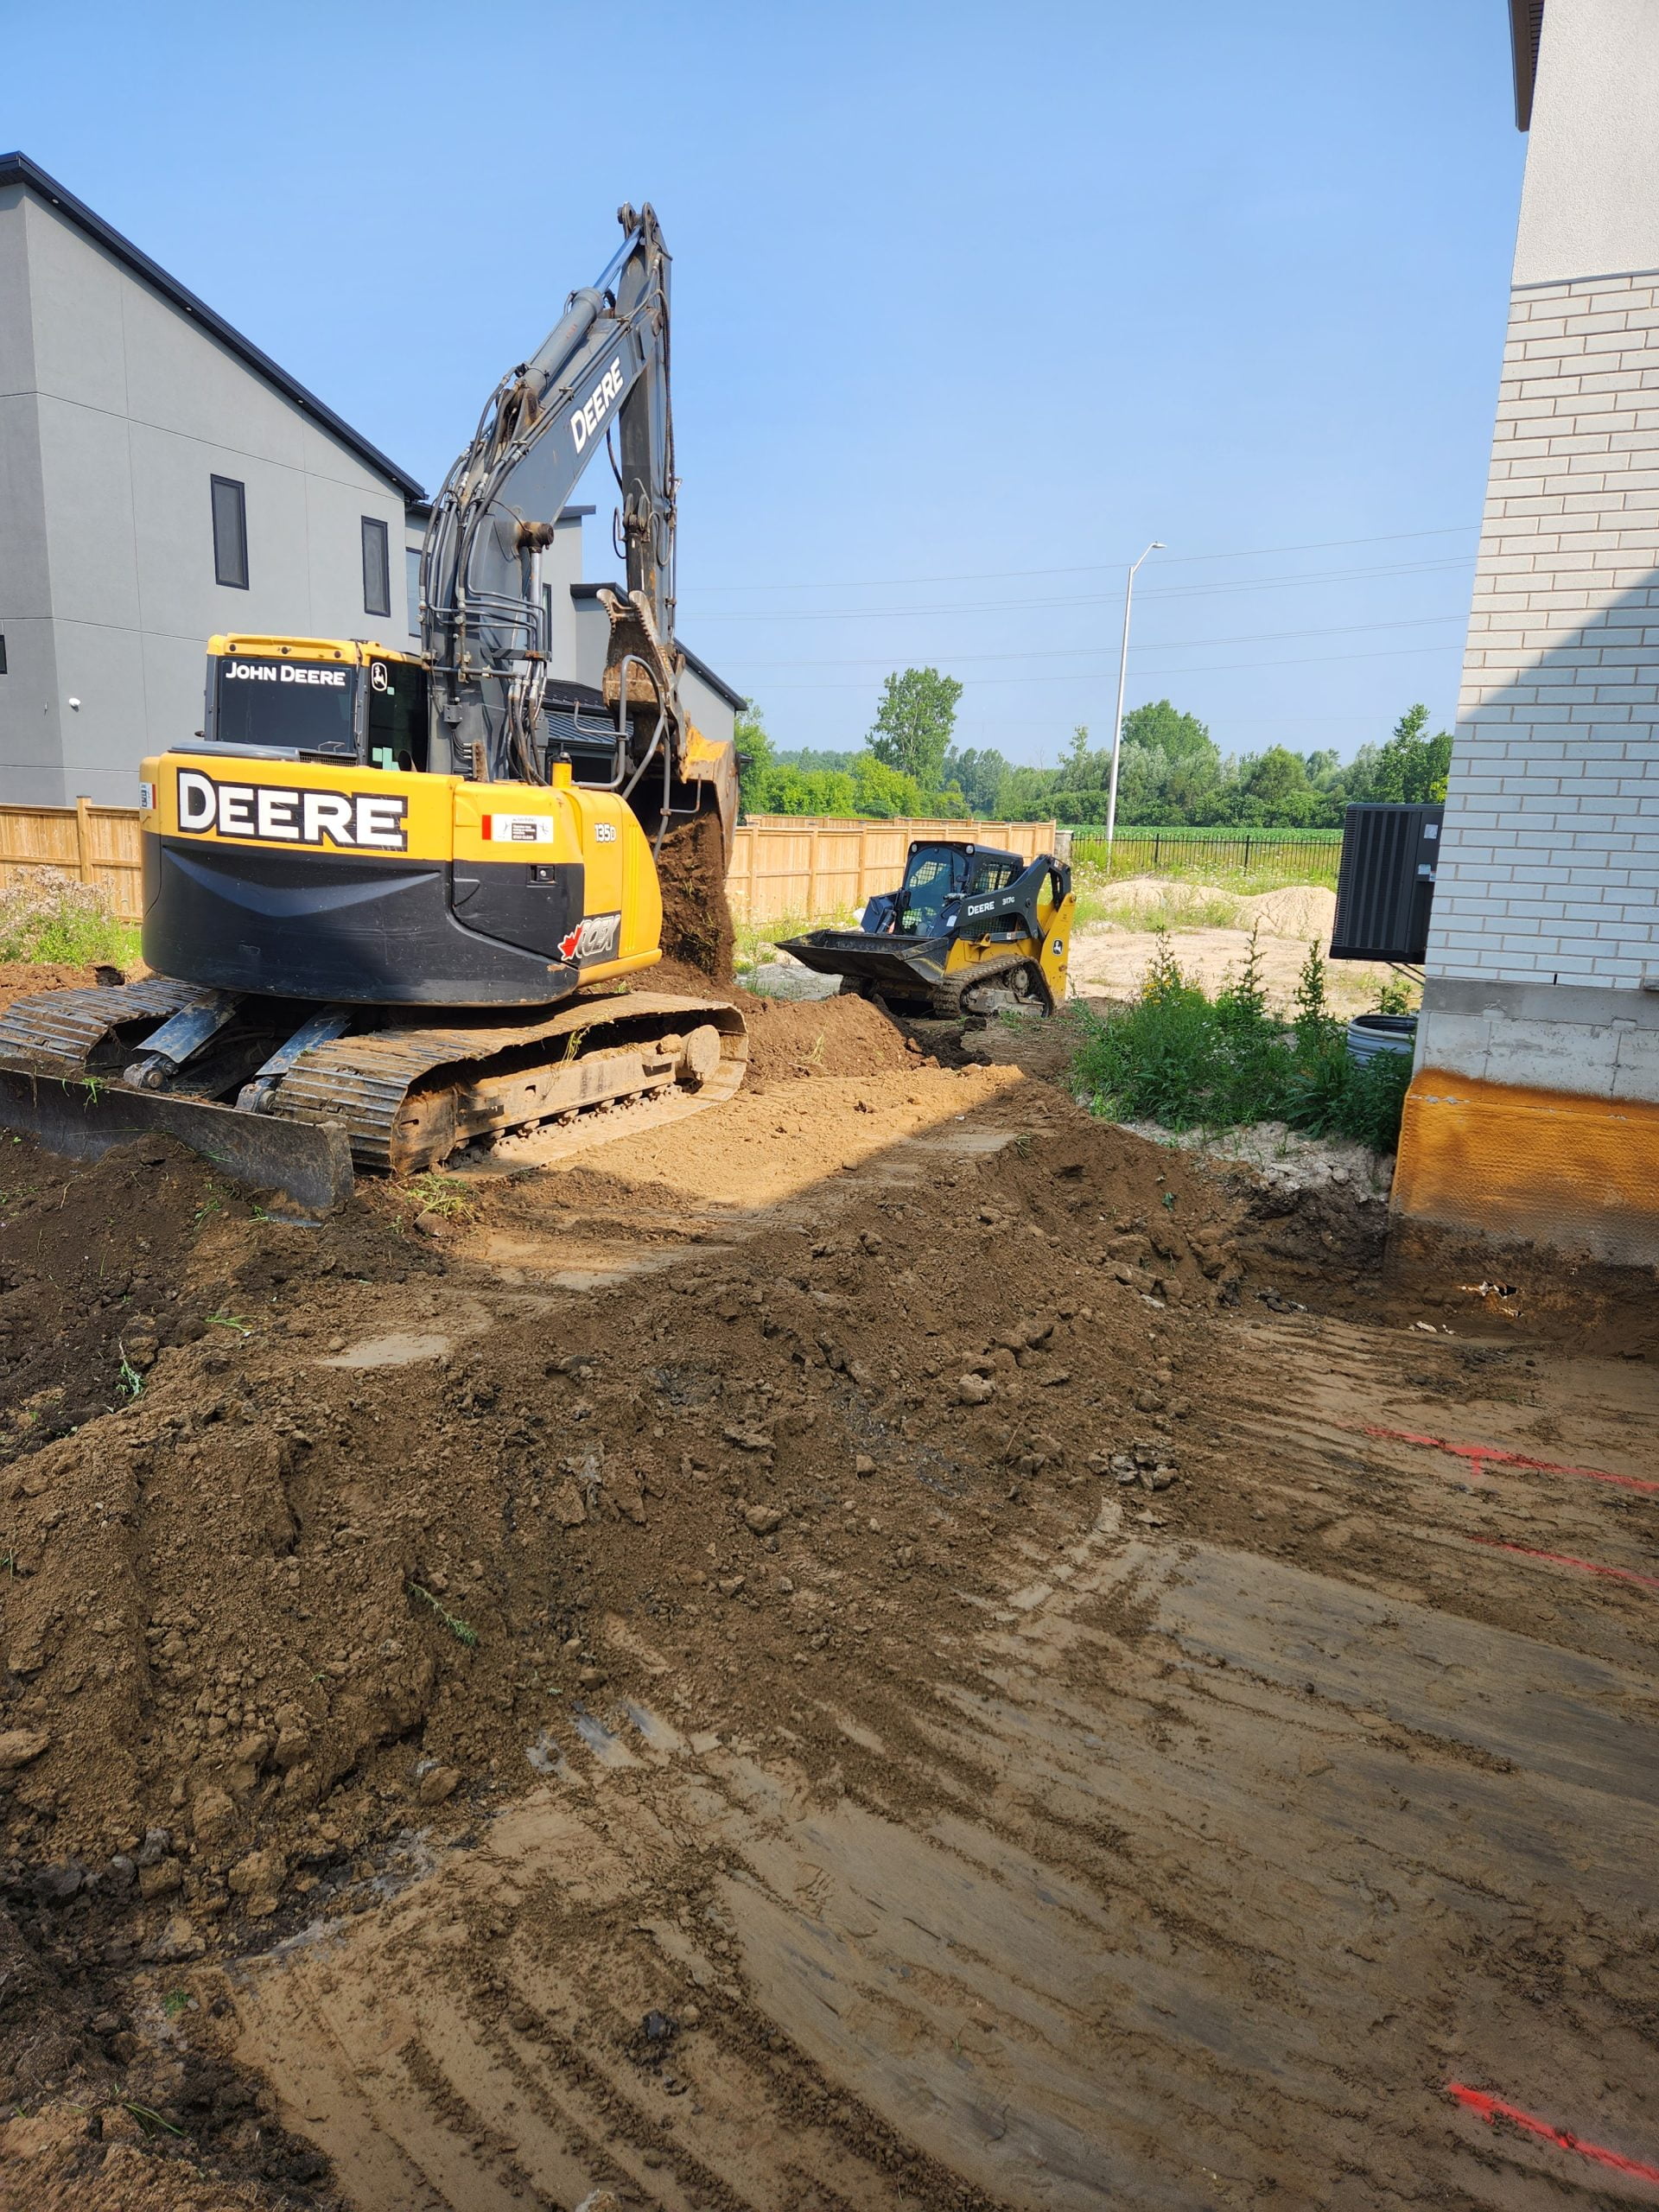
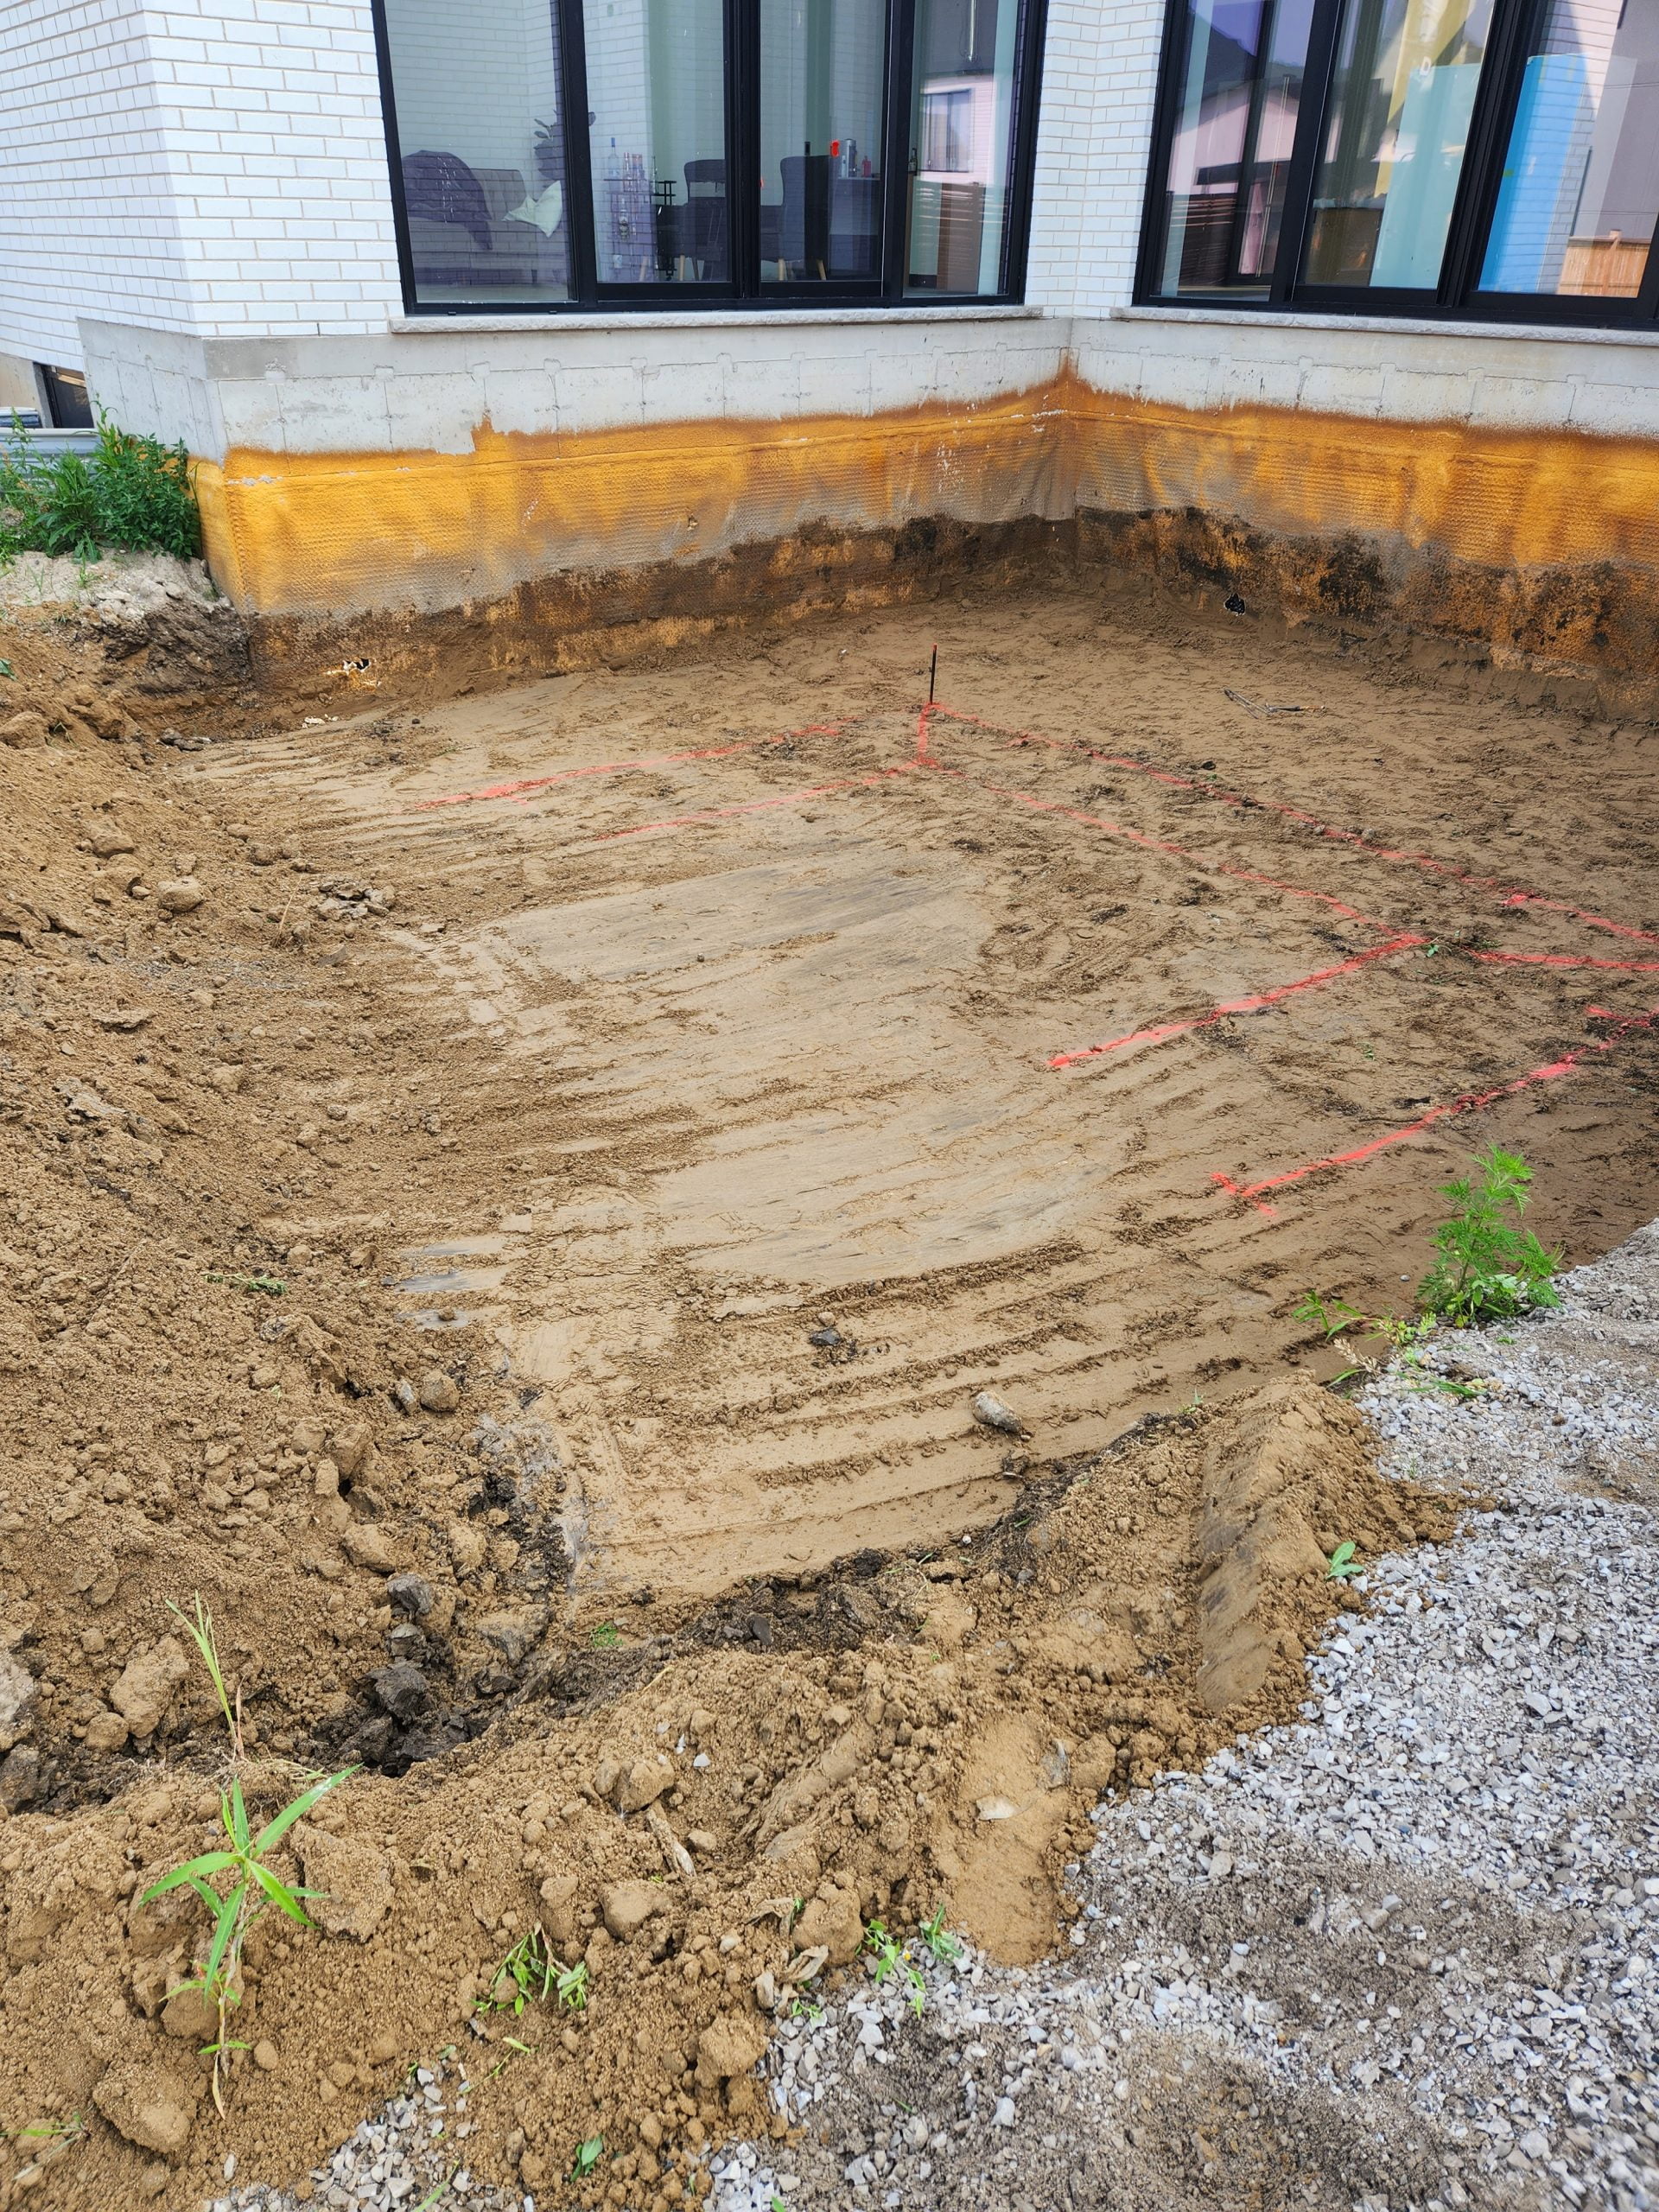
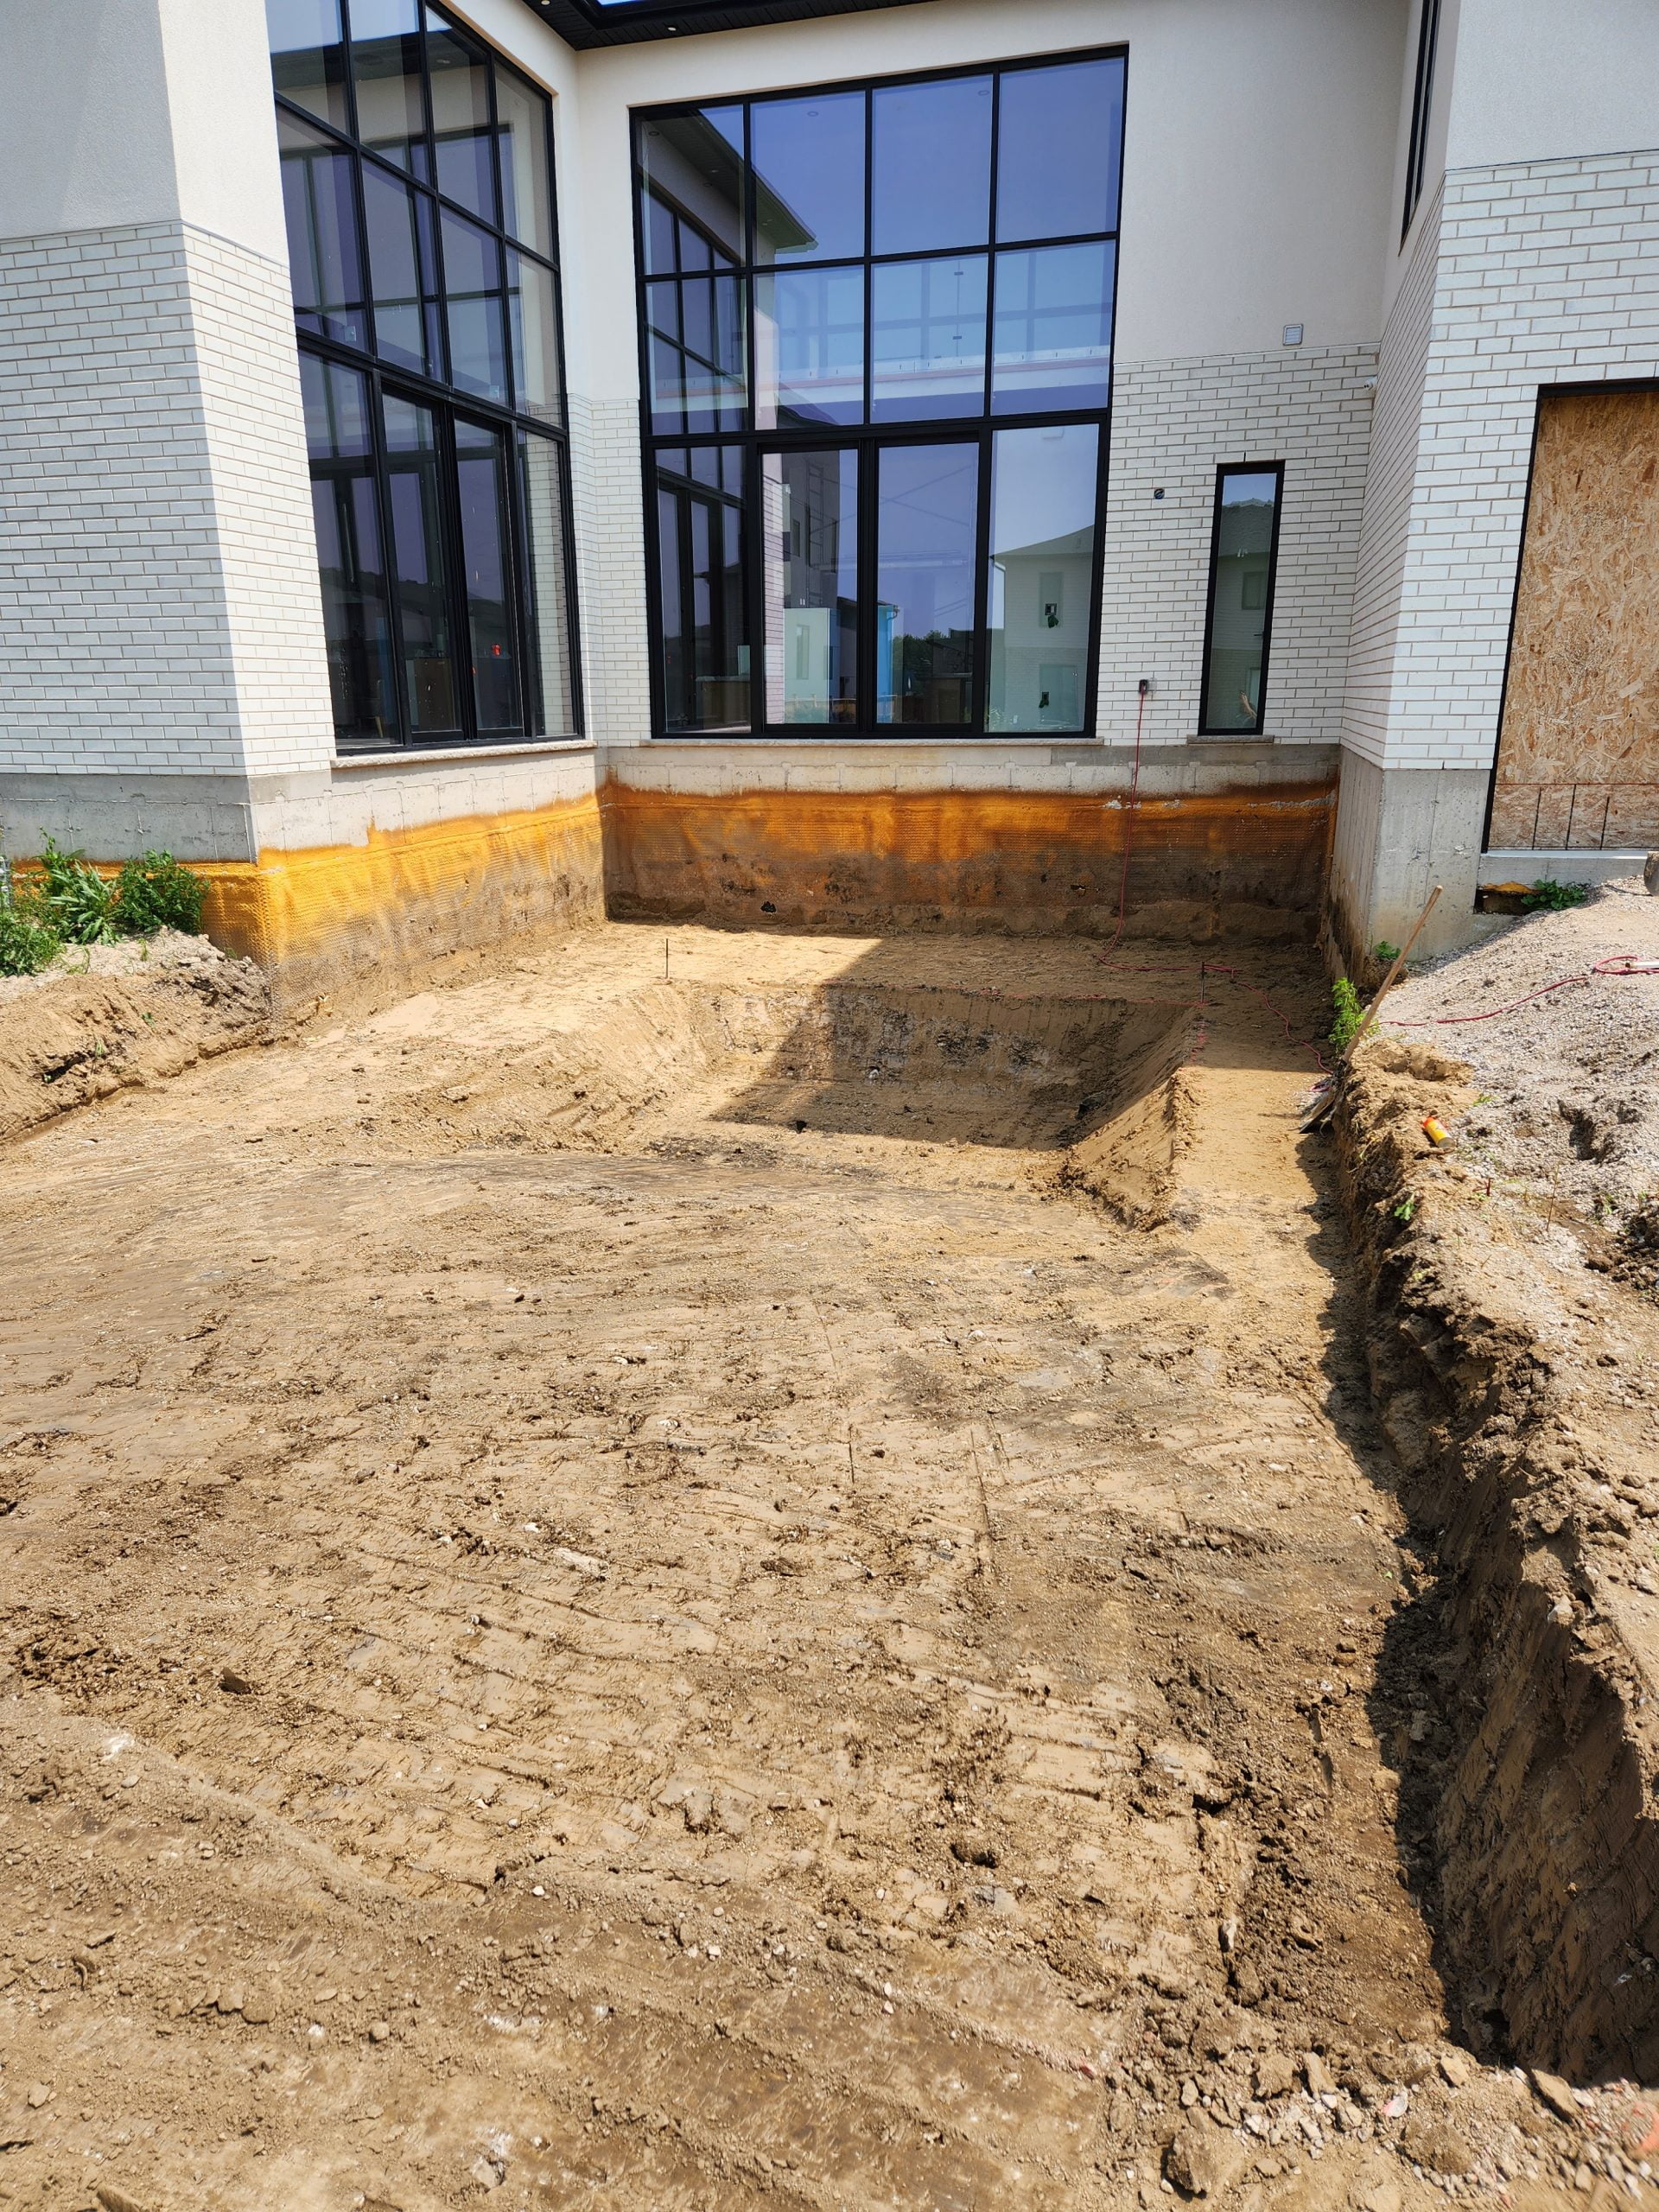
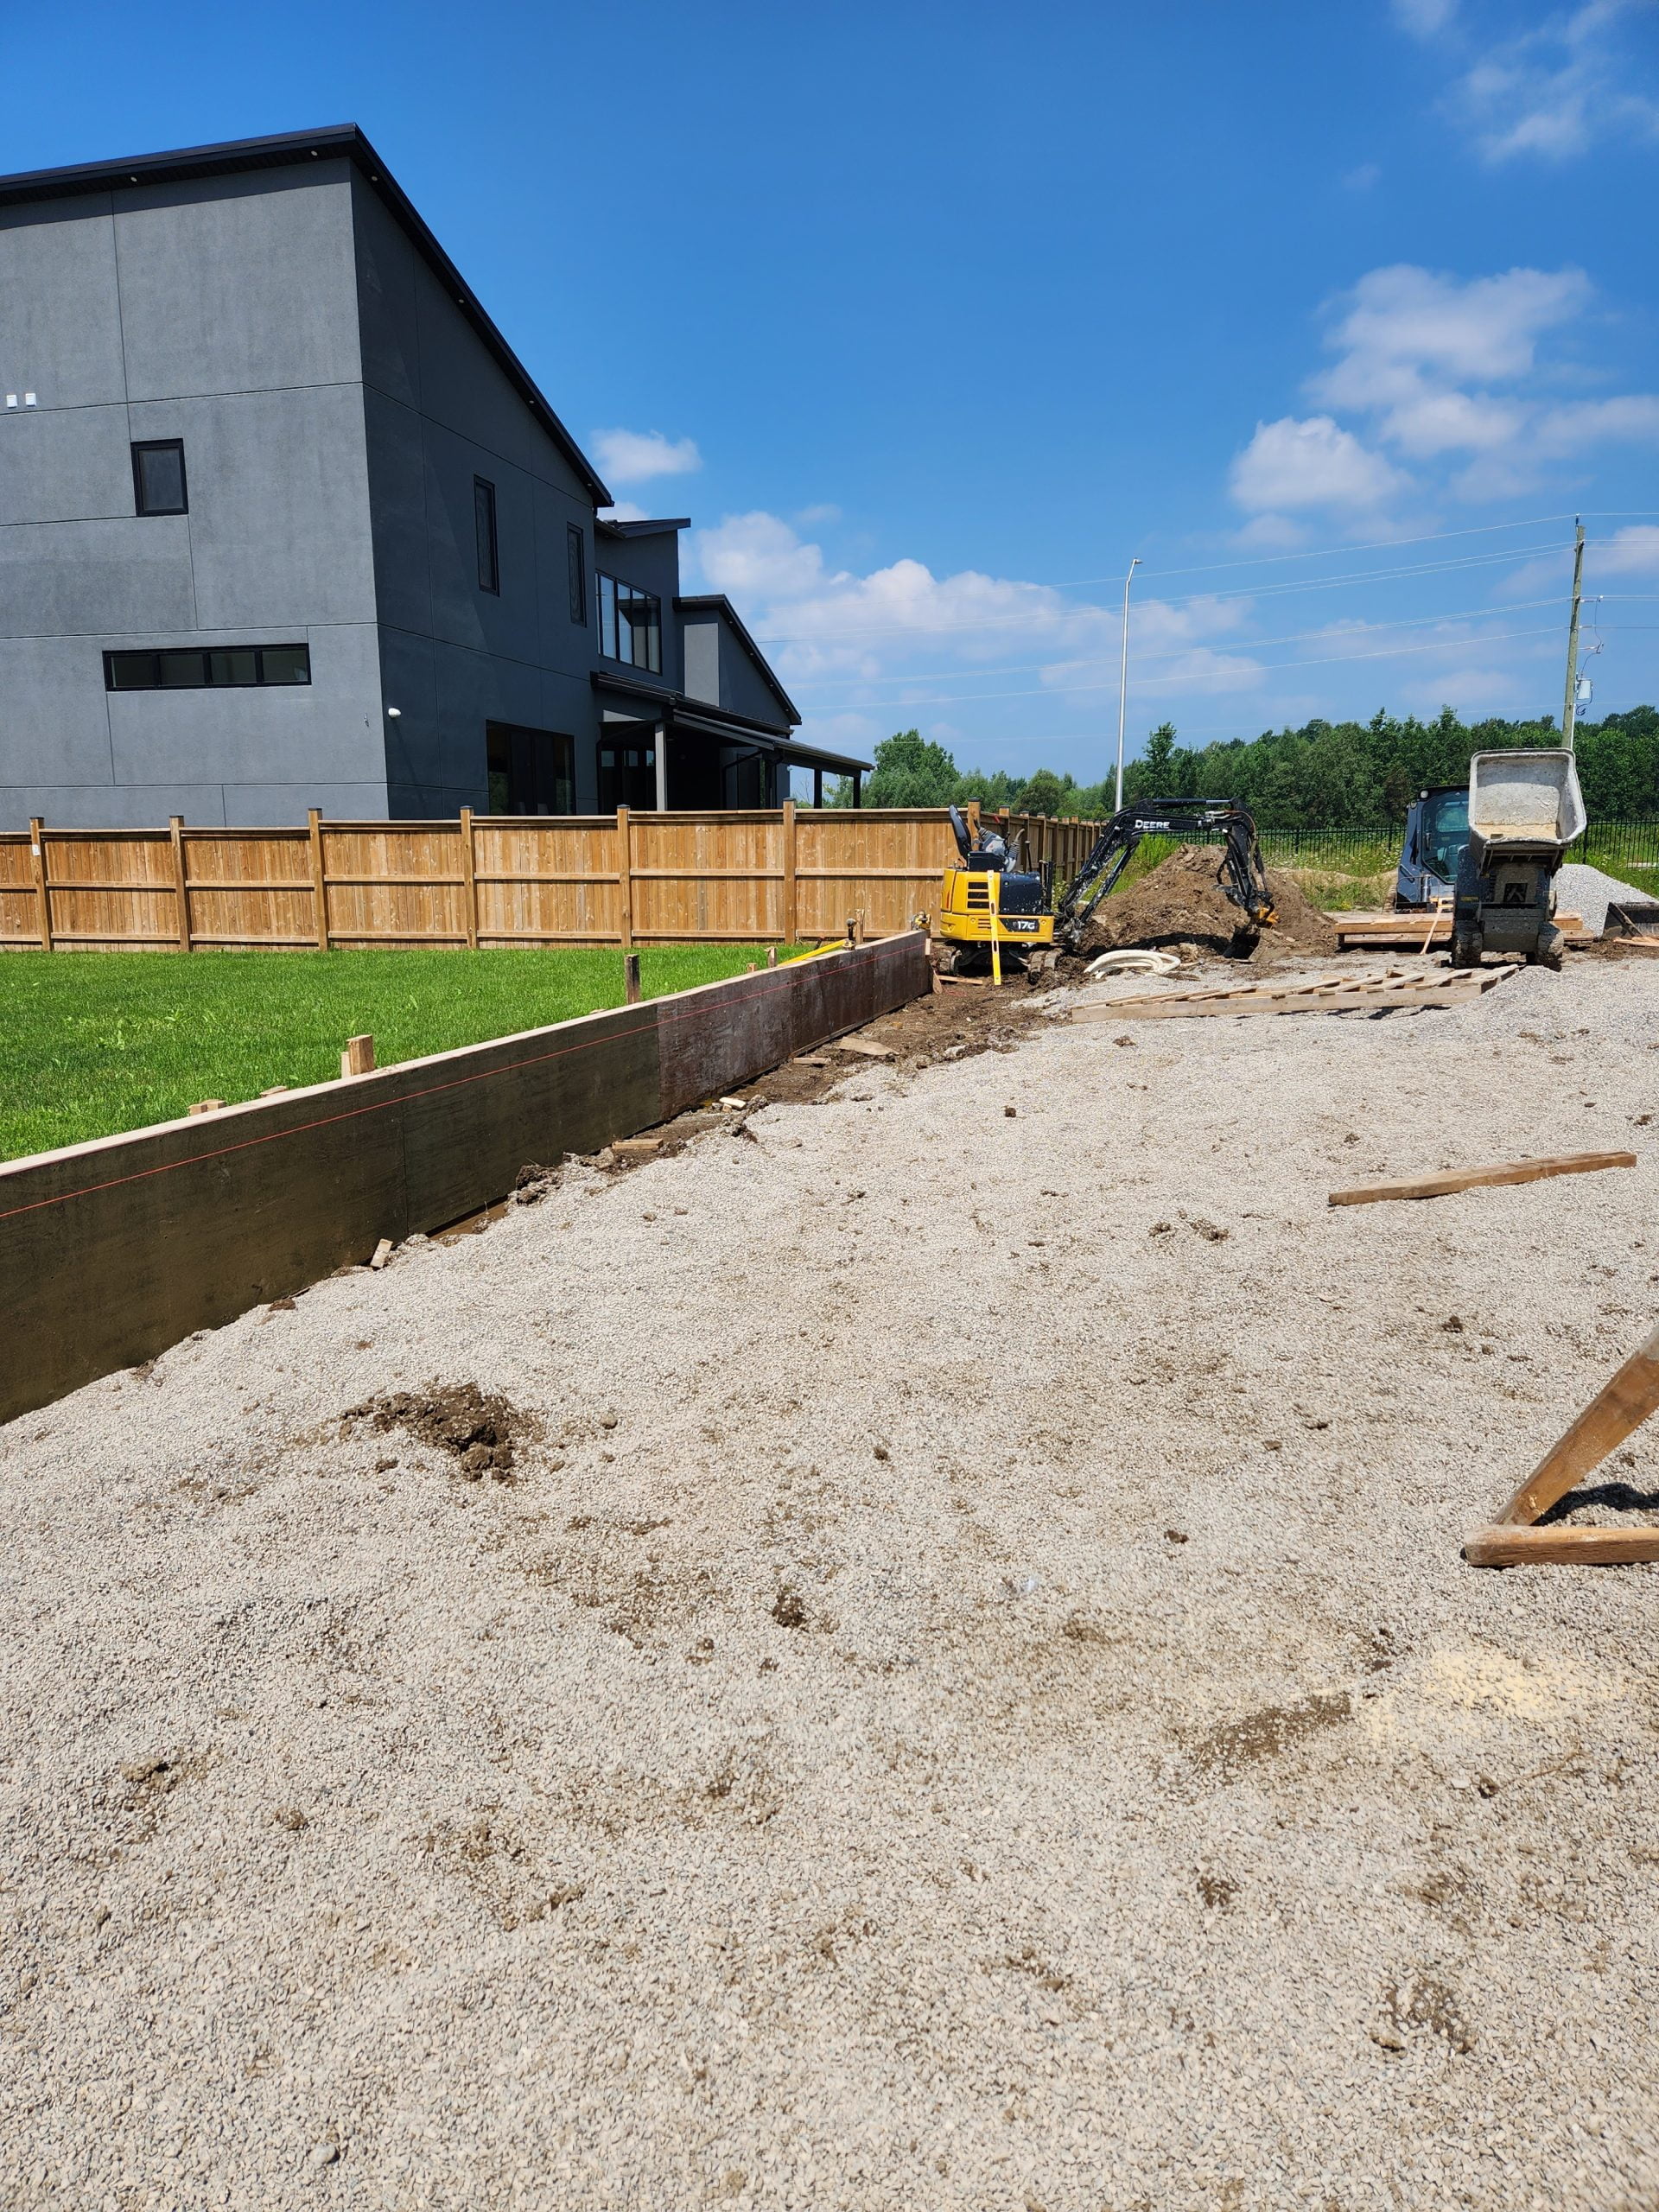
DAY ONE
We began by grading the backyard and marking out the rough shape of the swimming pool. Then it was time to dig.
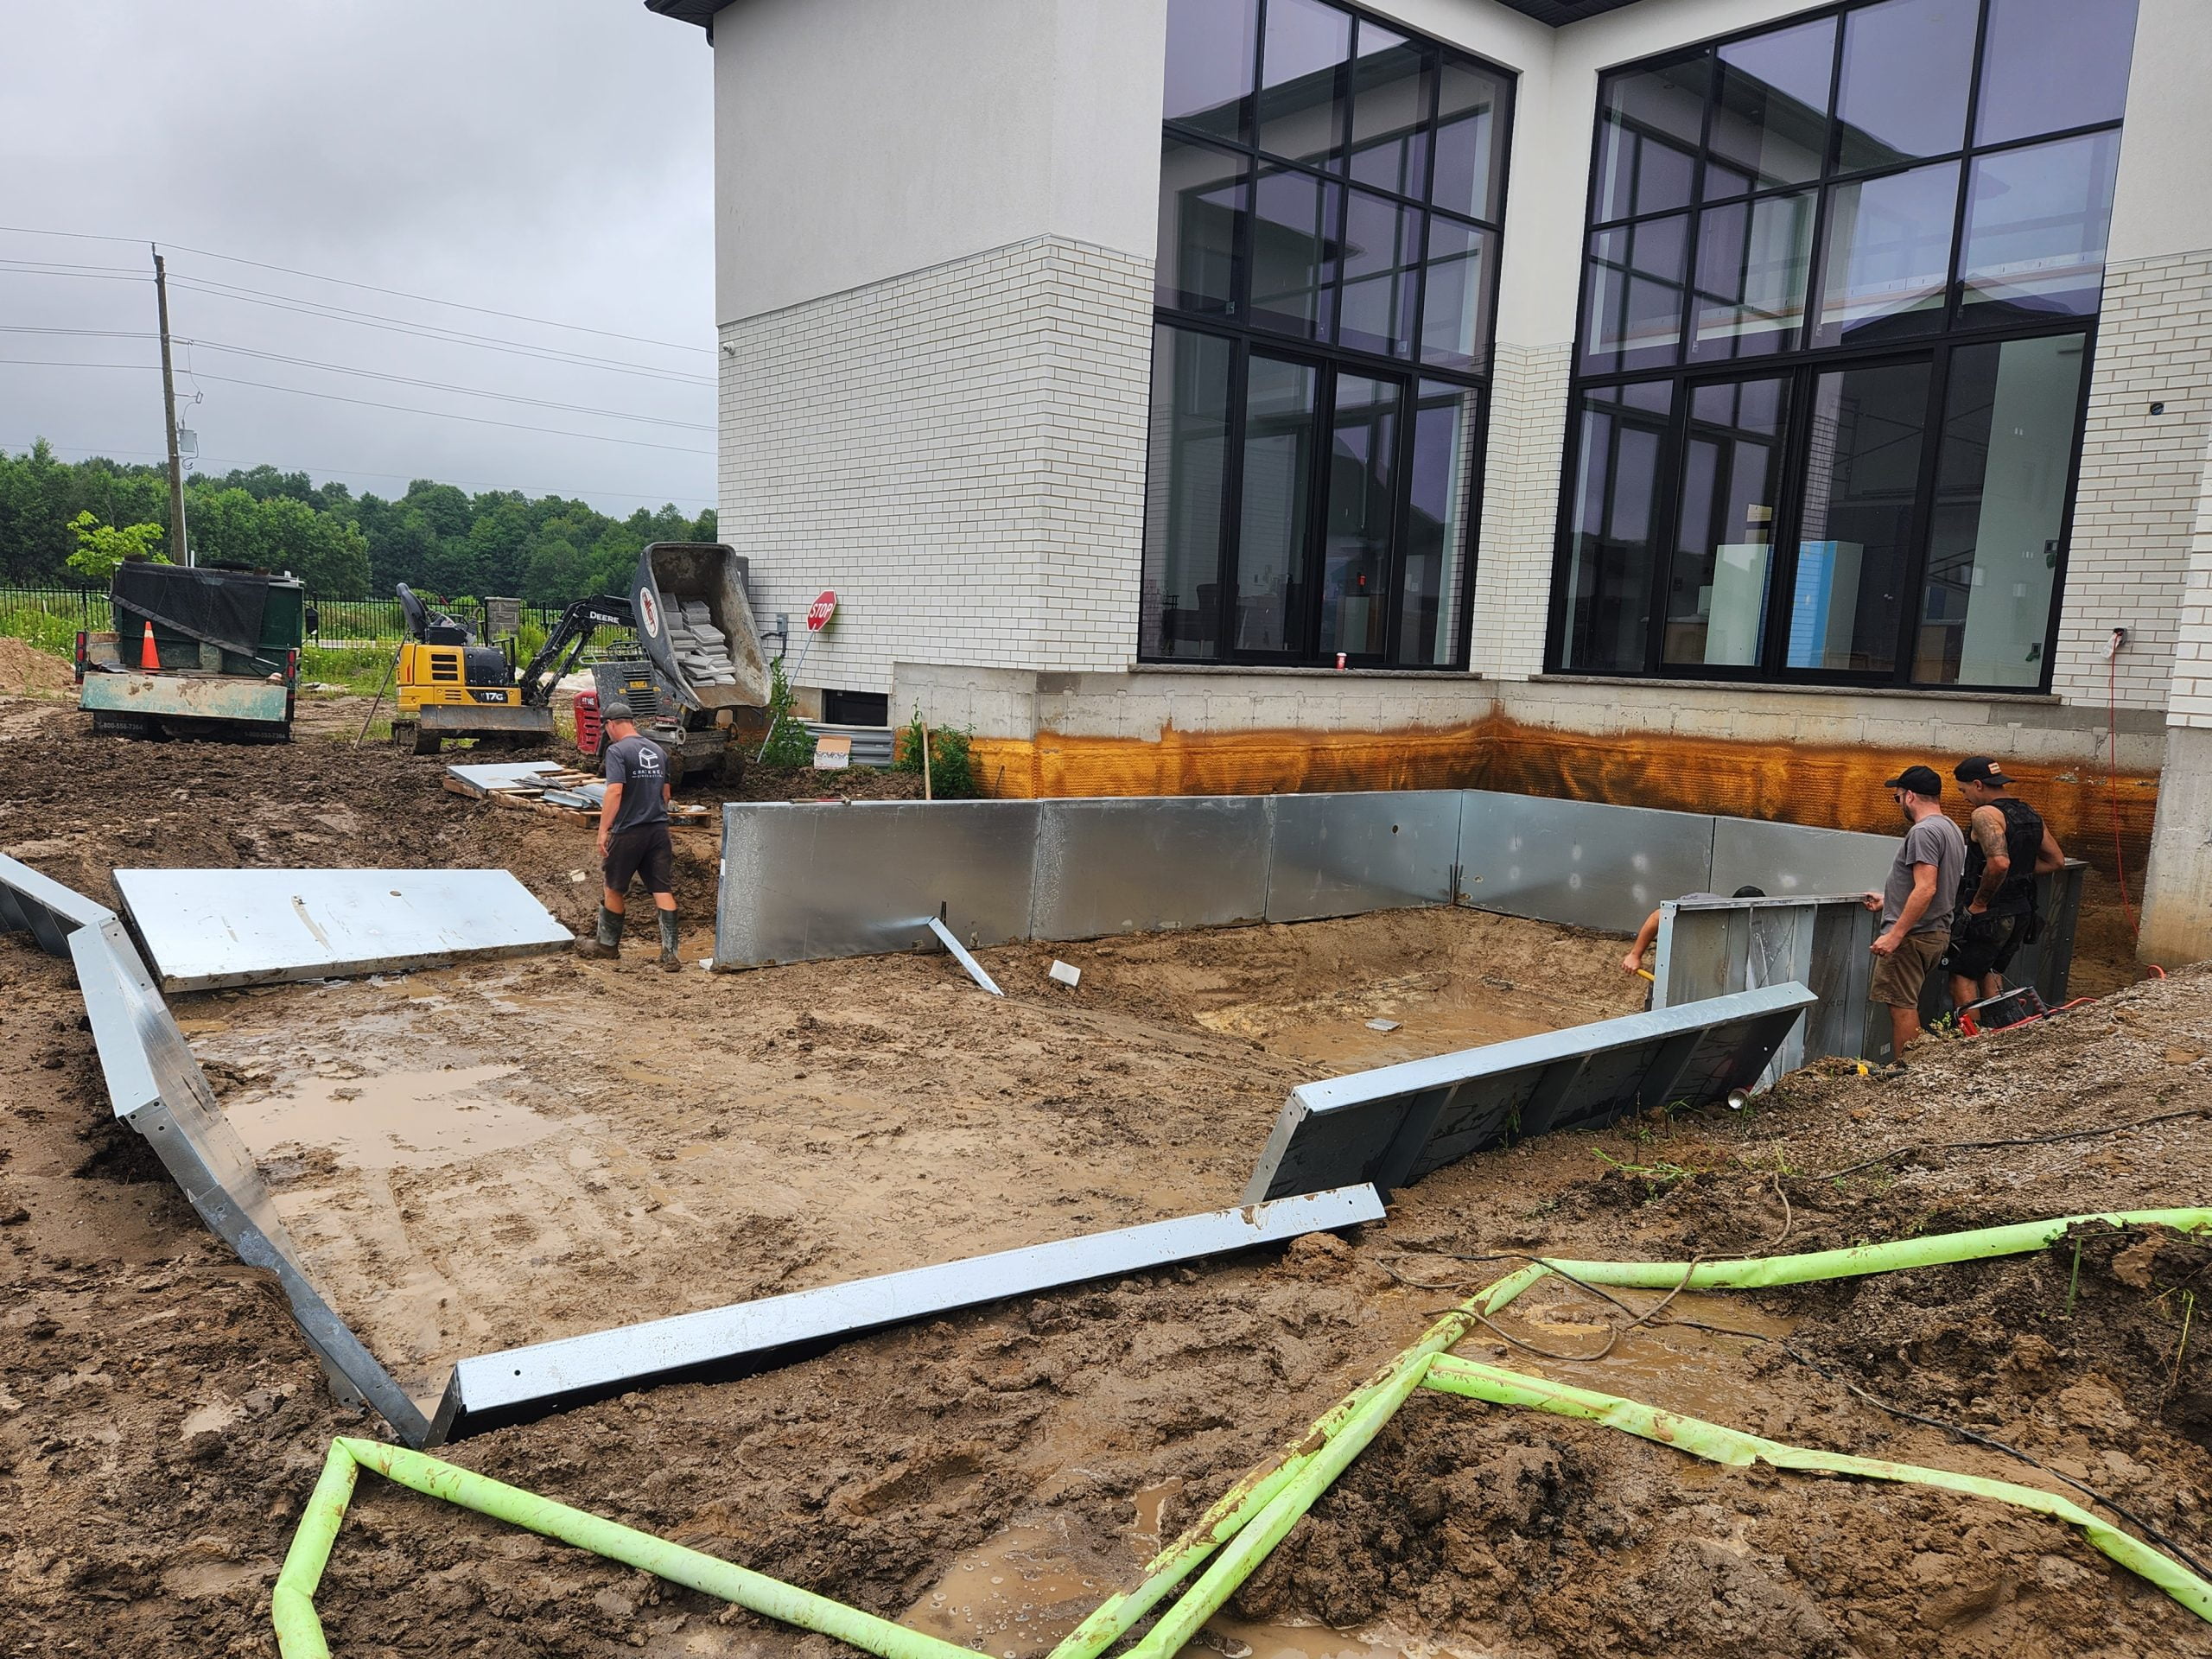
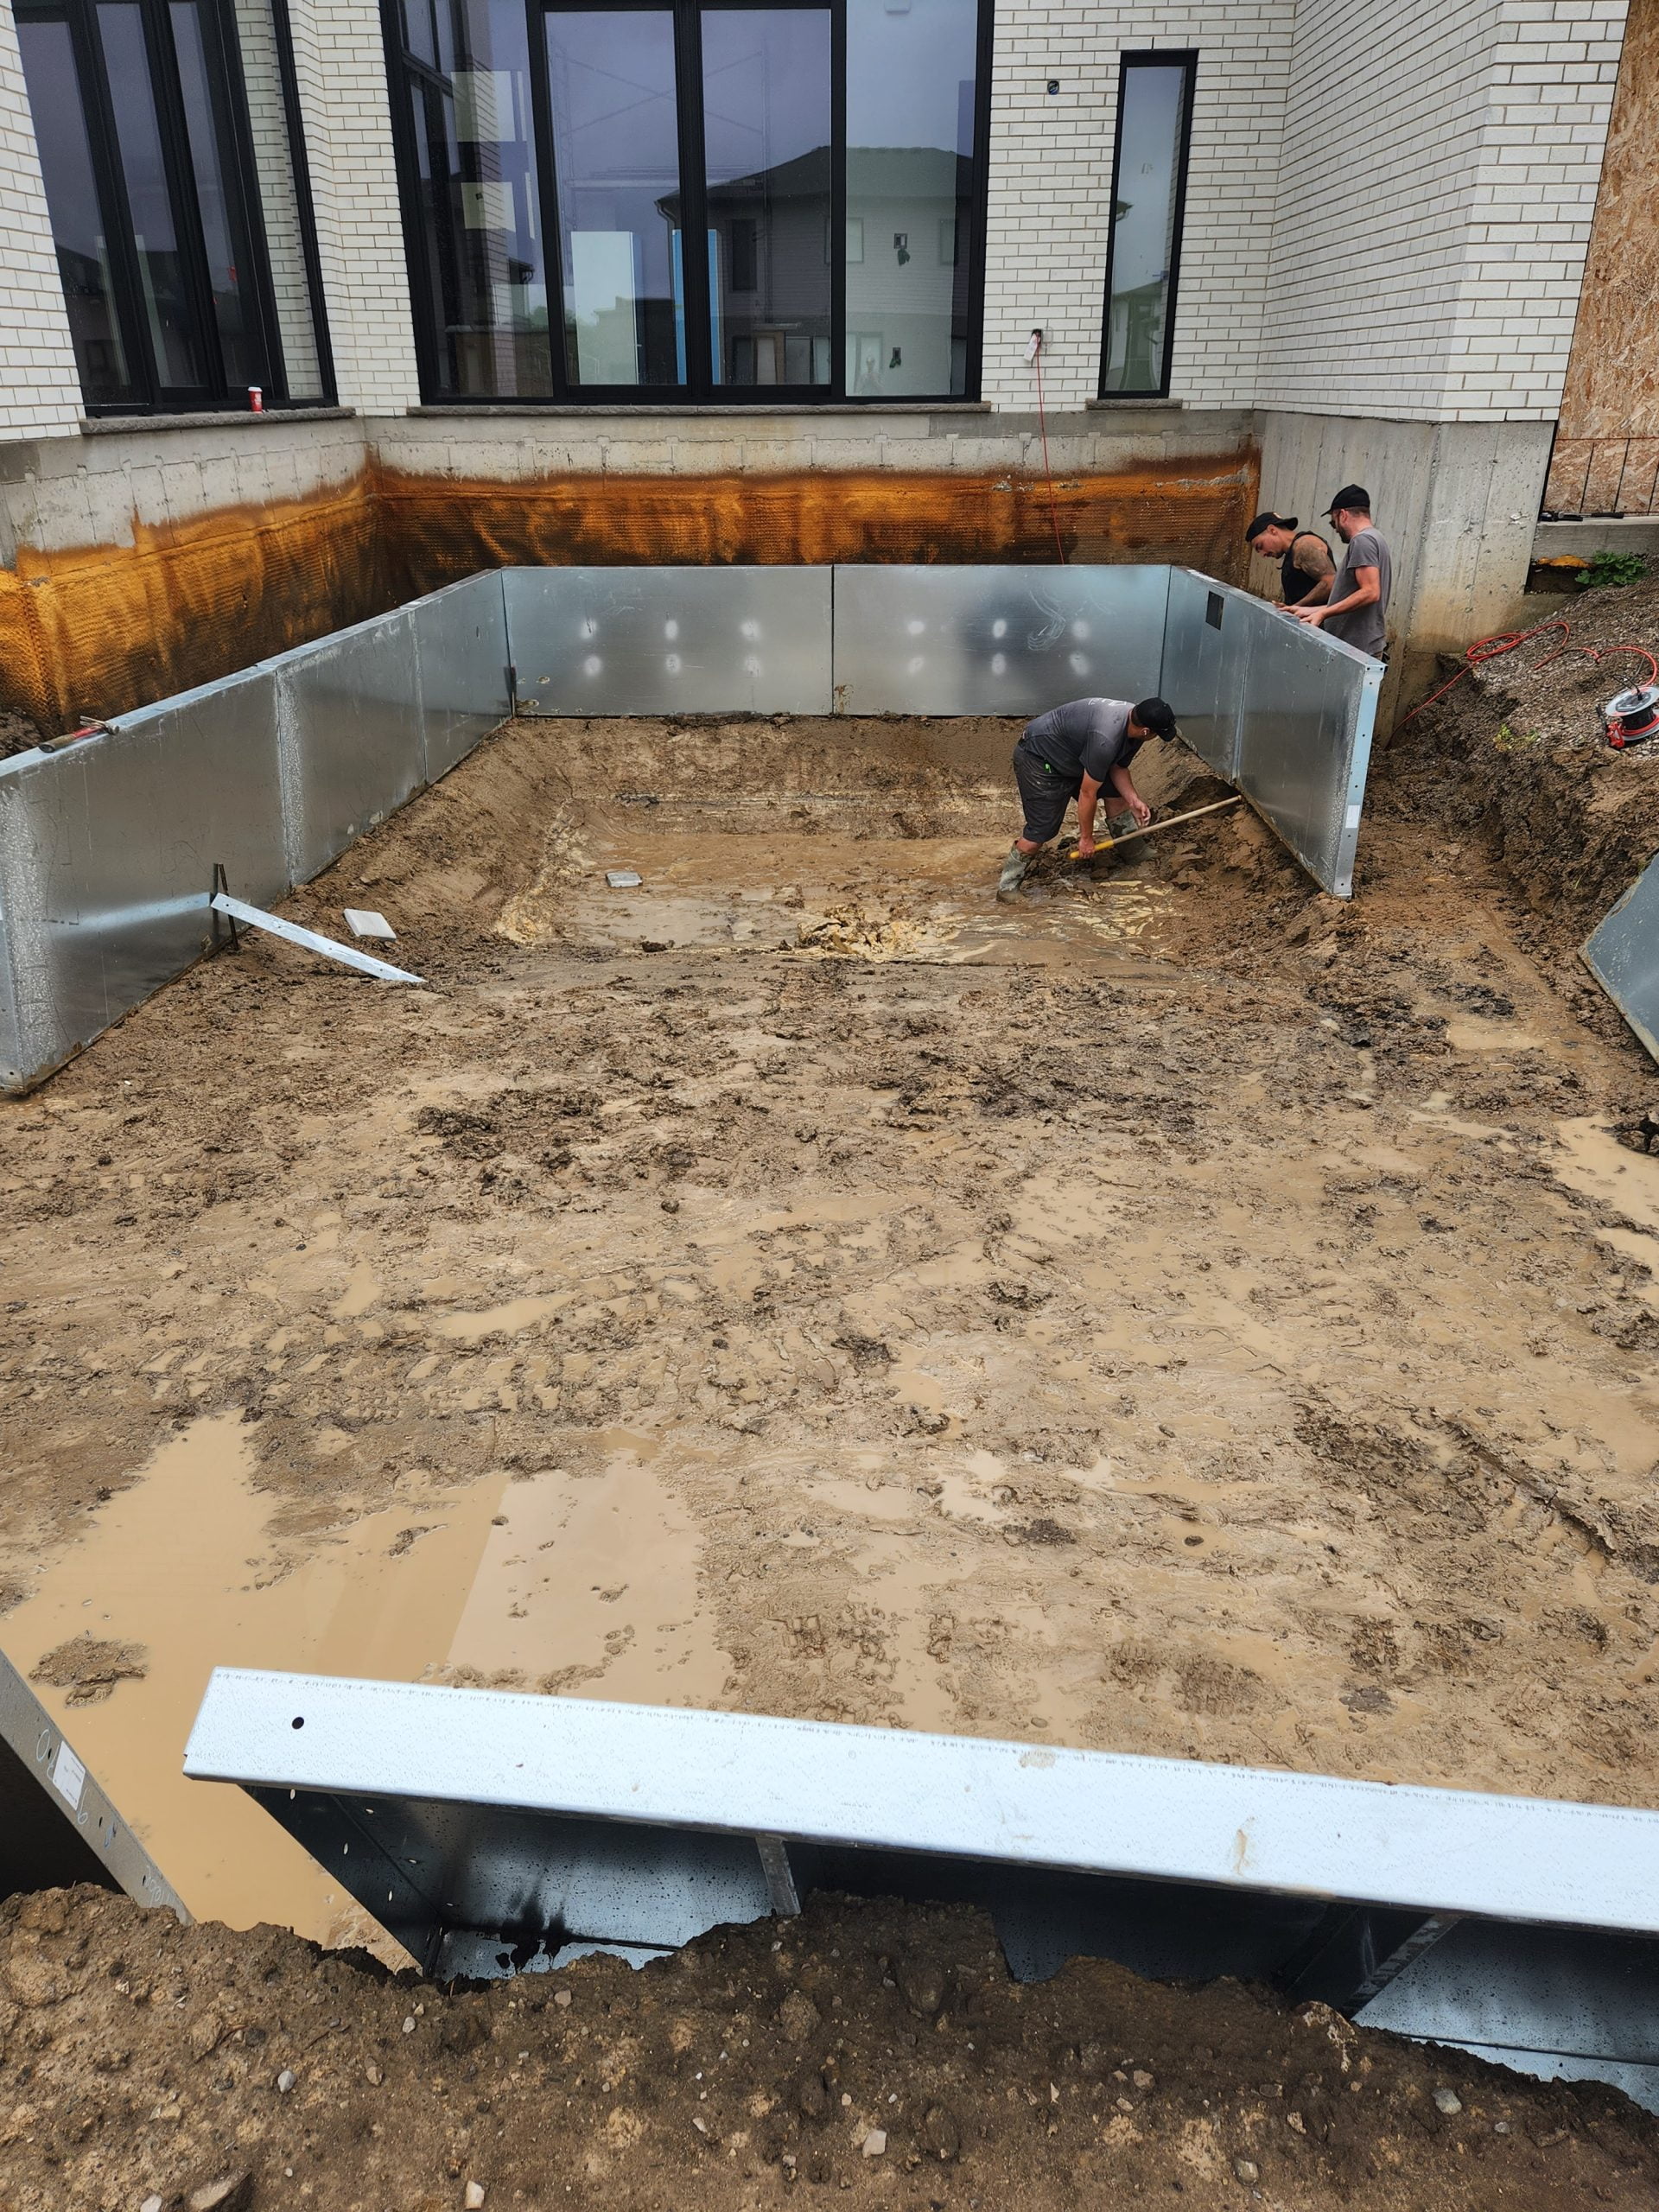
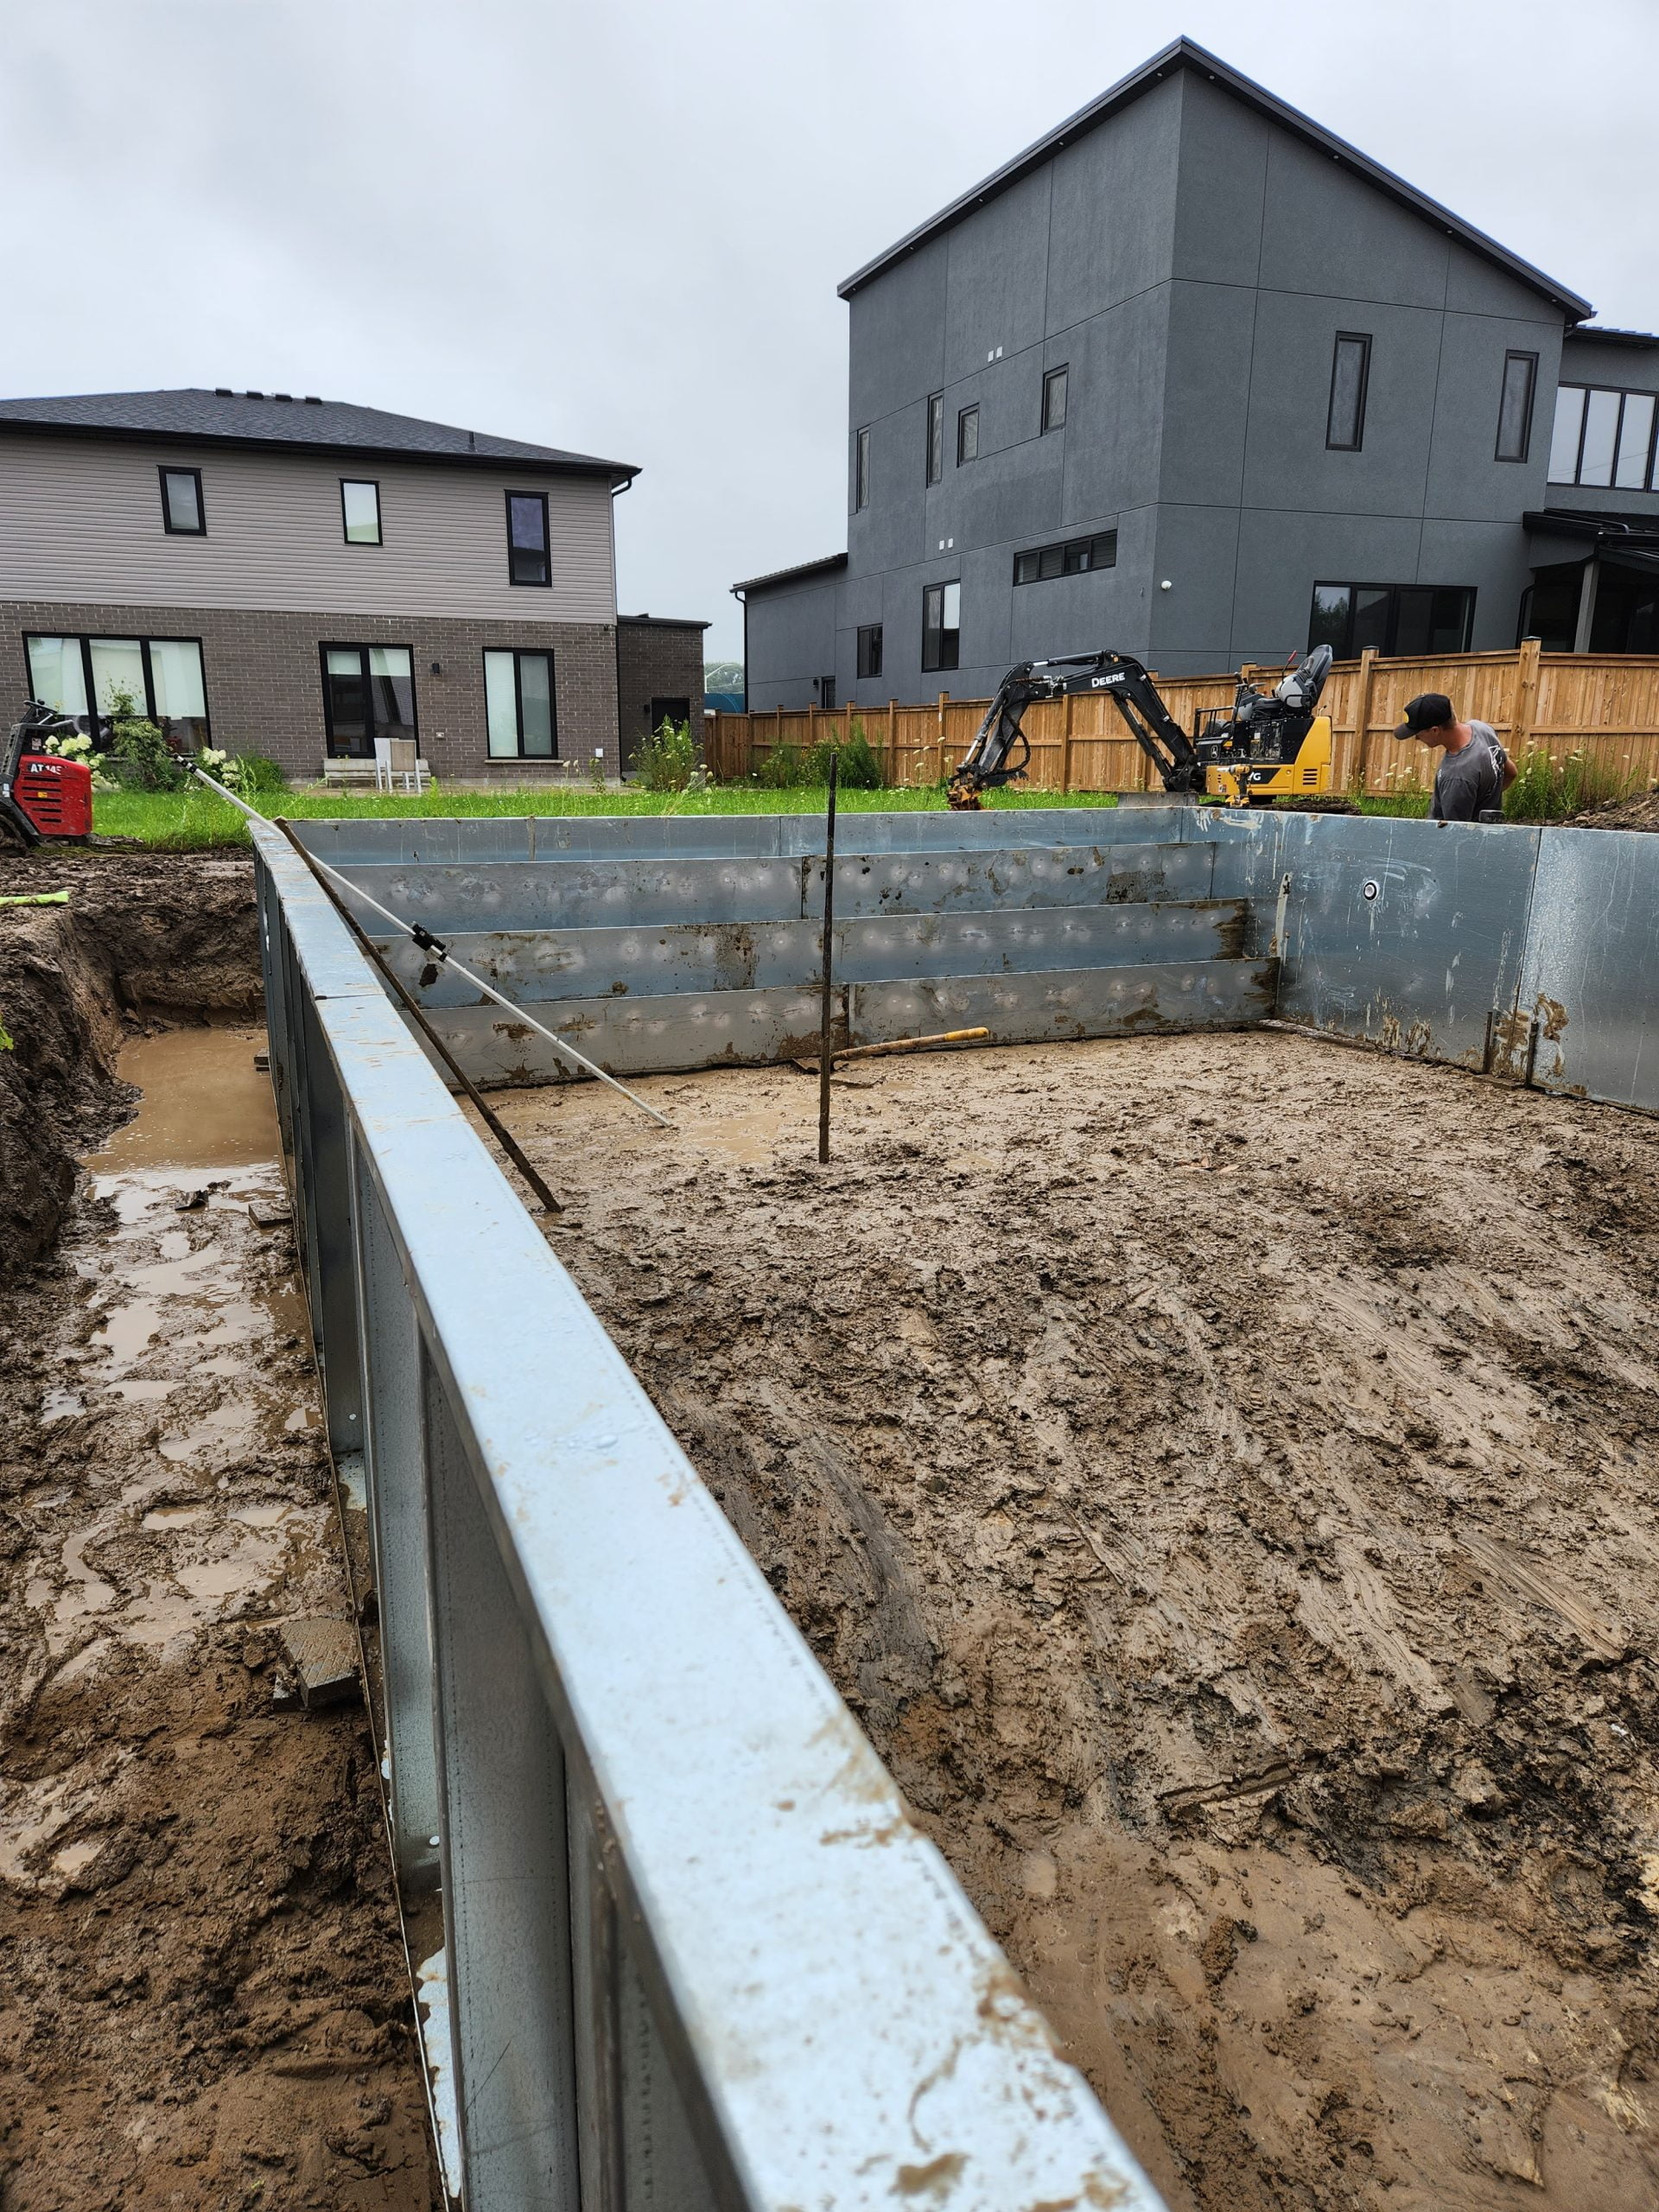
DAY TWO
We had heavy rains overnight and had to pump water out of the backyard and the deep end of the future pool. Despite the mud, we continued with our step-by-step pool construction process:
Placed and set the pool walls and steps
Assembled the pool kit
Installed the skimmer and returns
Ran the rough plumbing
Ensured everything was level and the walls were straight
Poured a concrete footing around the base of the pool walls to hold everything in place
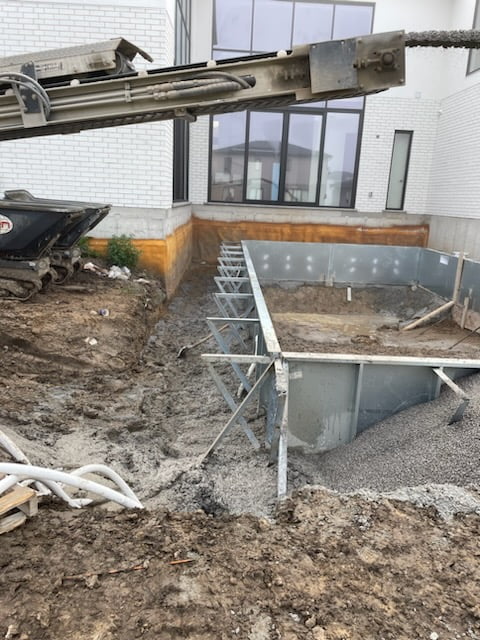
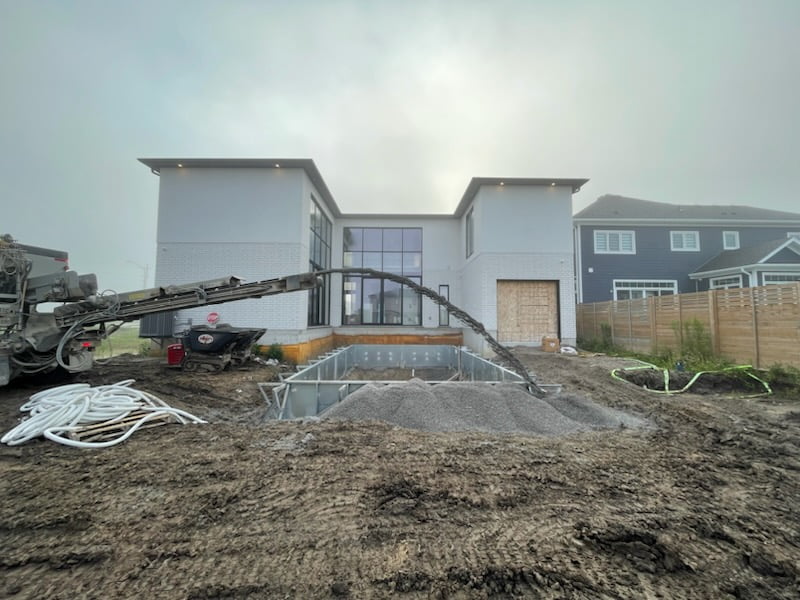
DAY THREE
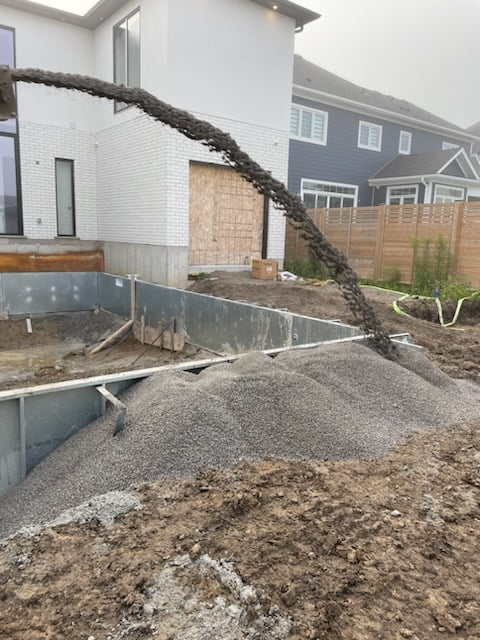
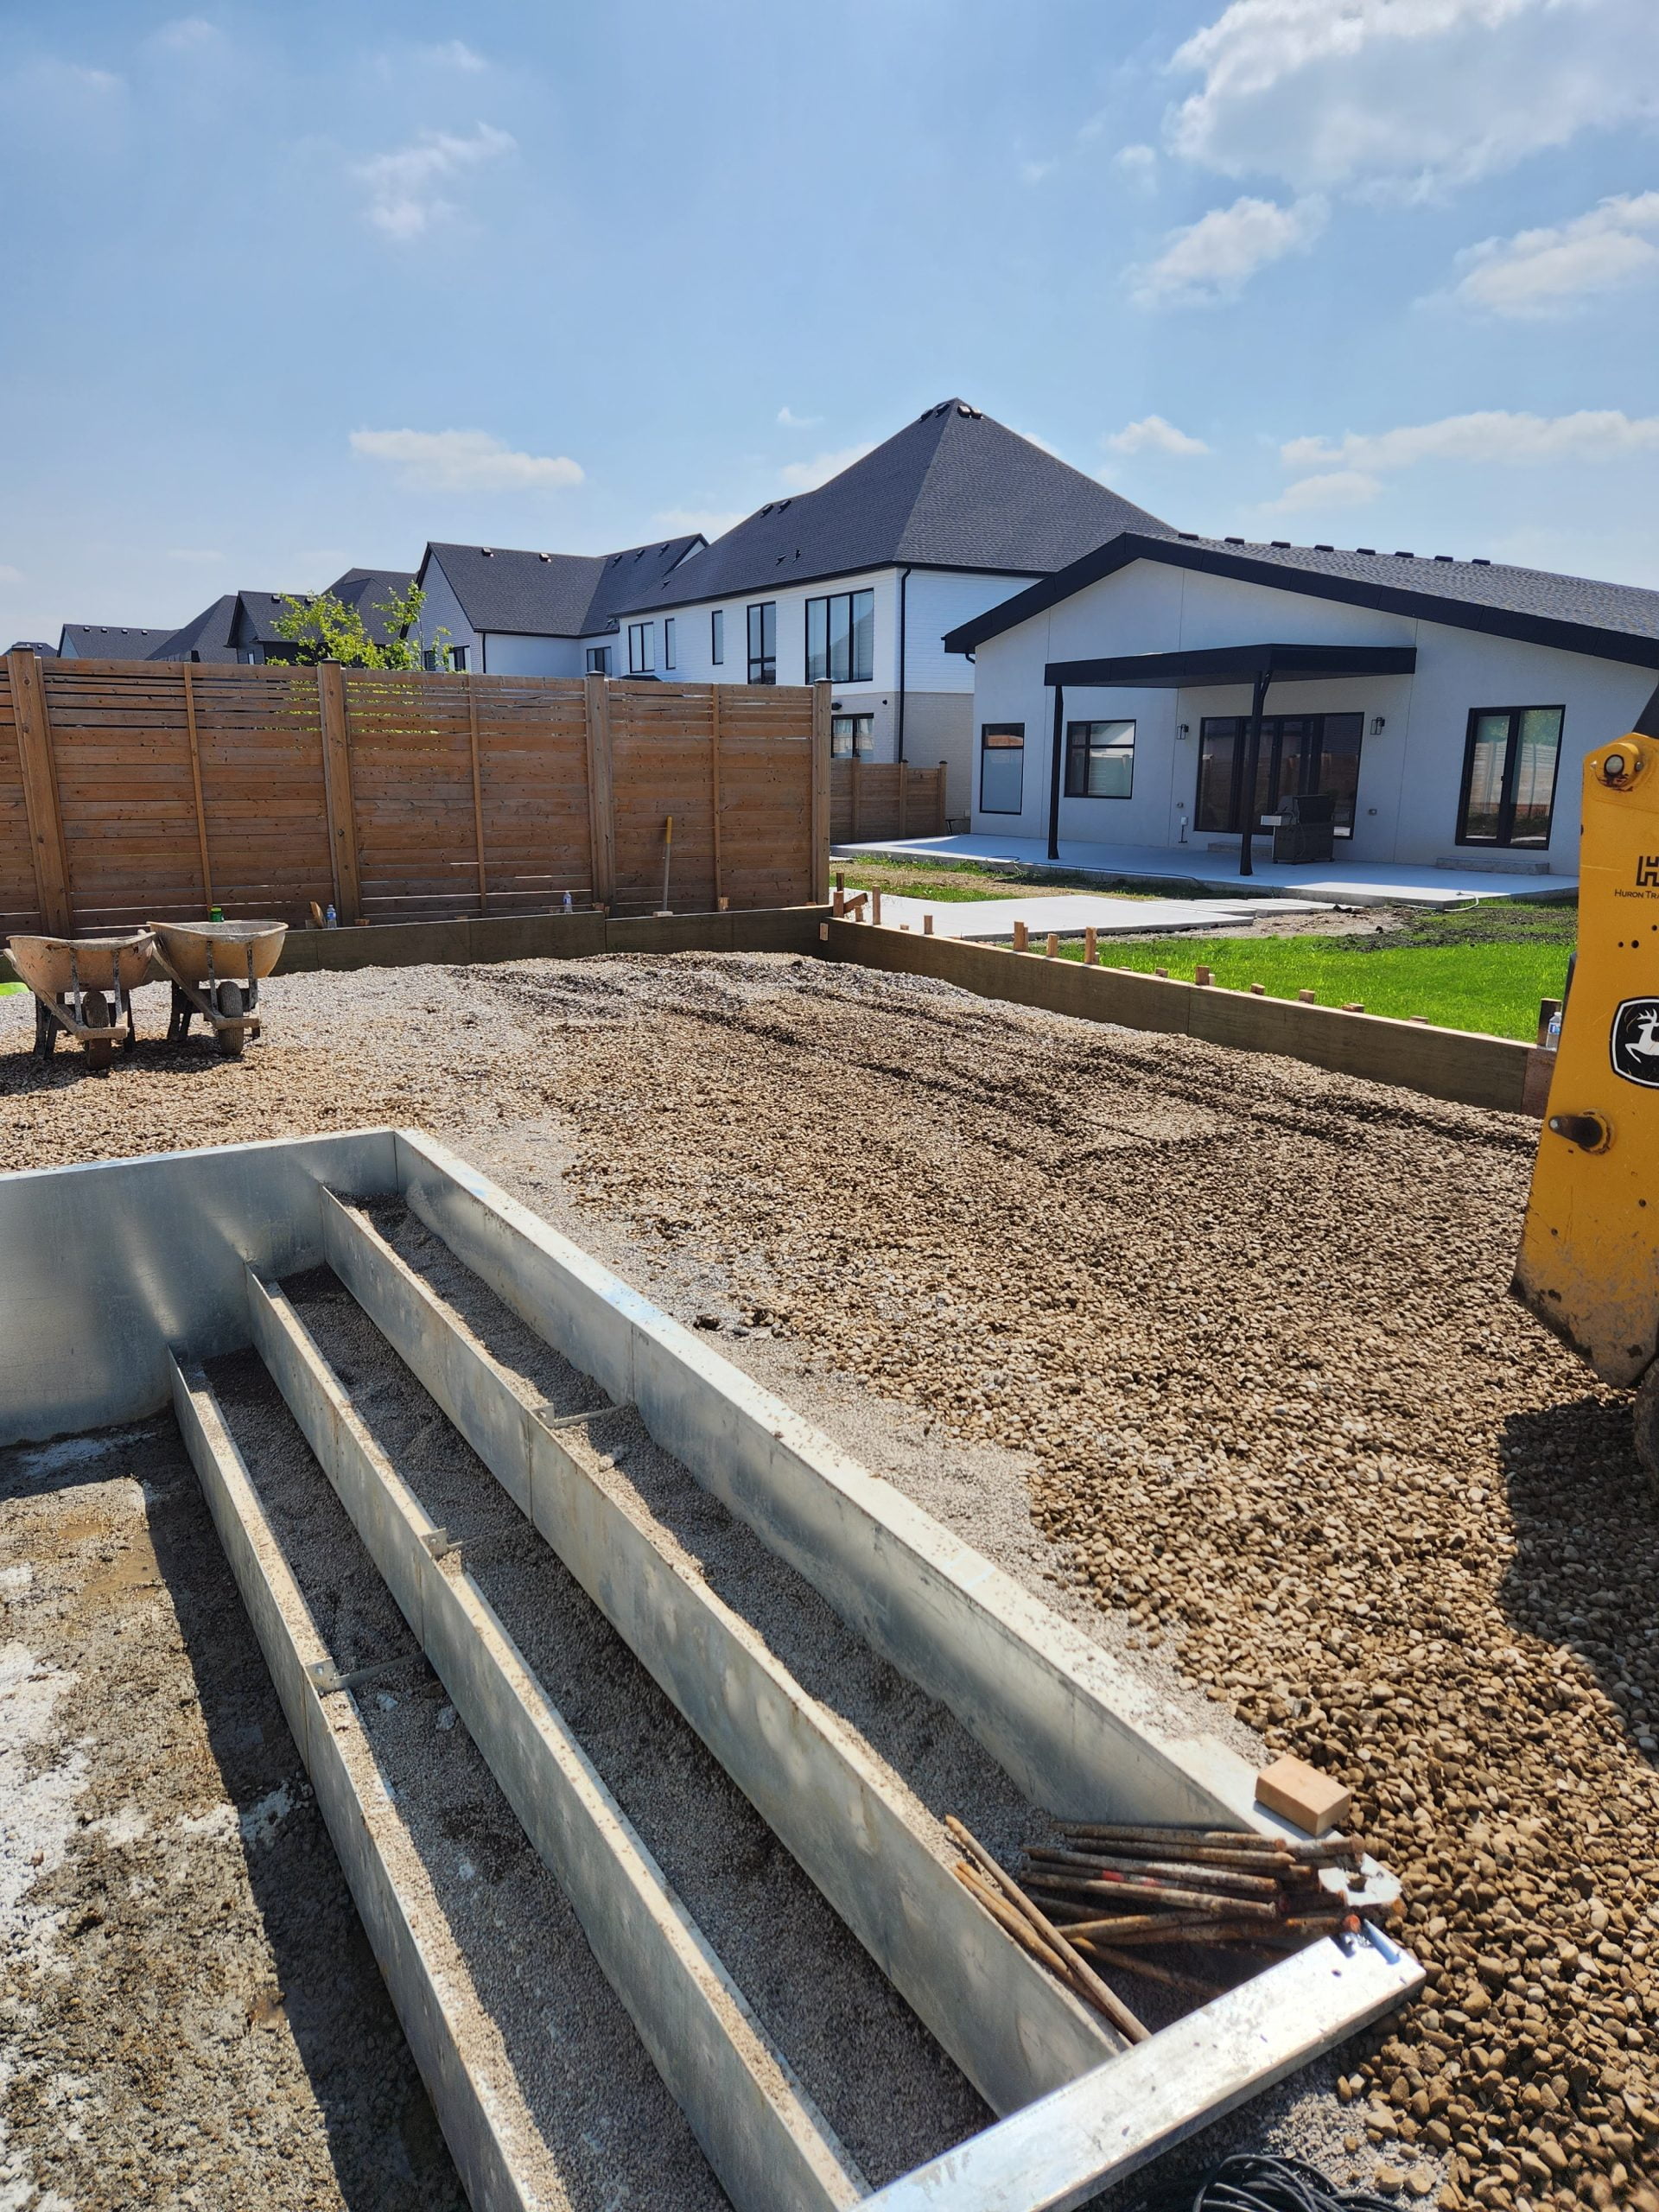
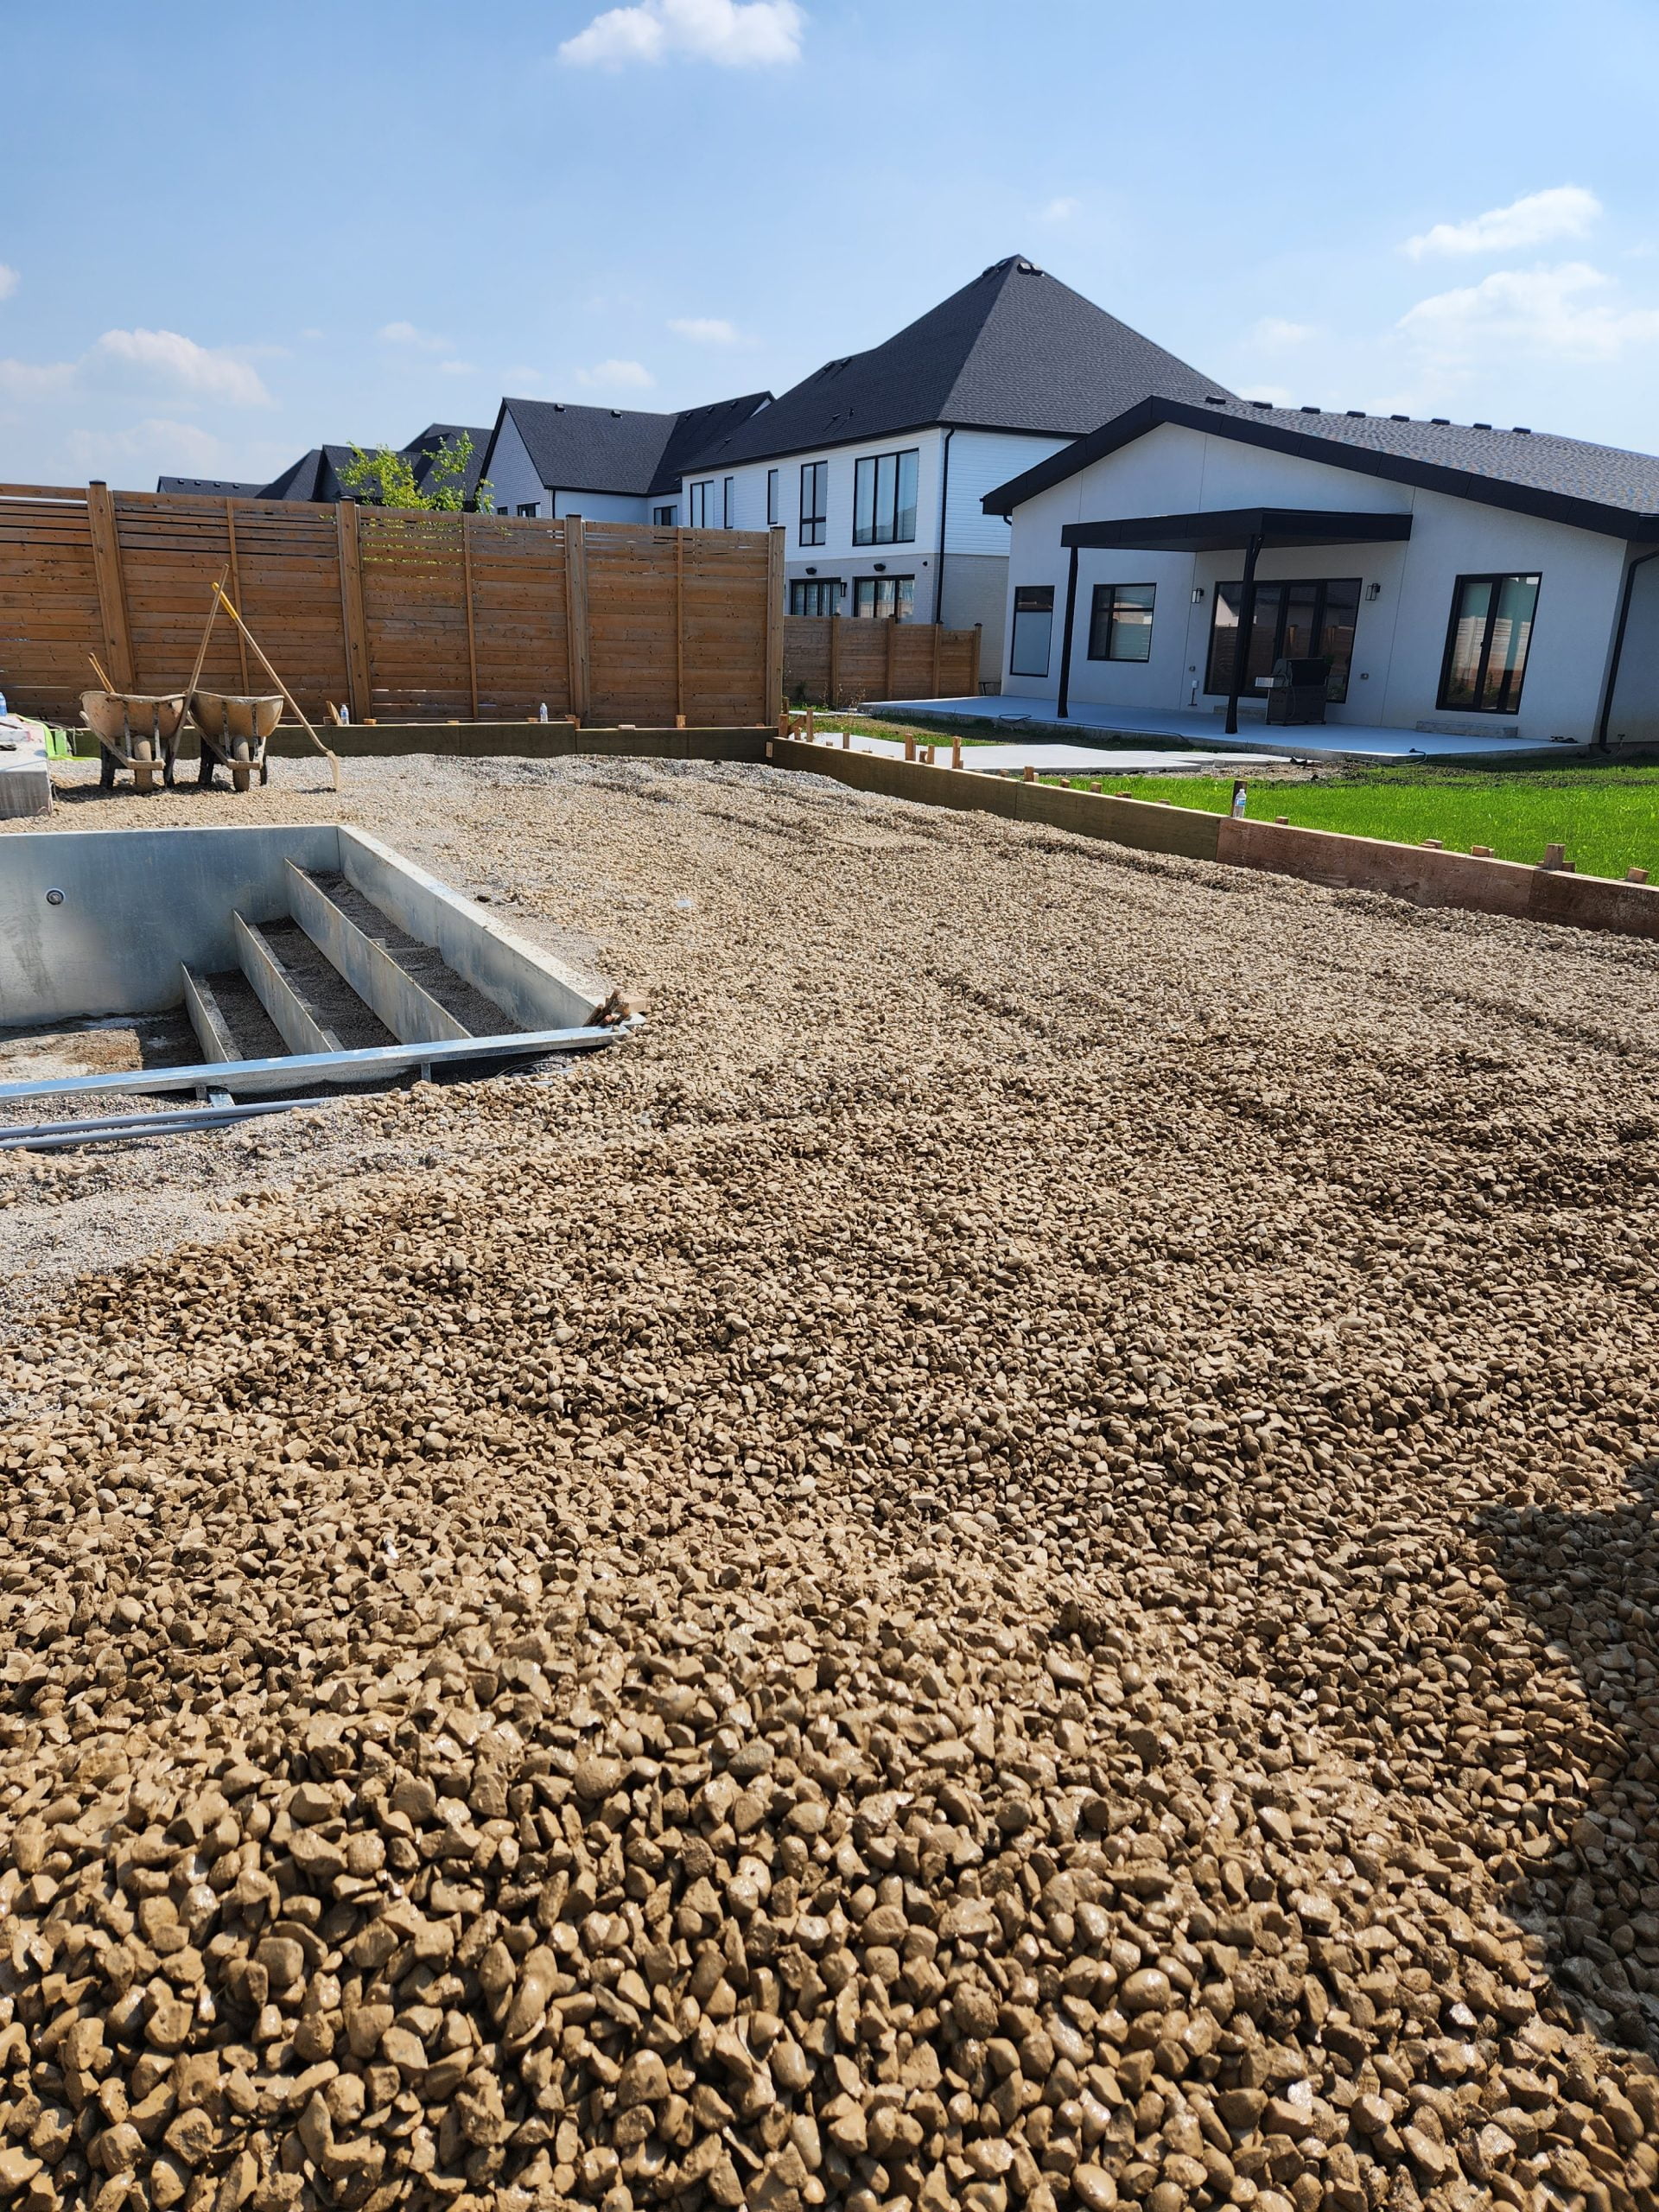
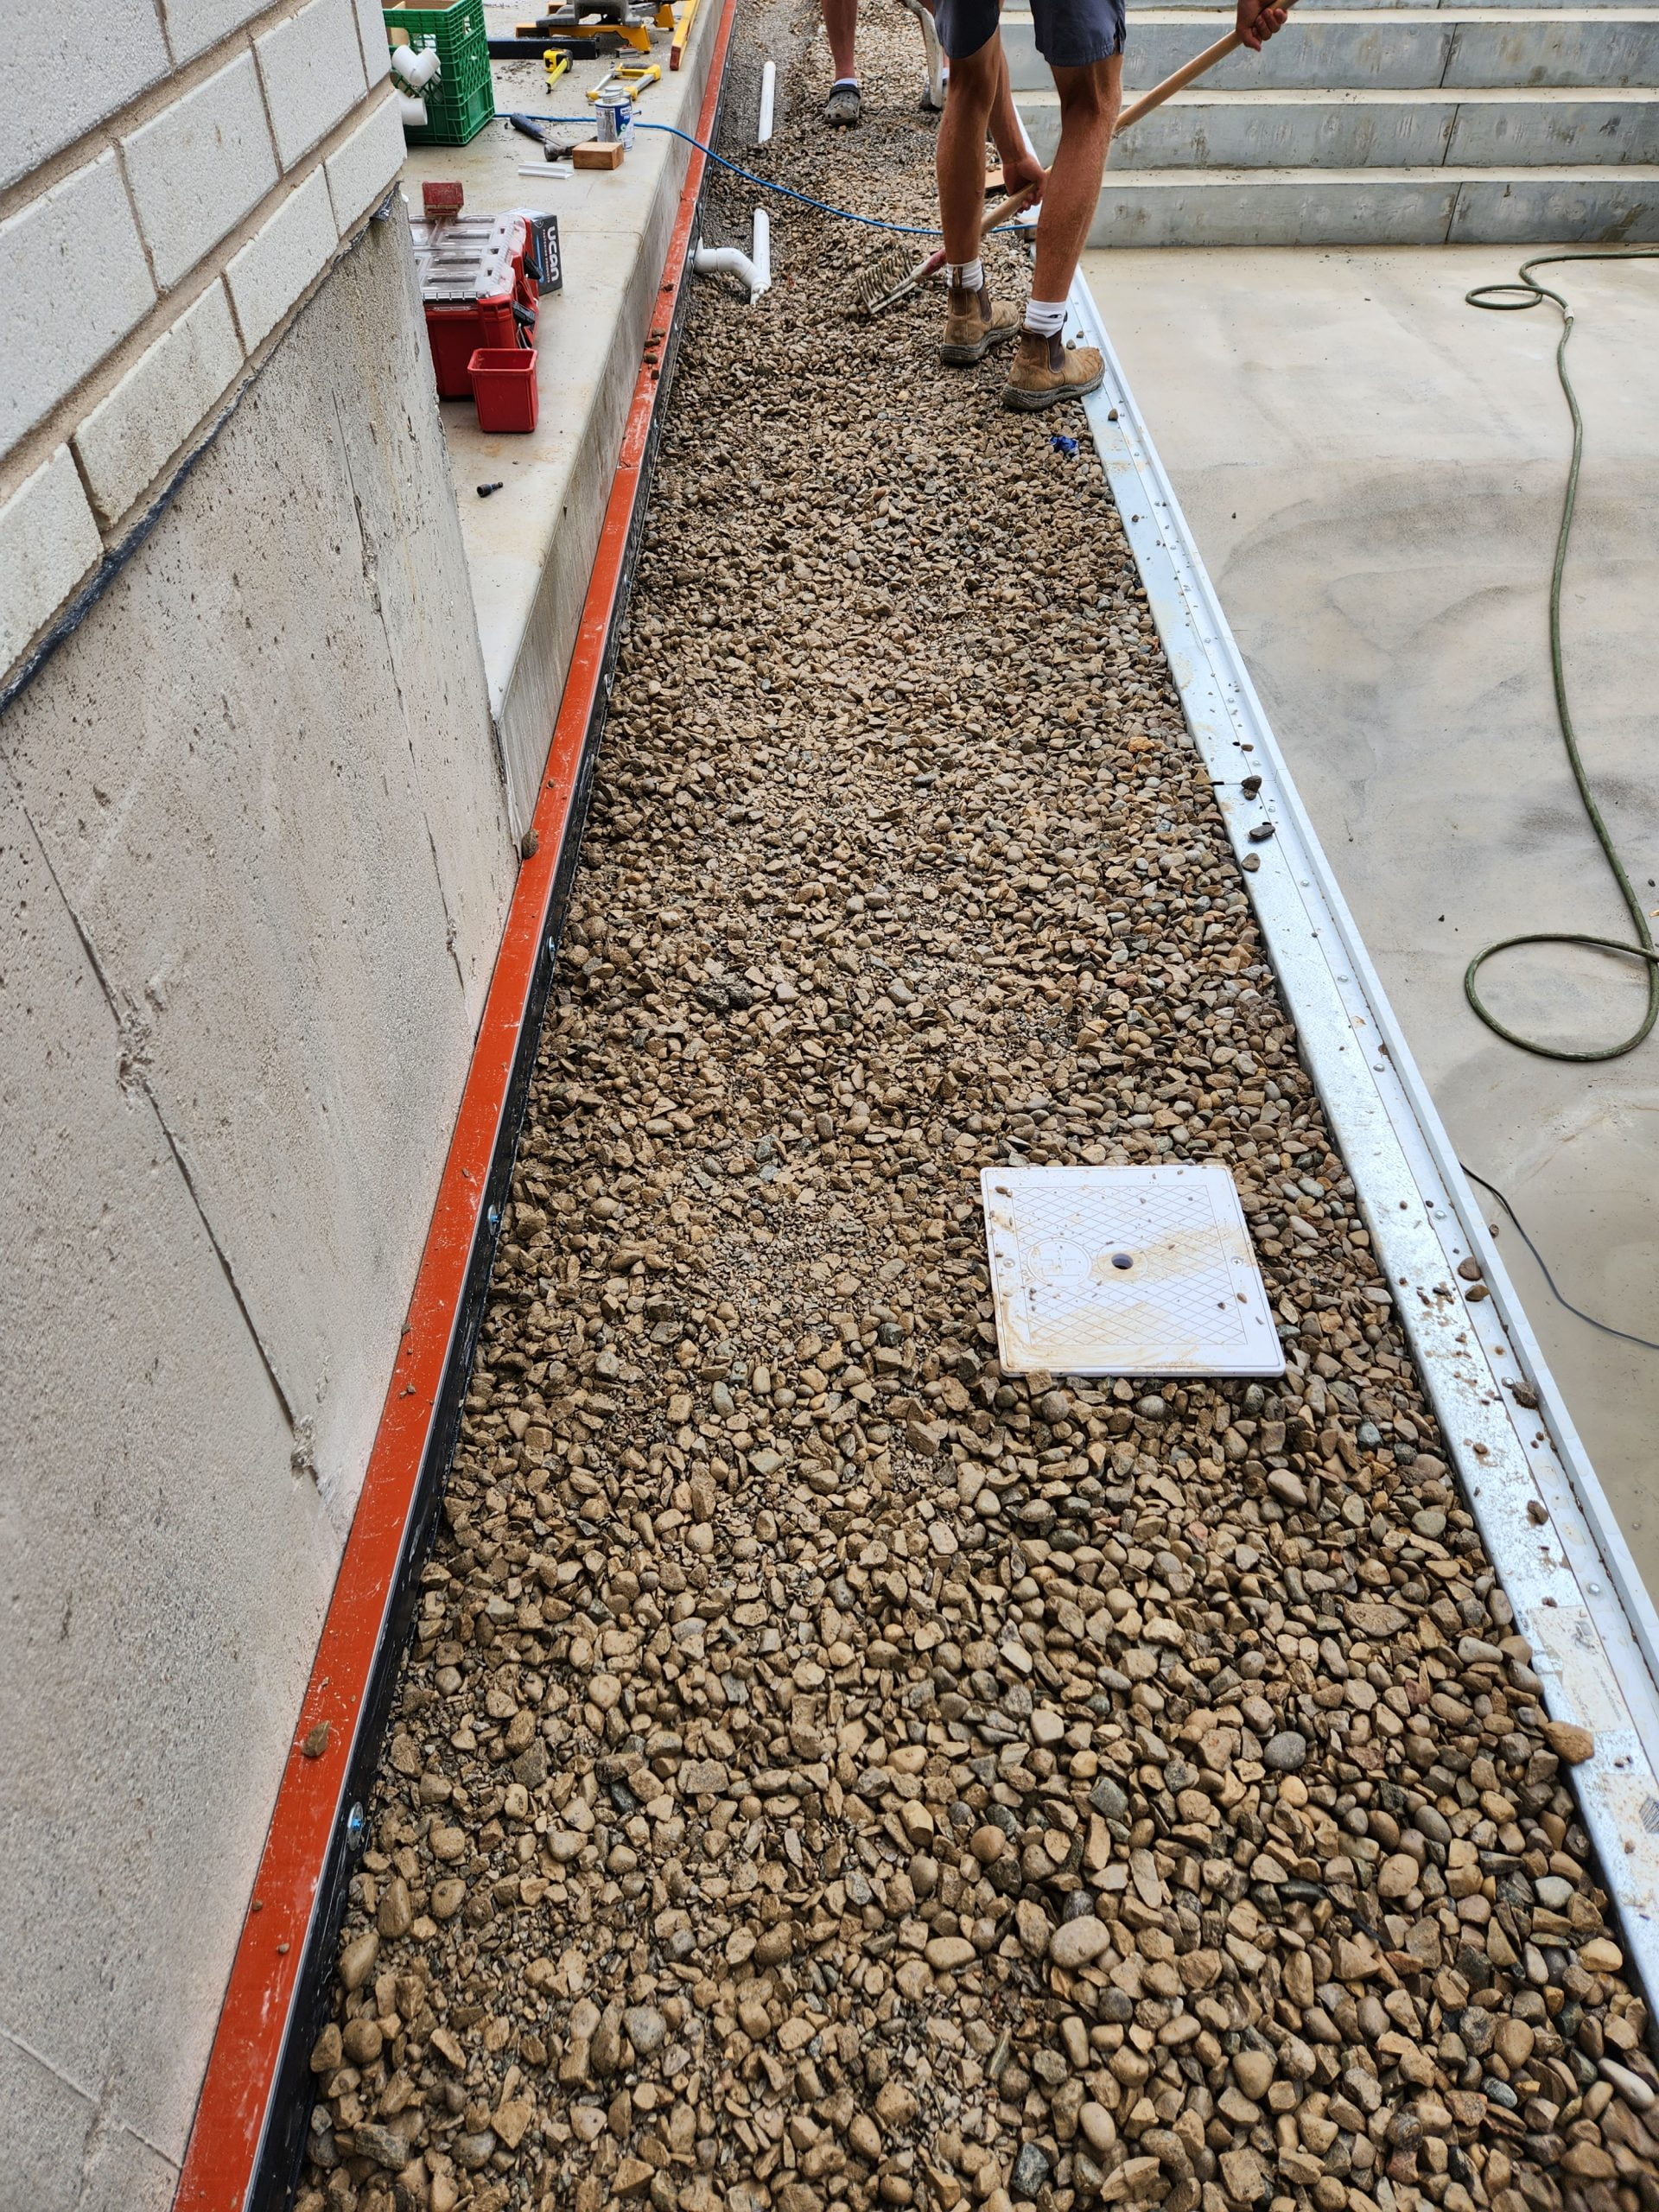
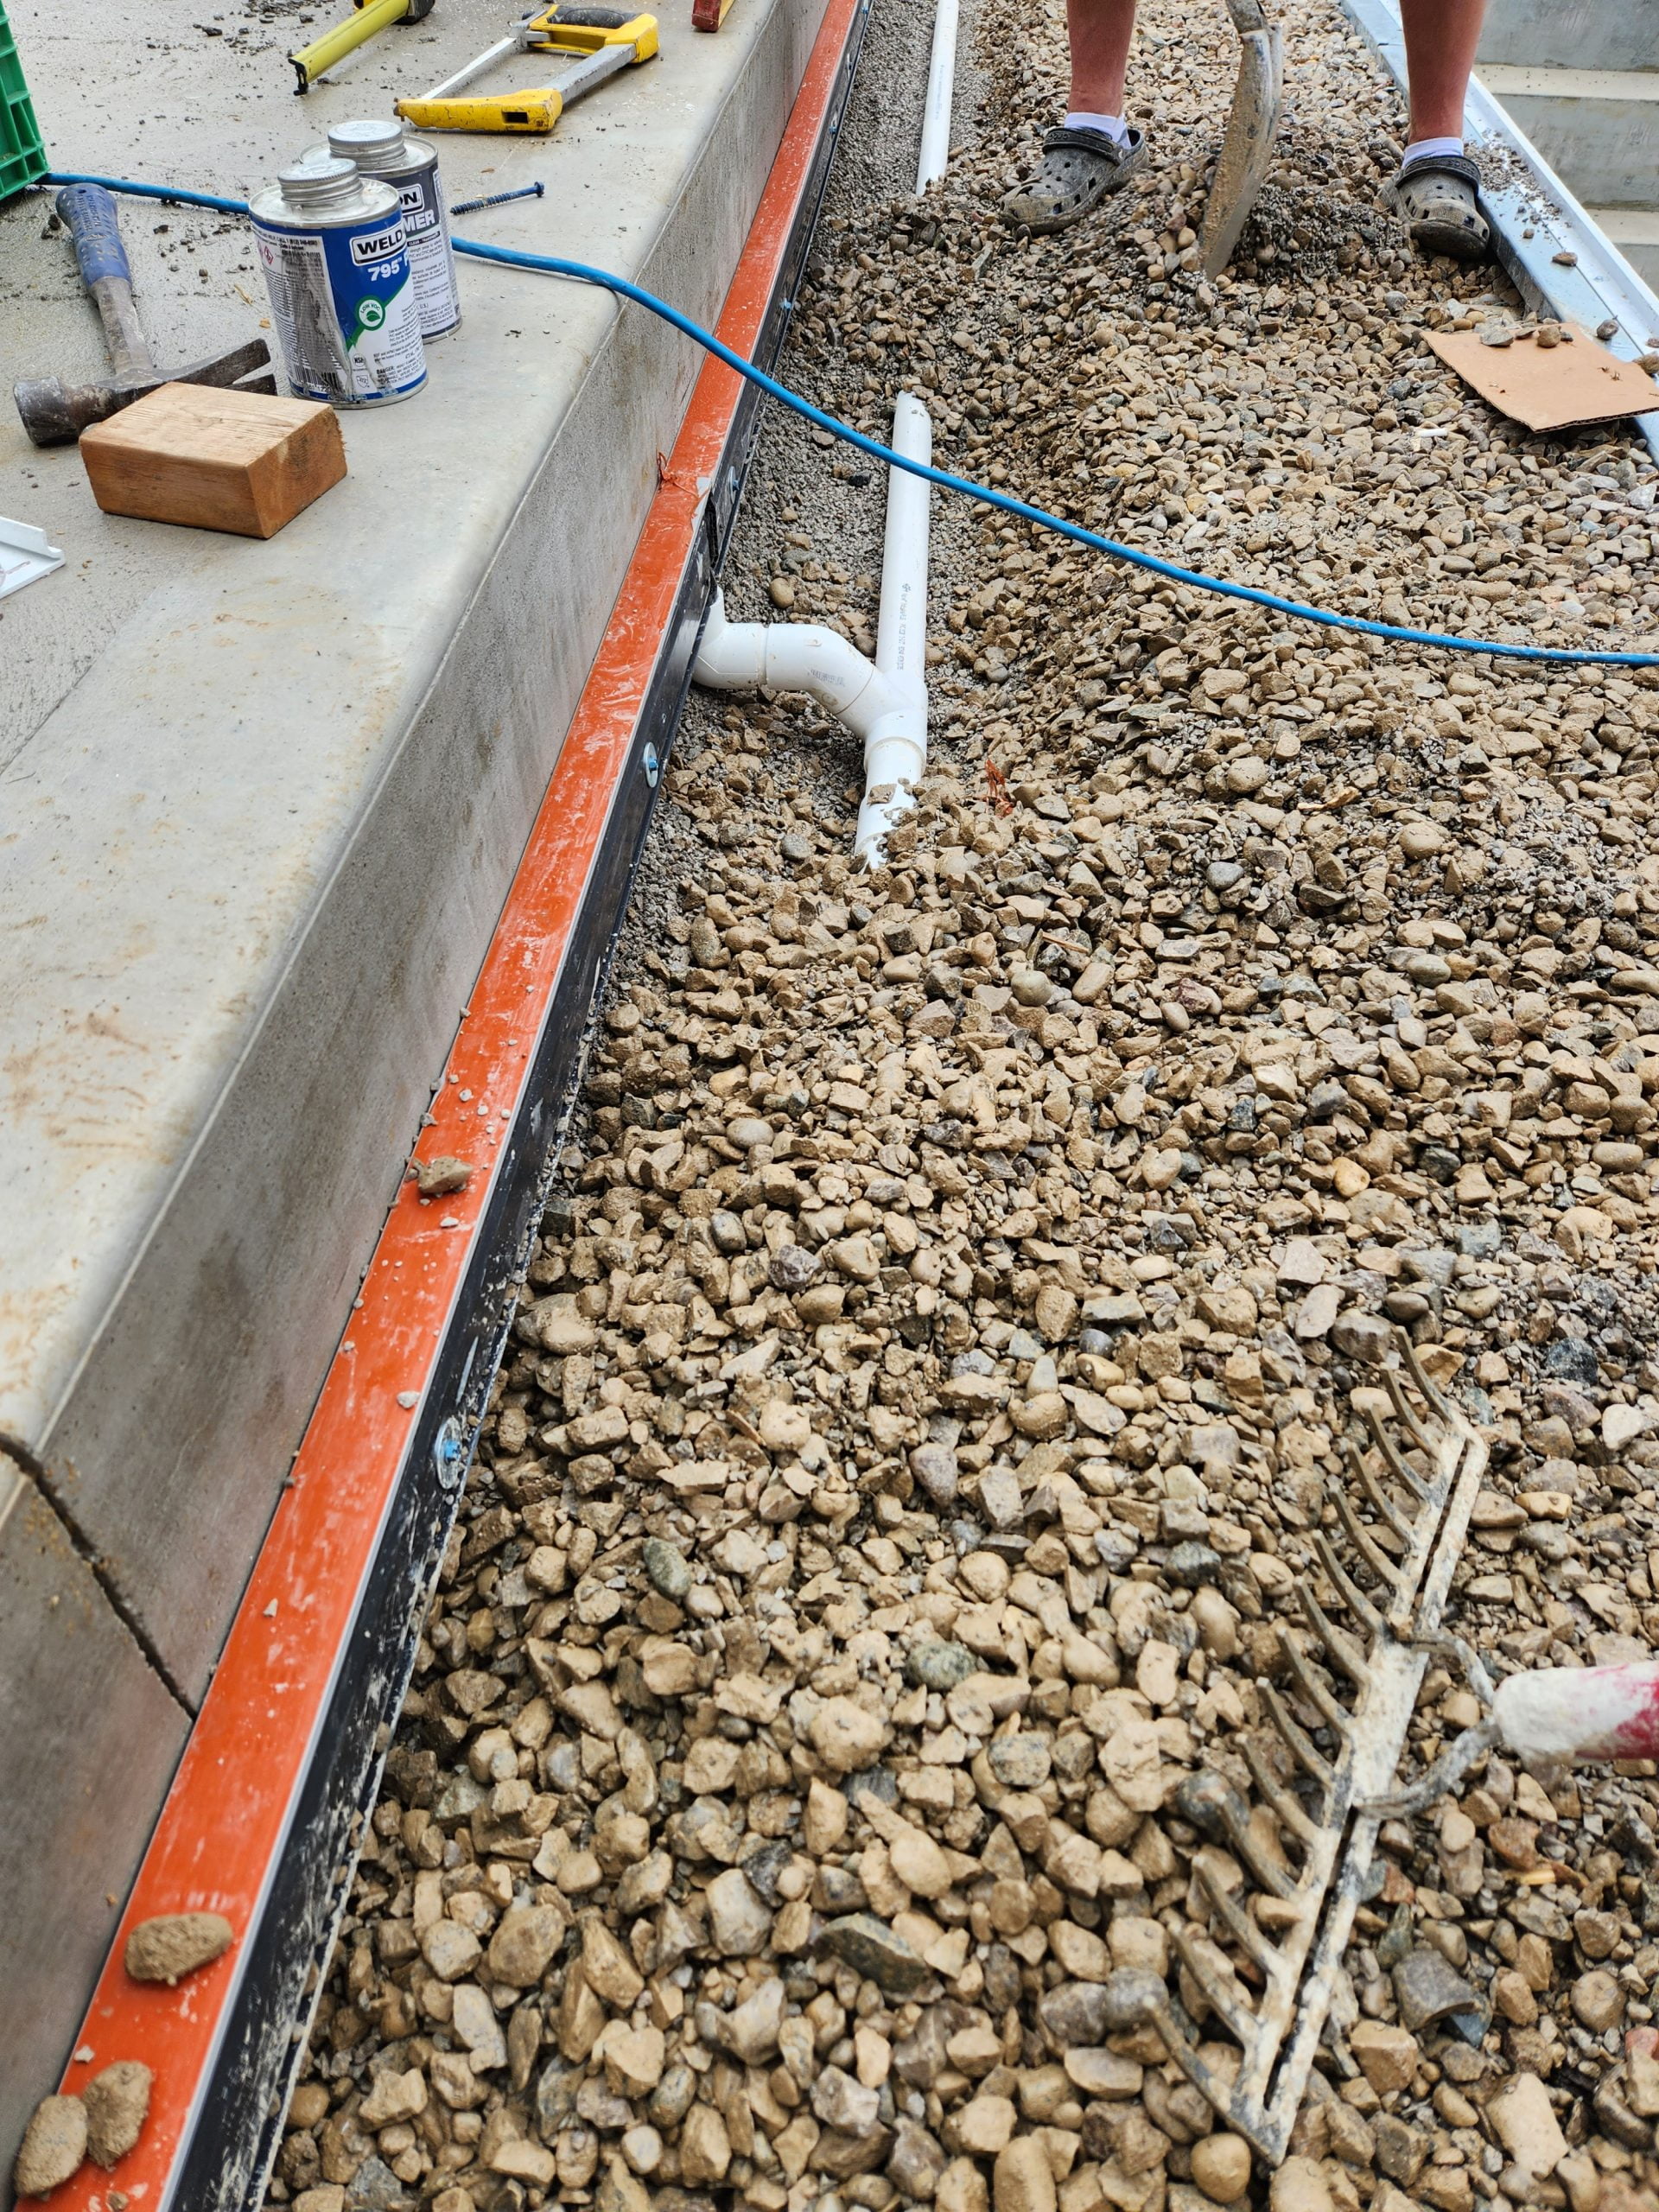
As we needed to wrap up other projects, Day 3 was a short day at the job site. But we did bring in a slinger truck to “throw” gravel to back-fill around the pool panels, concrete footings and plumbing installed the previous day.
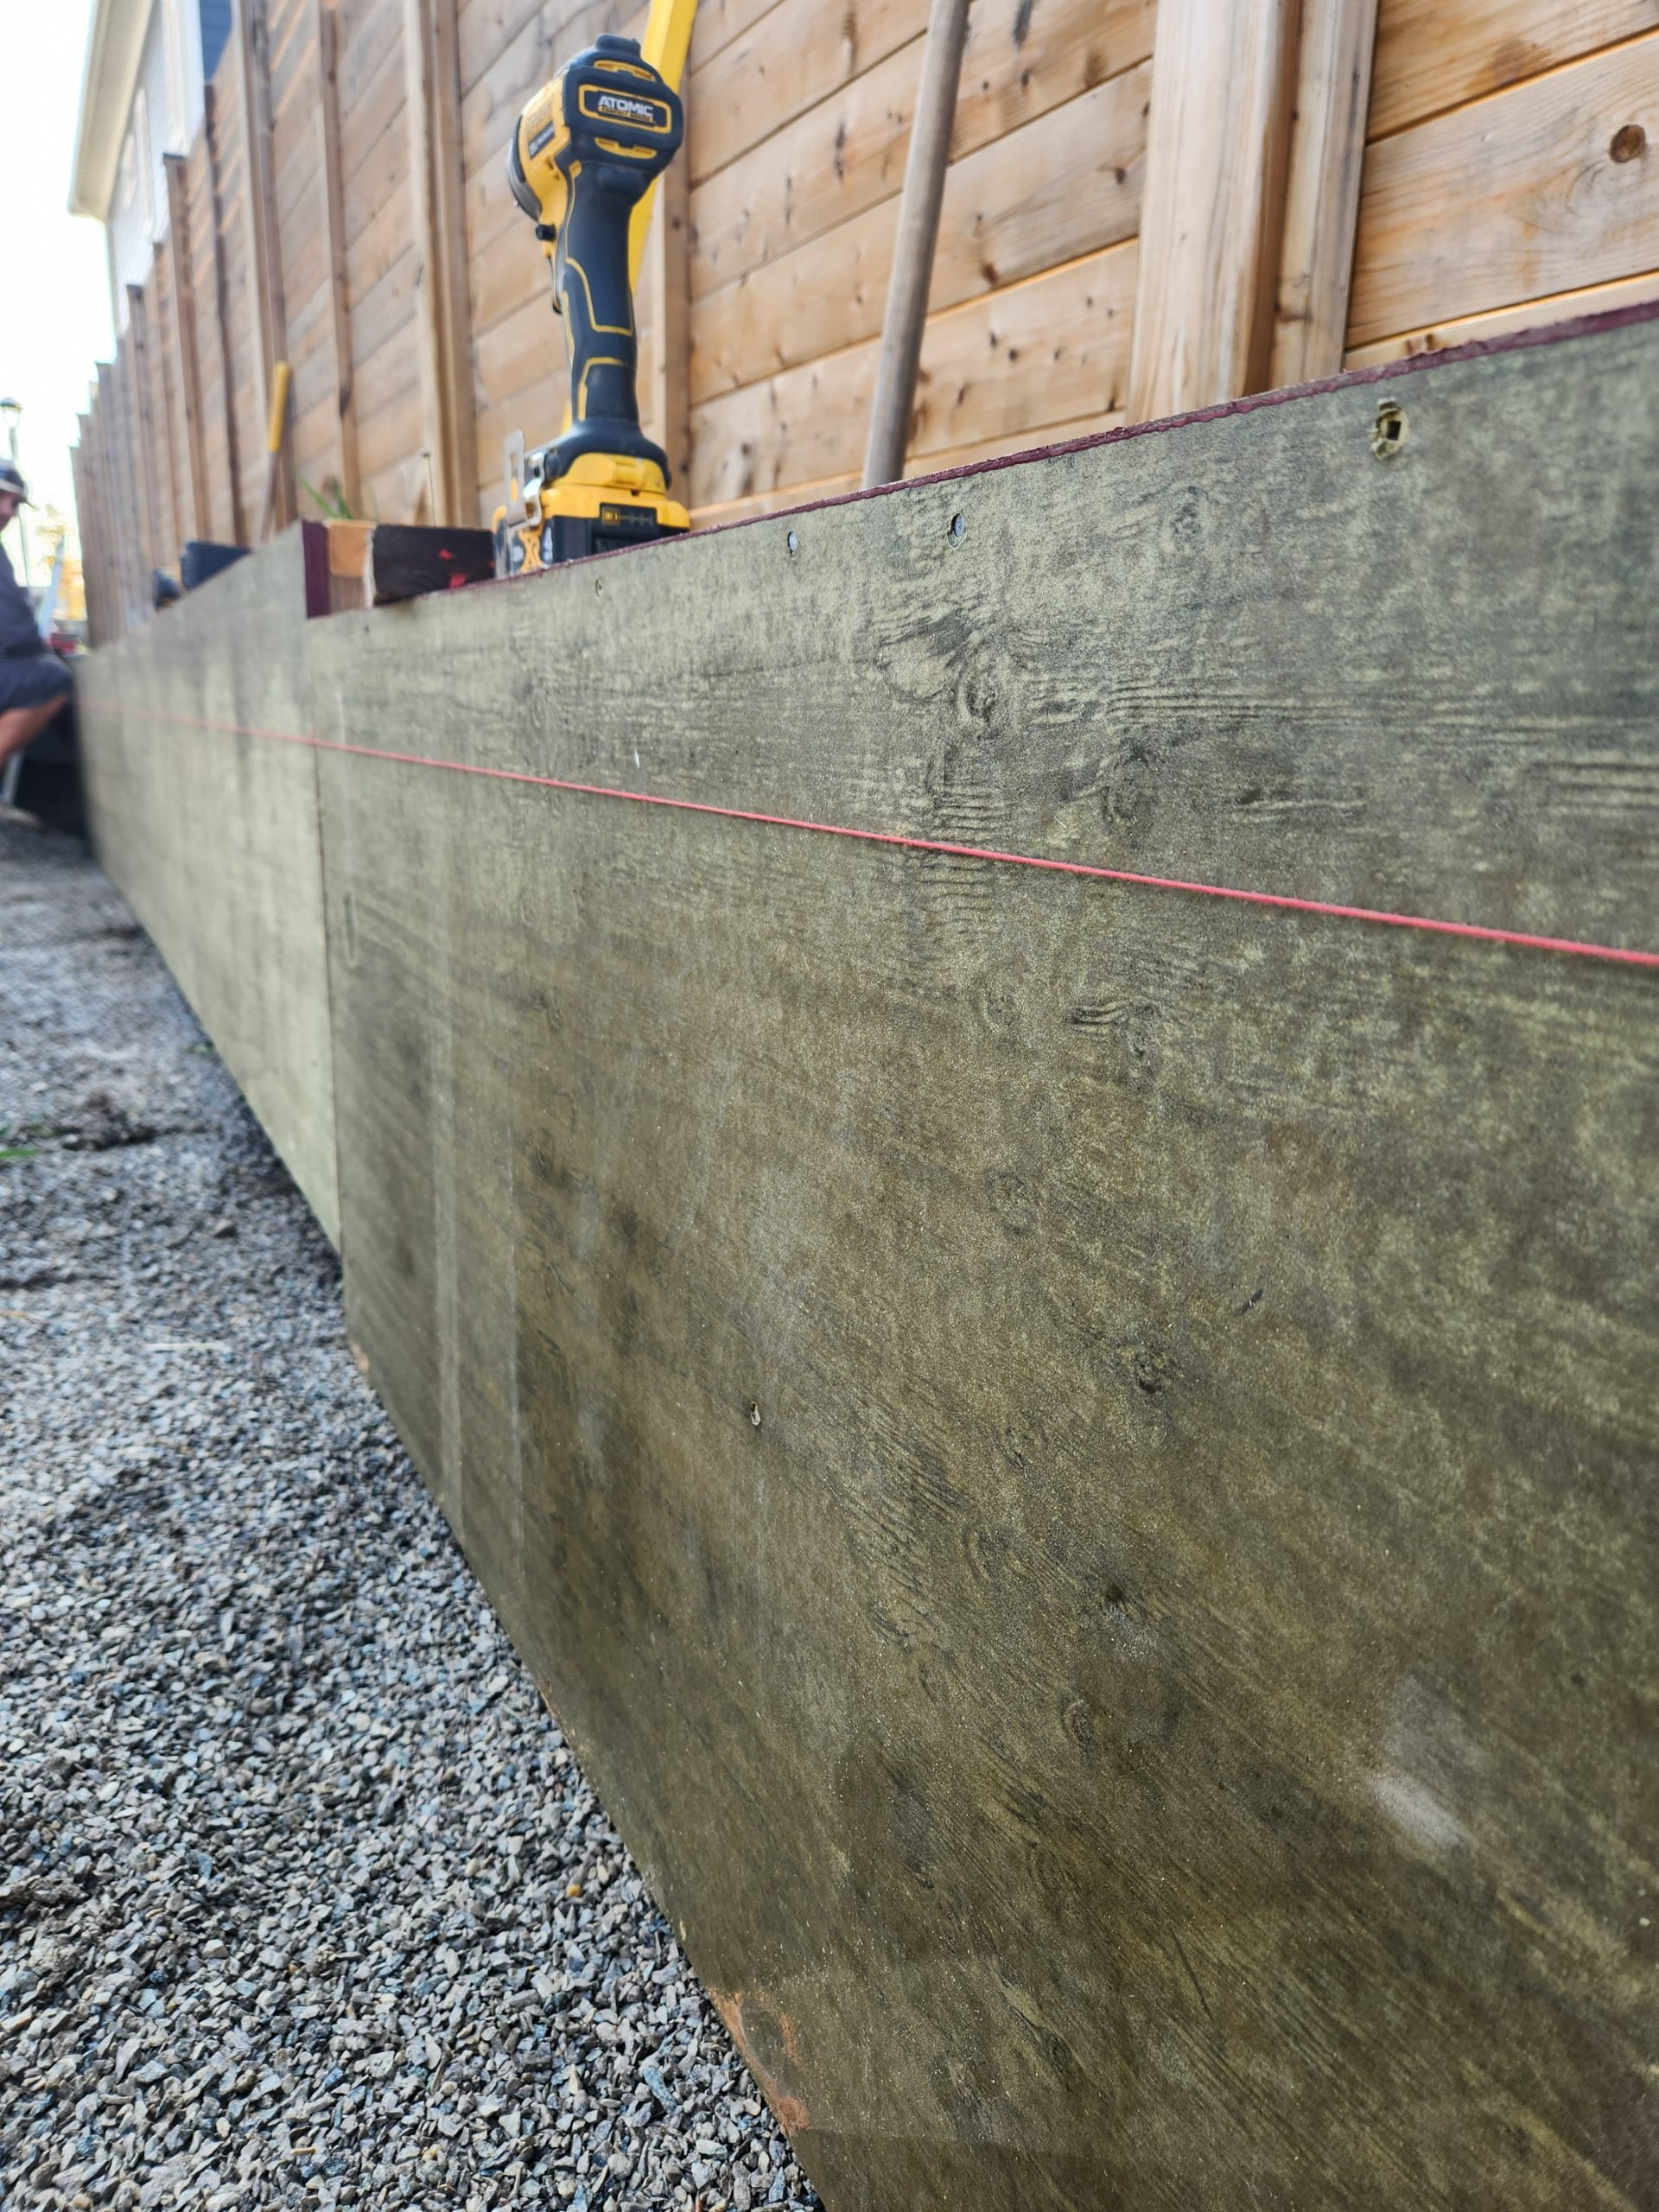
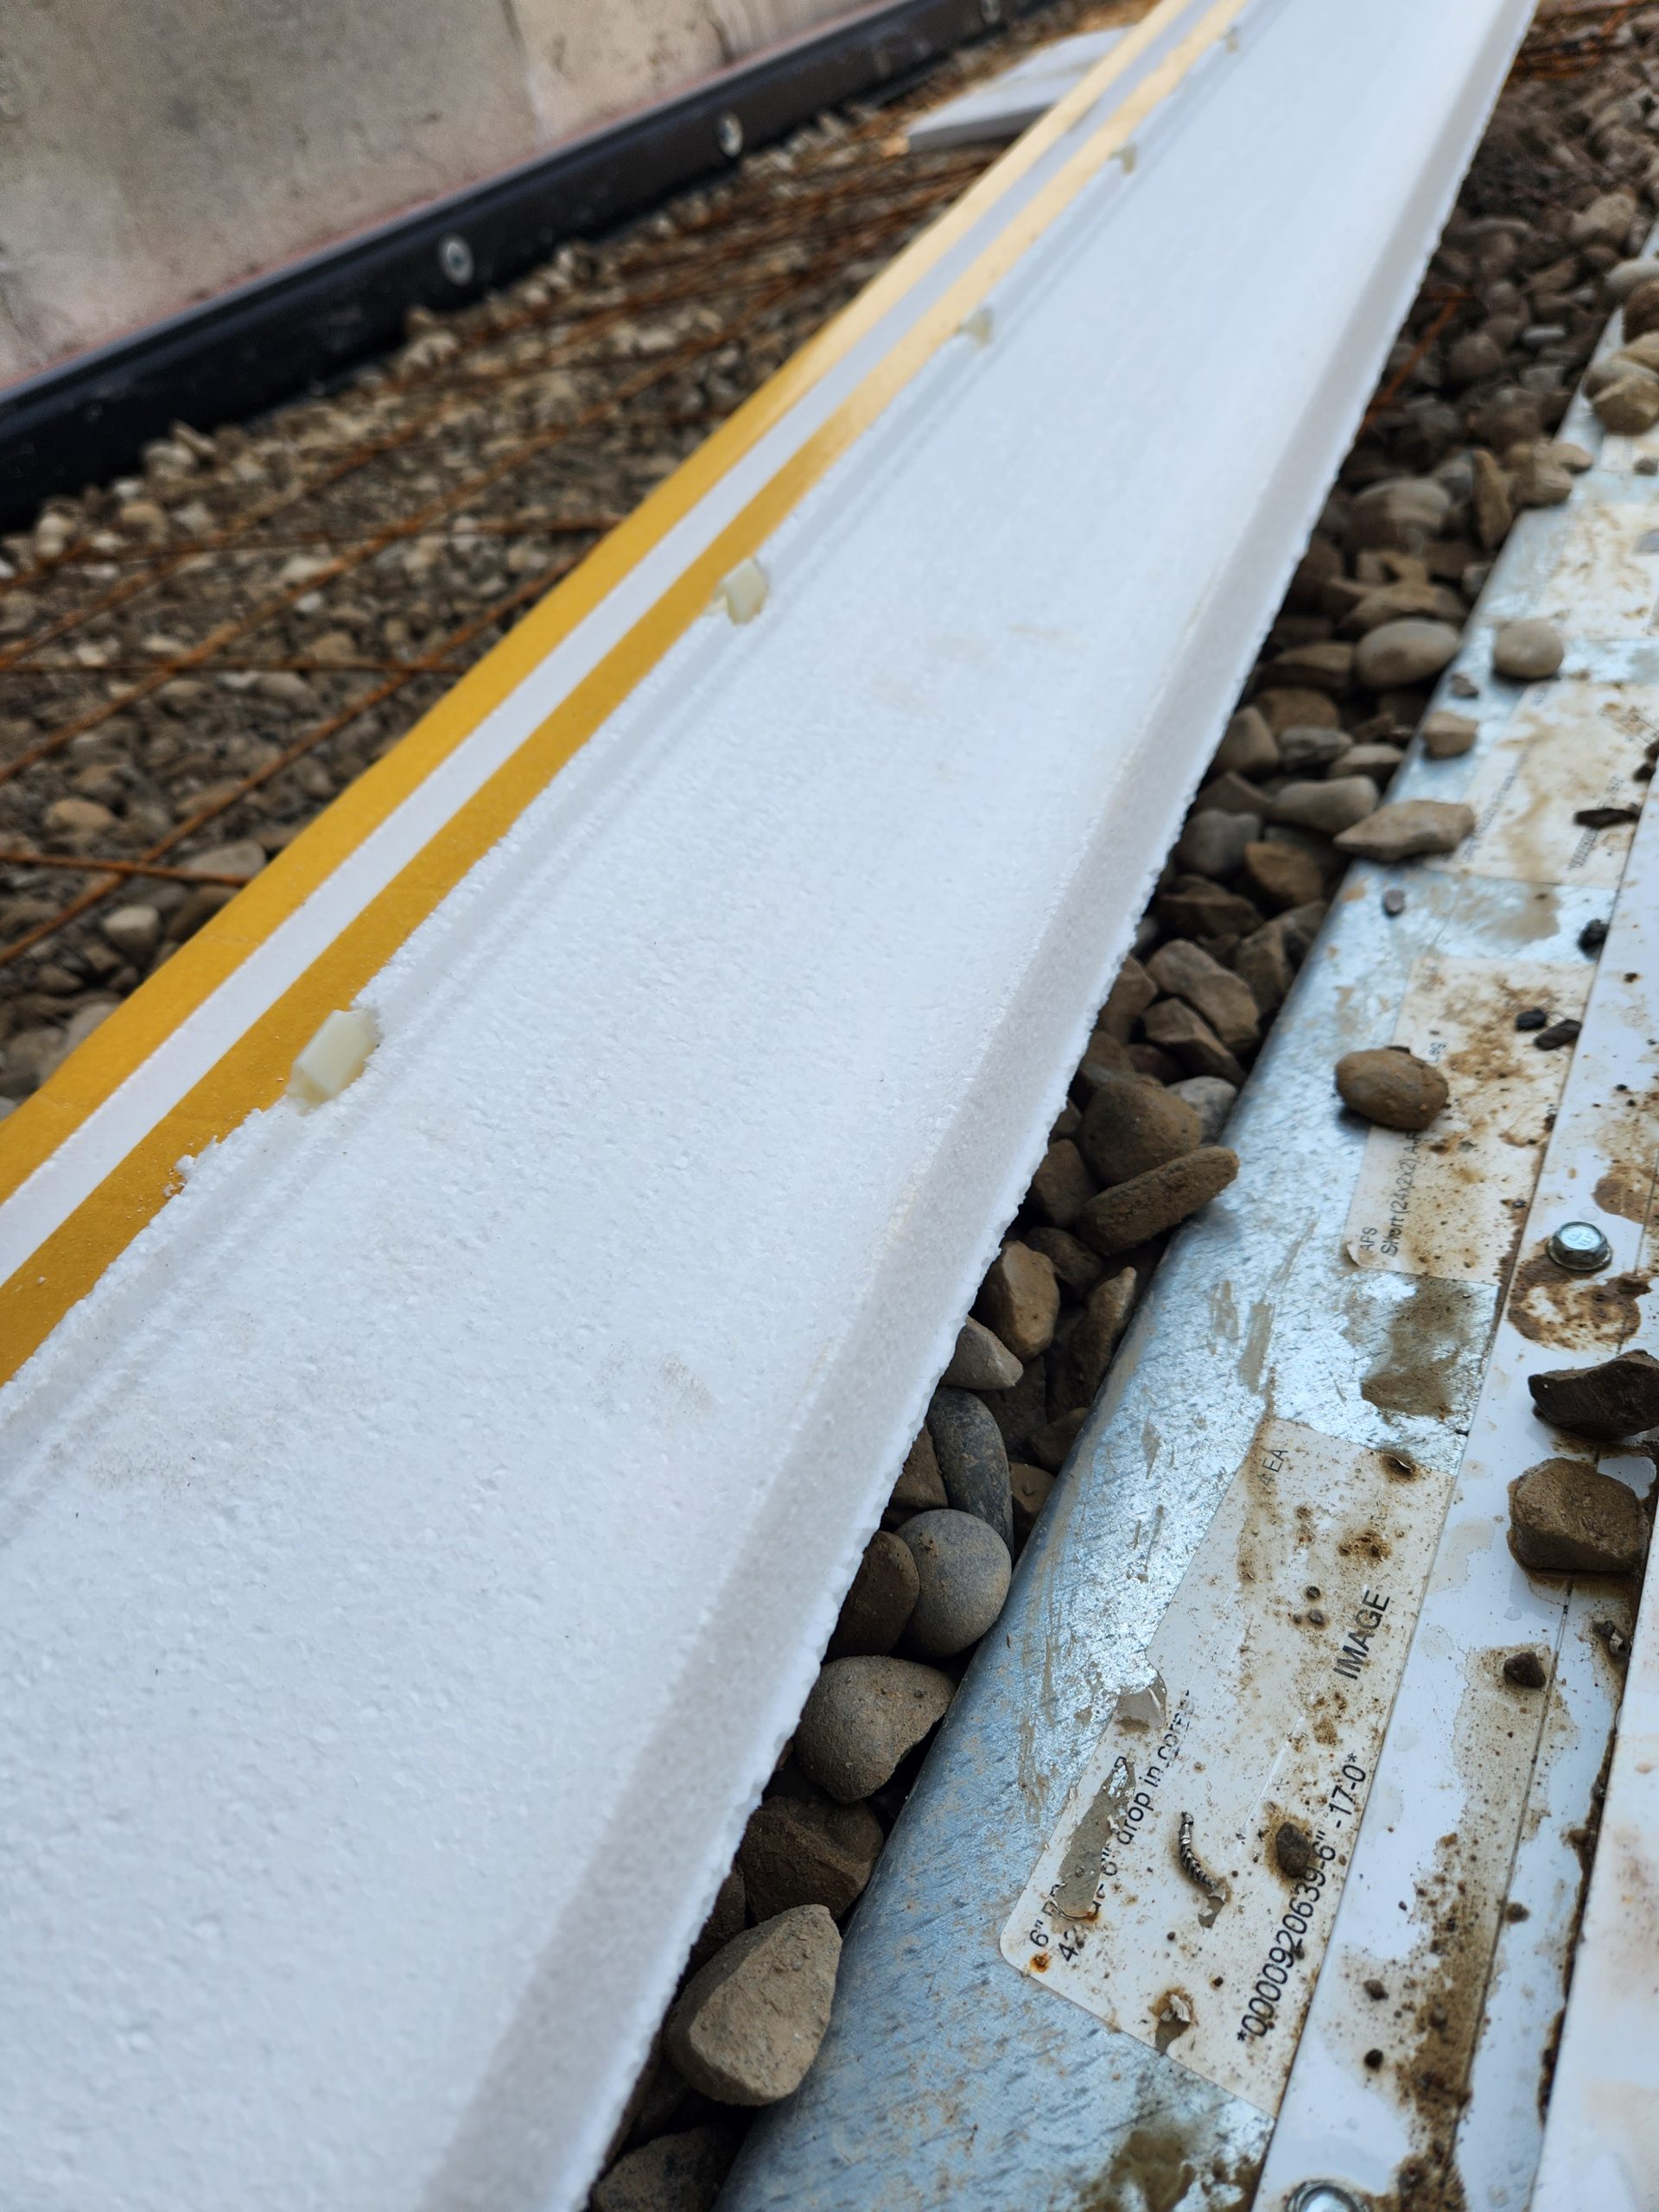
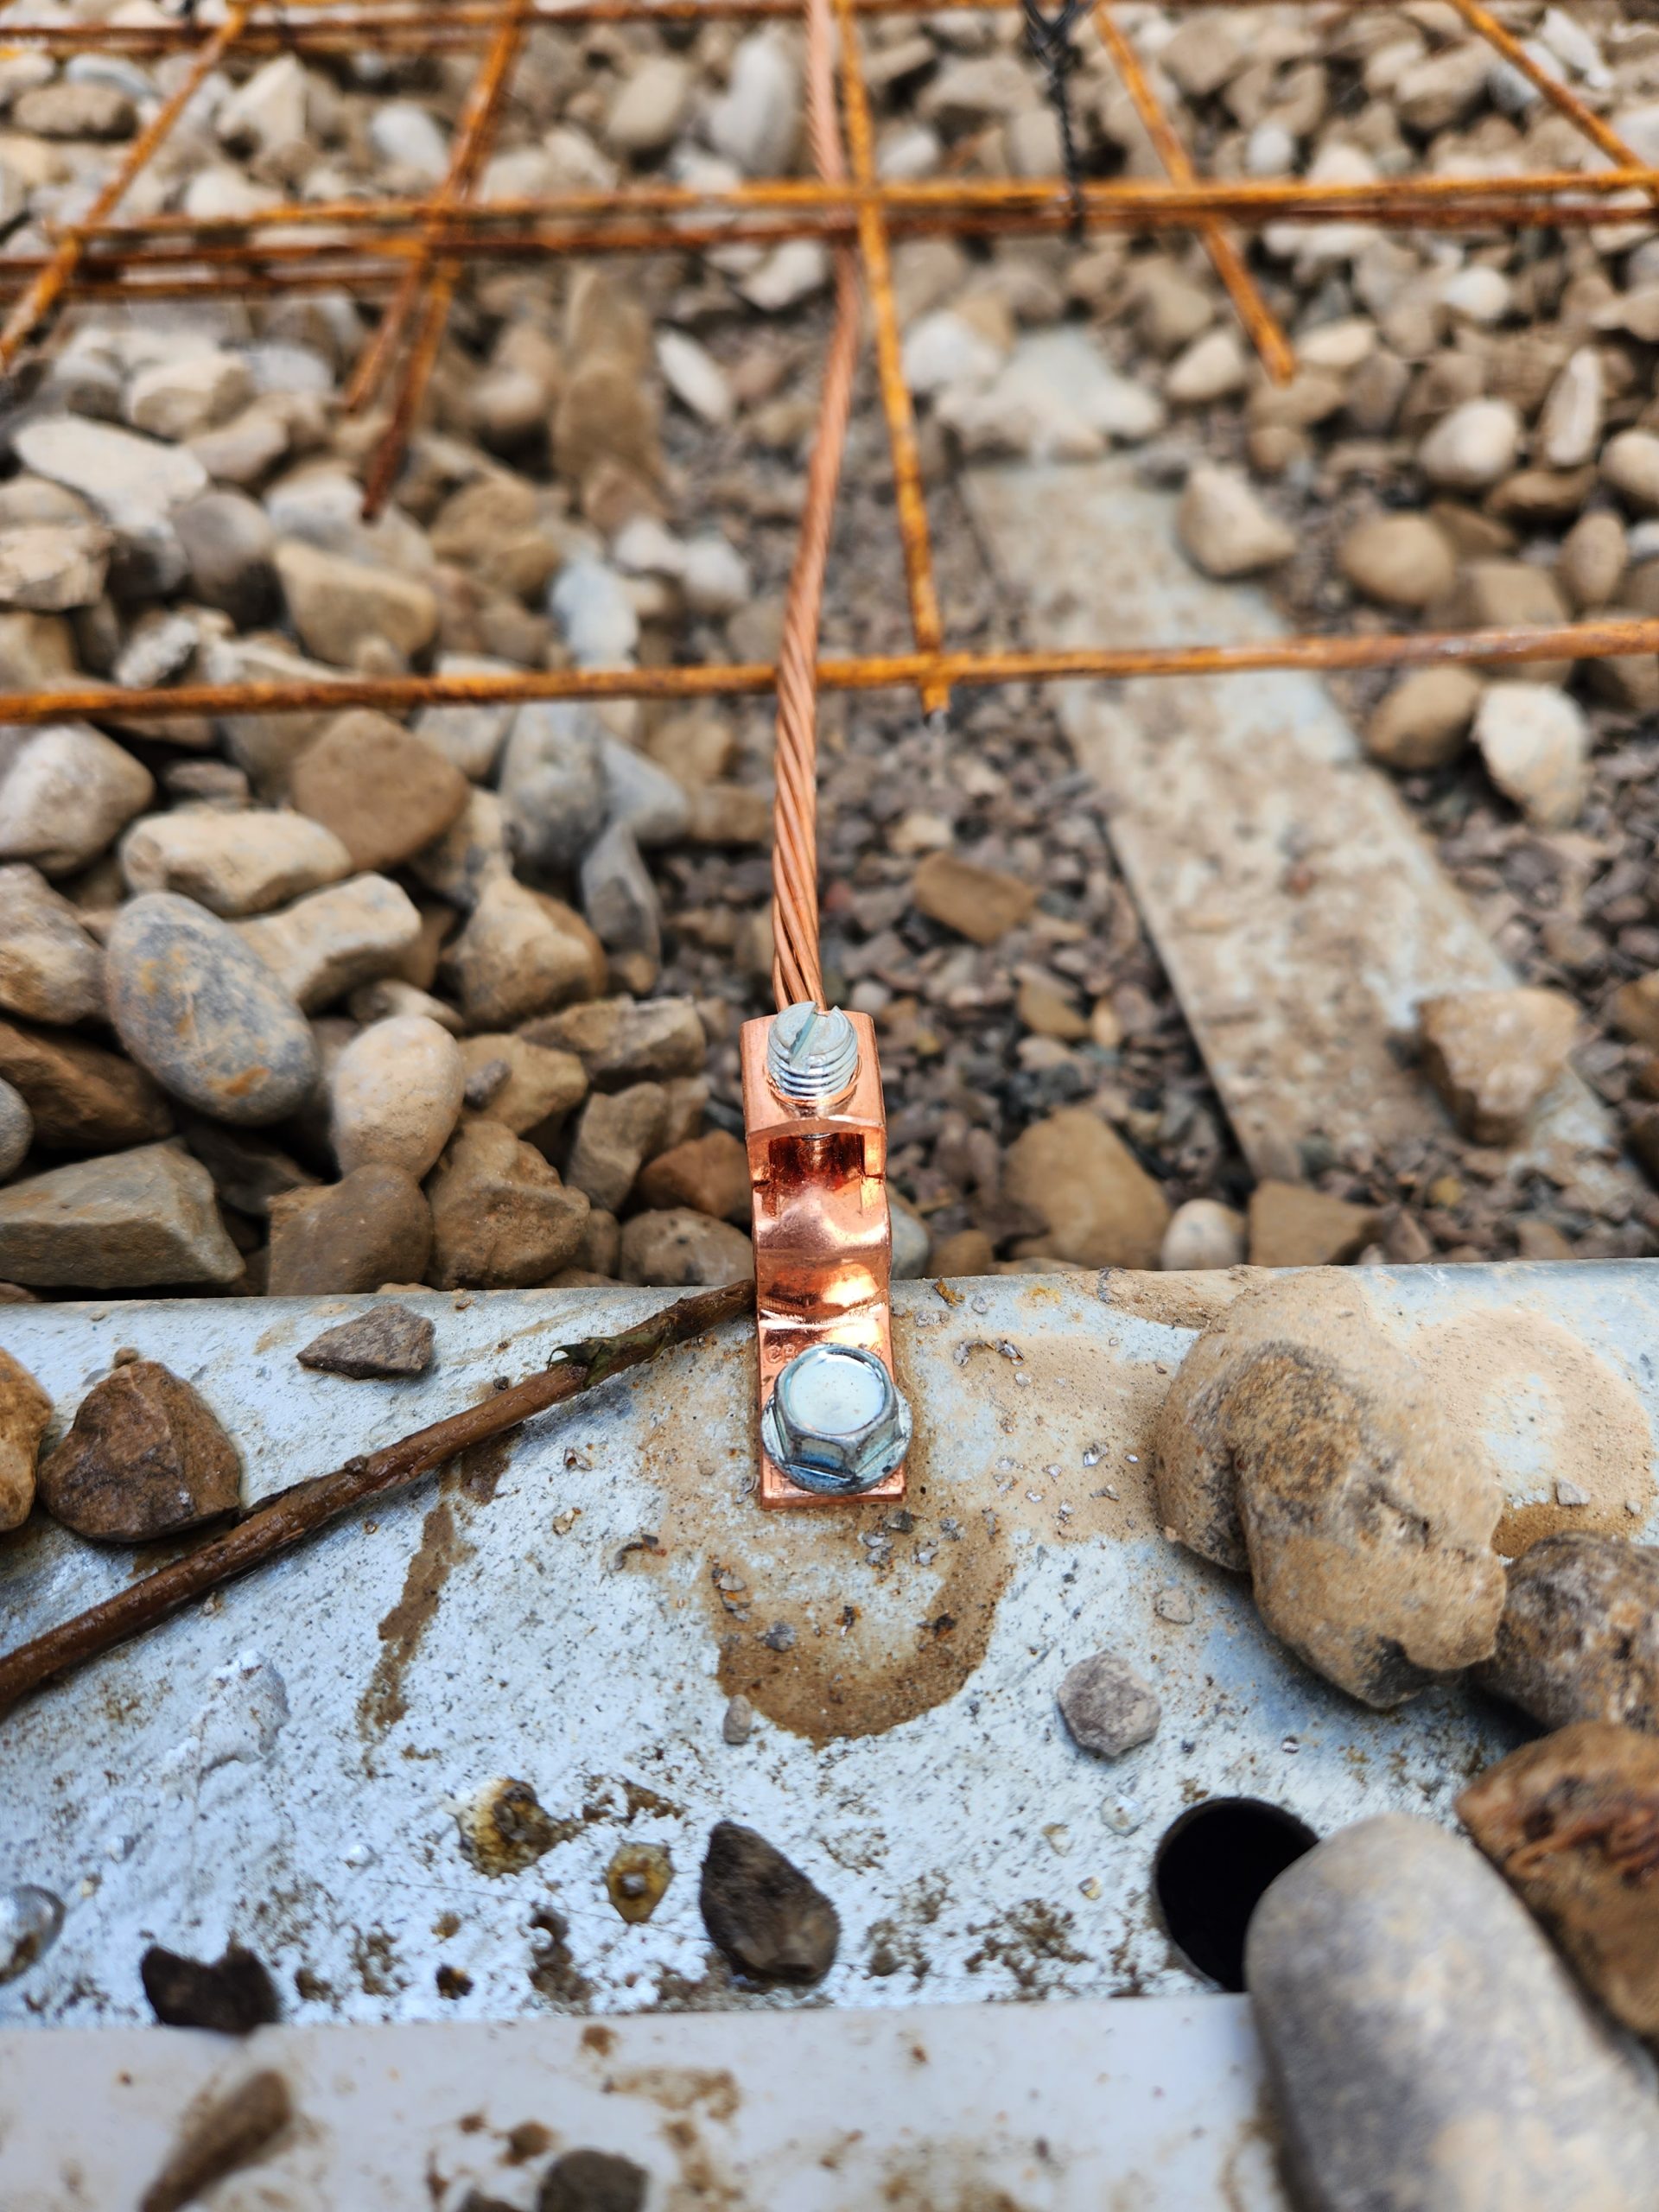
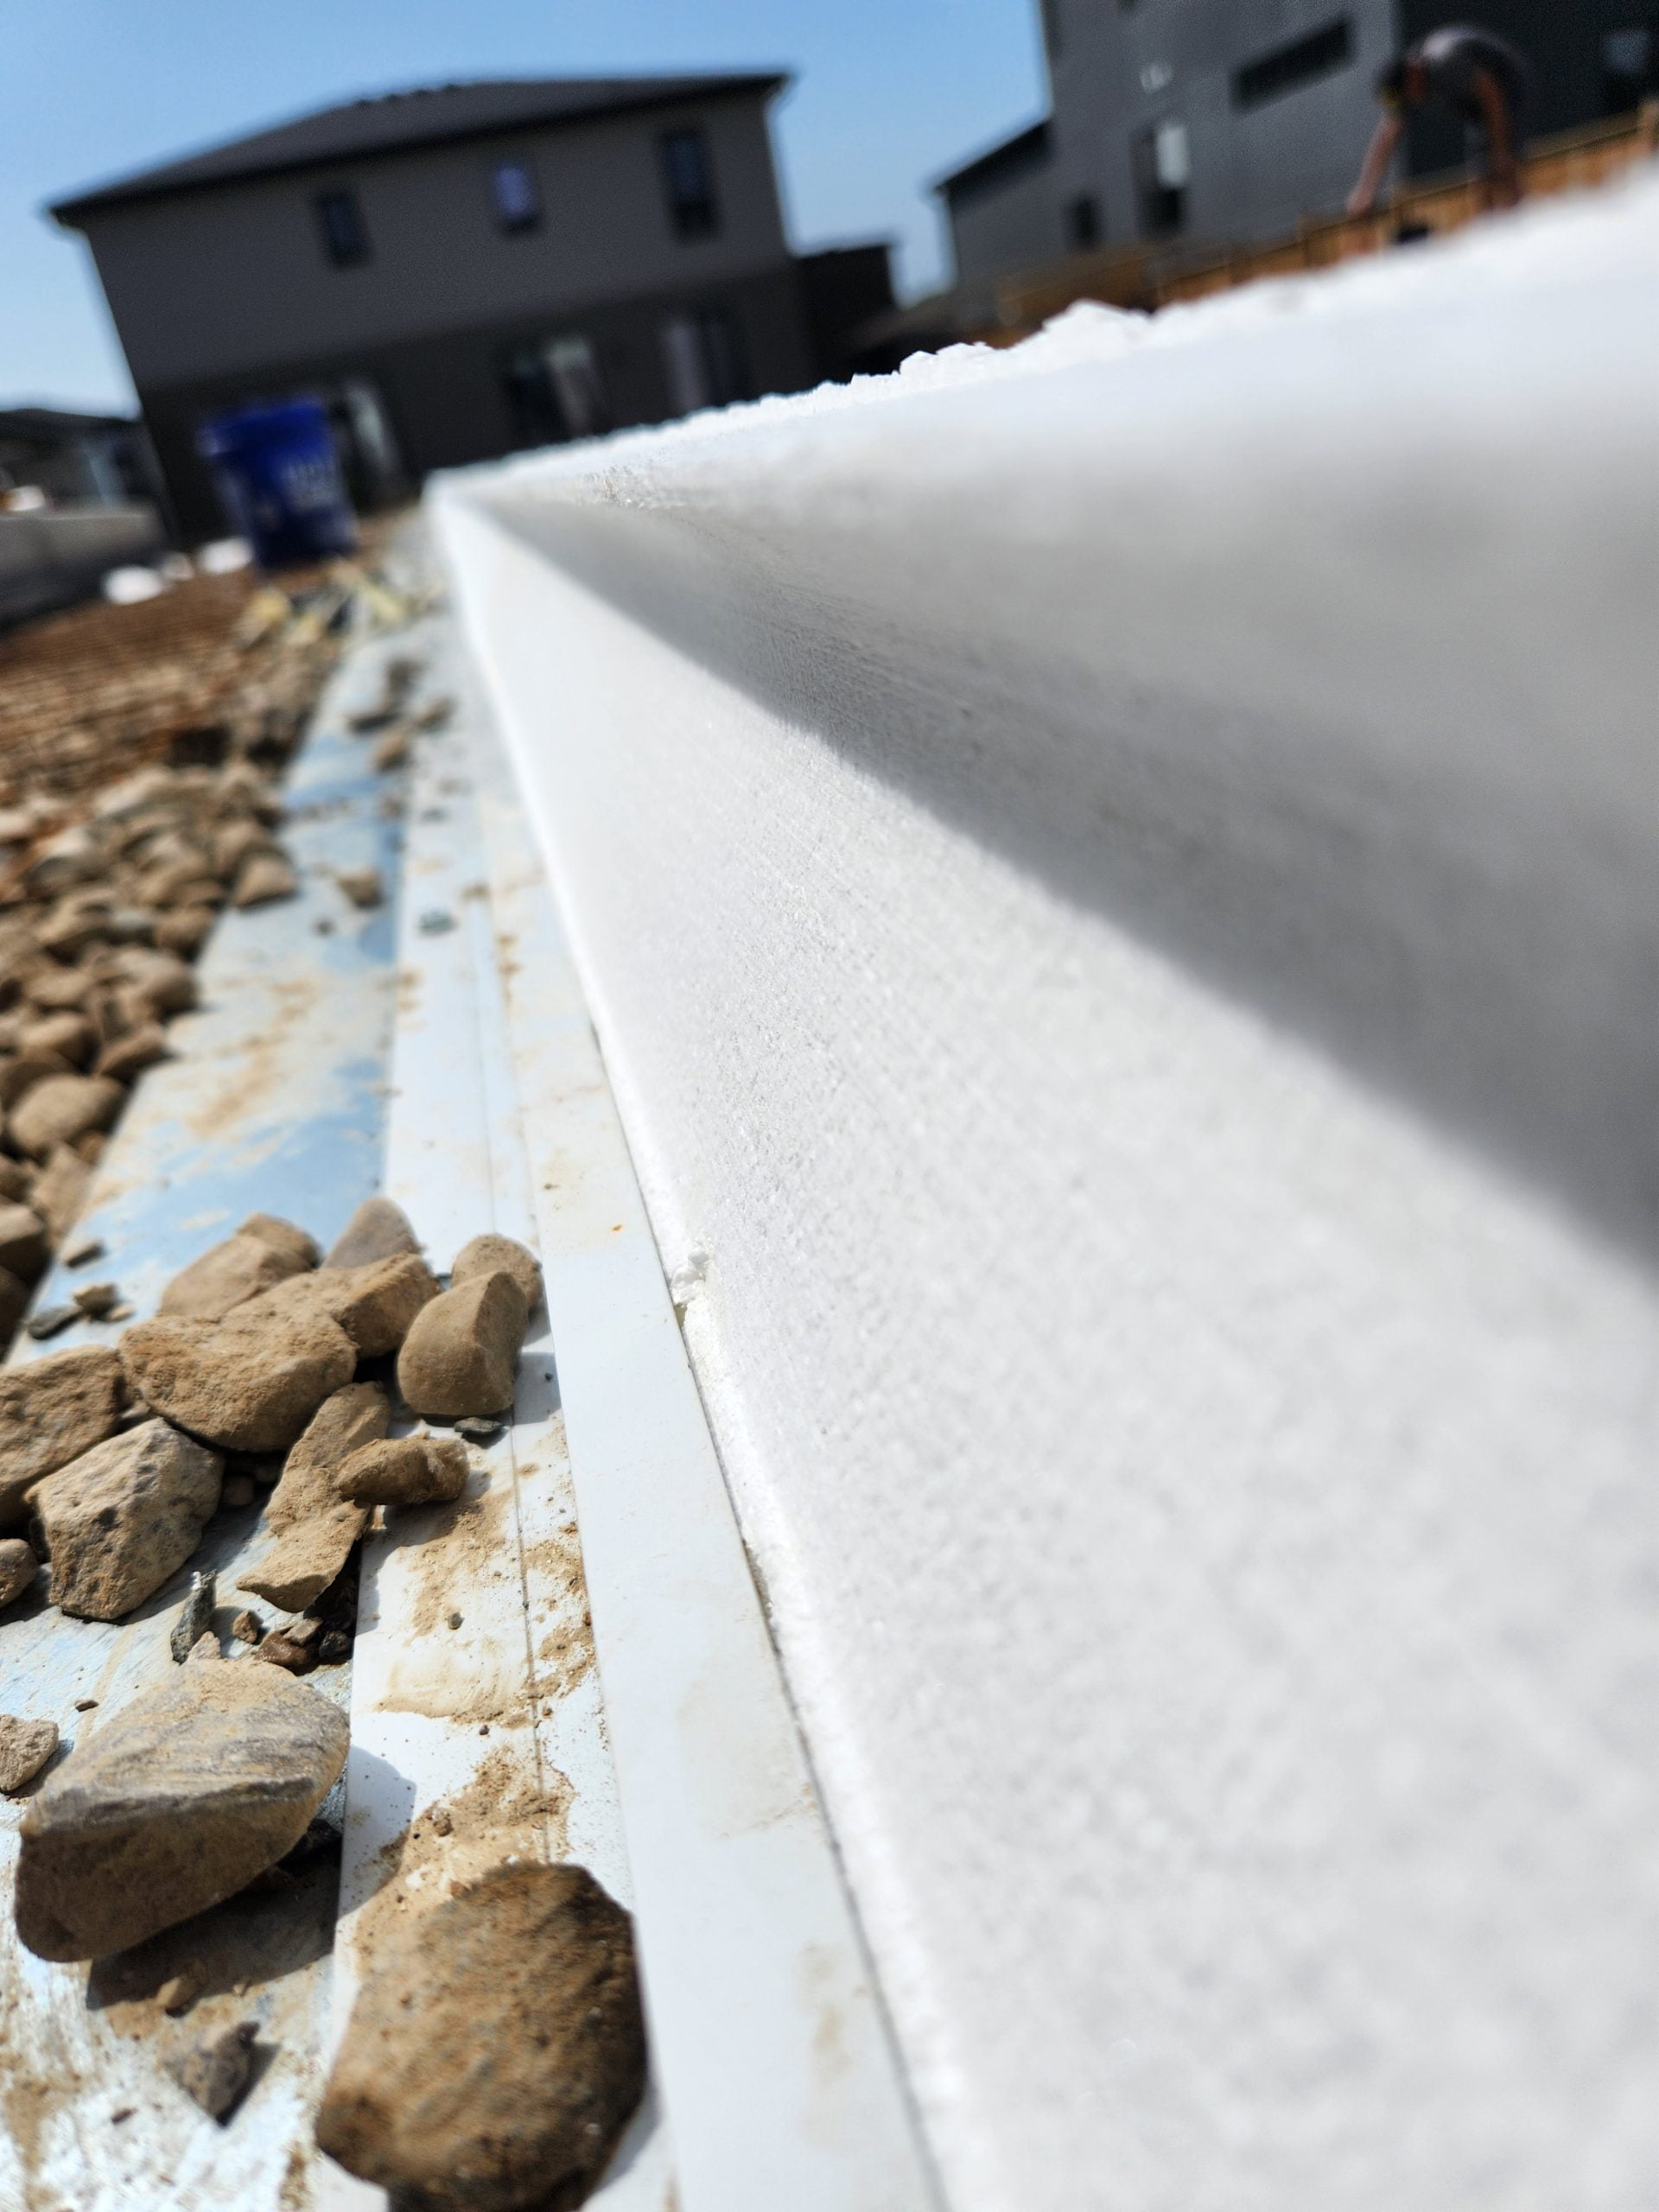
DAY FOUR
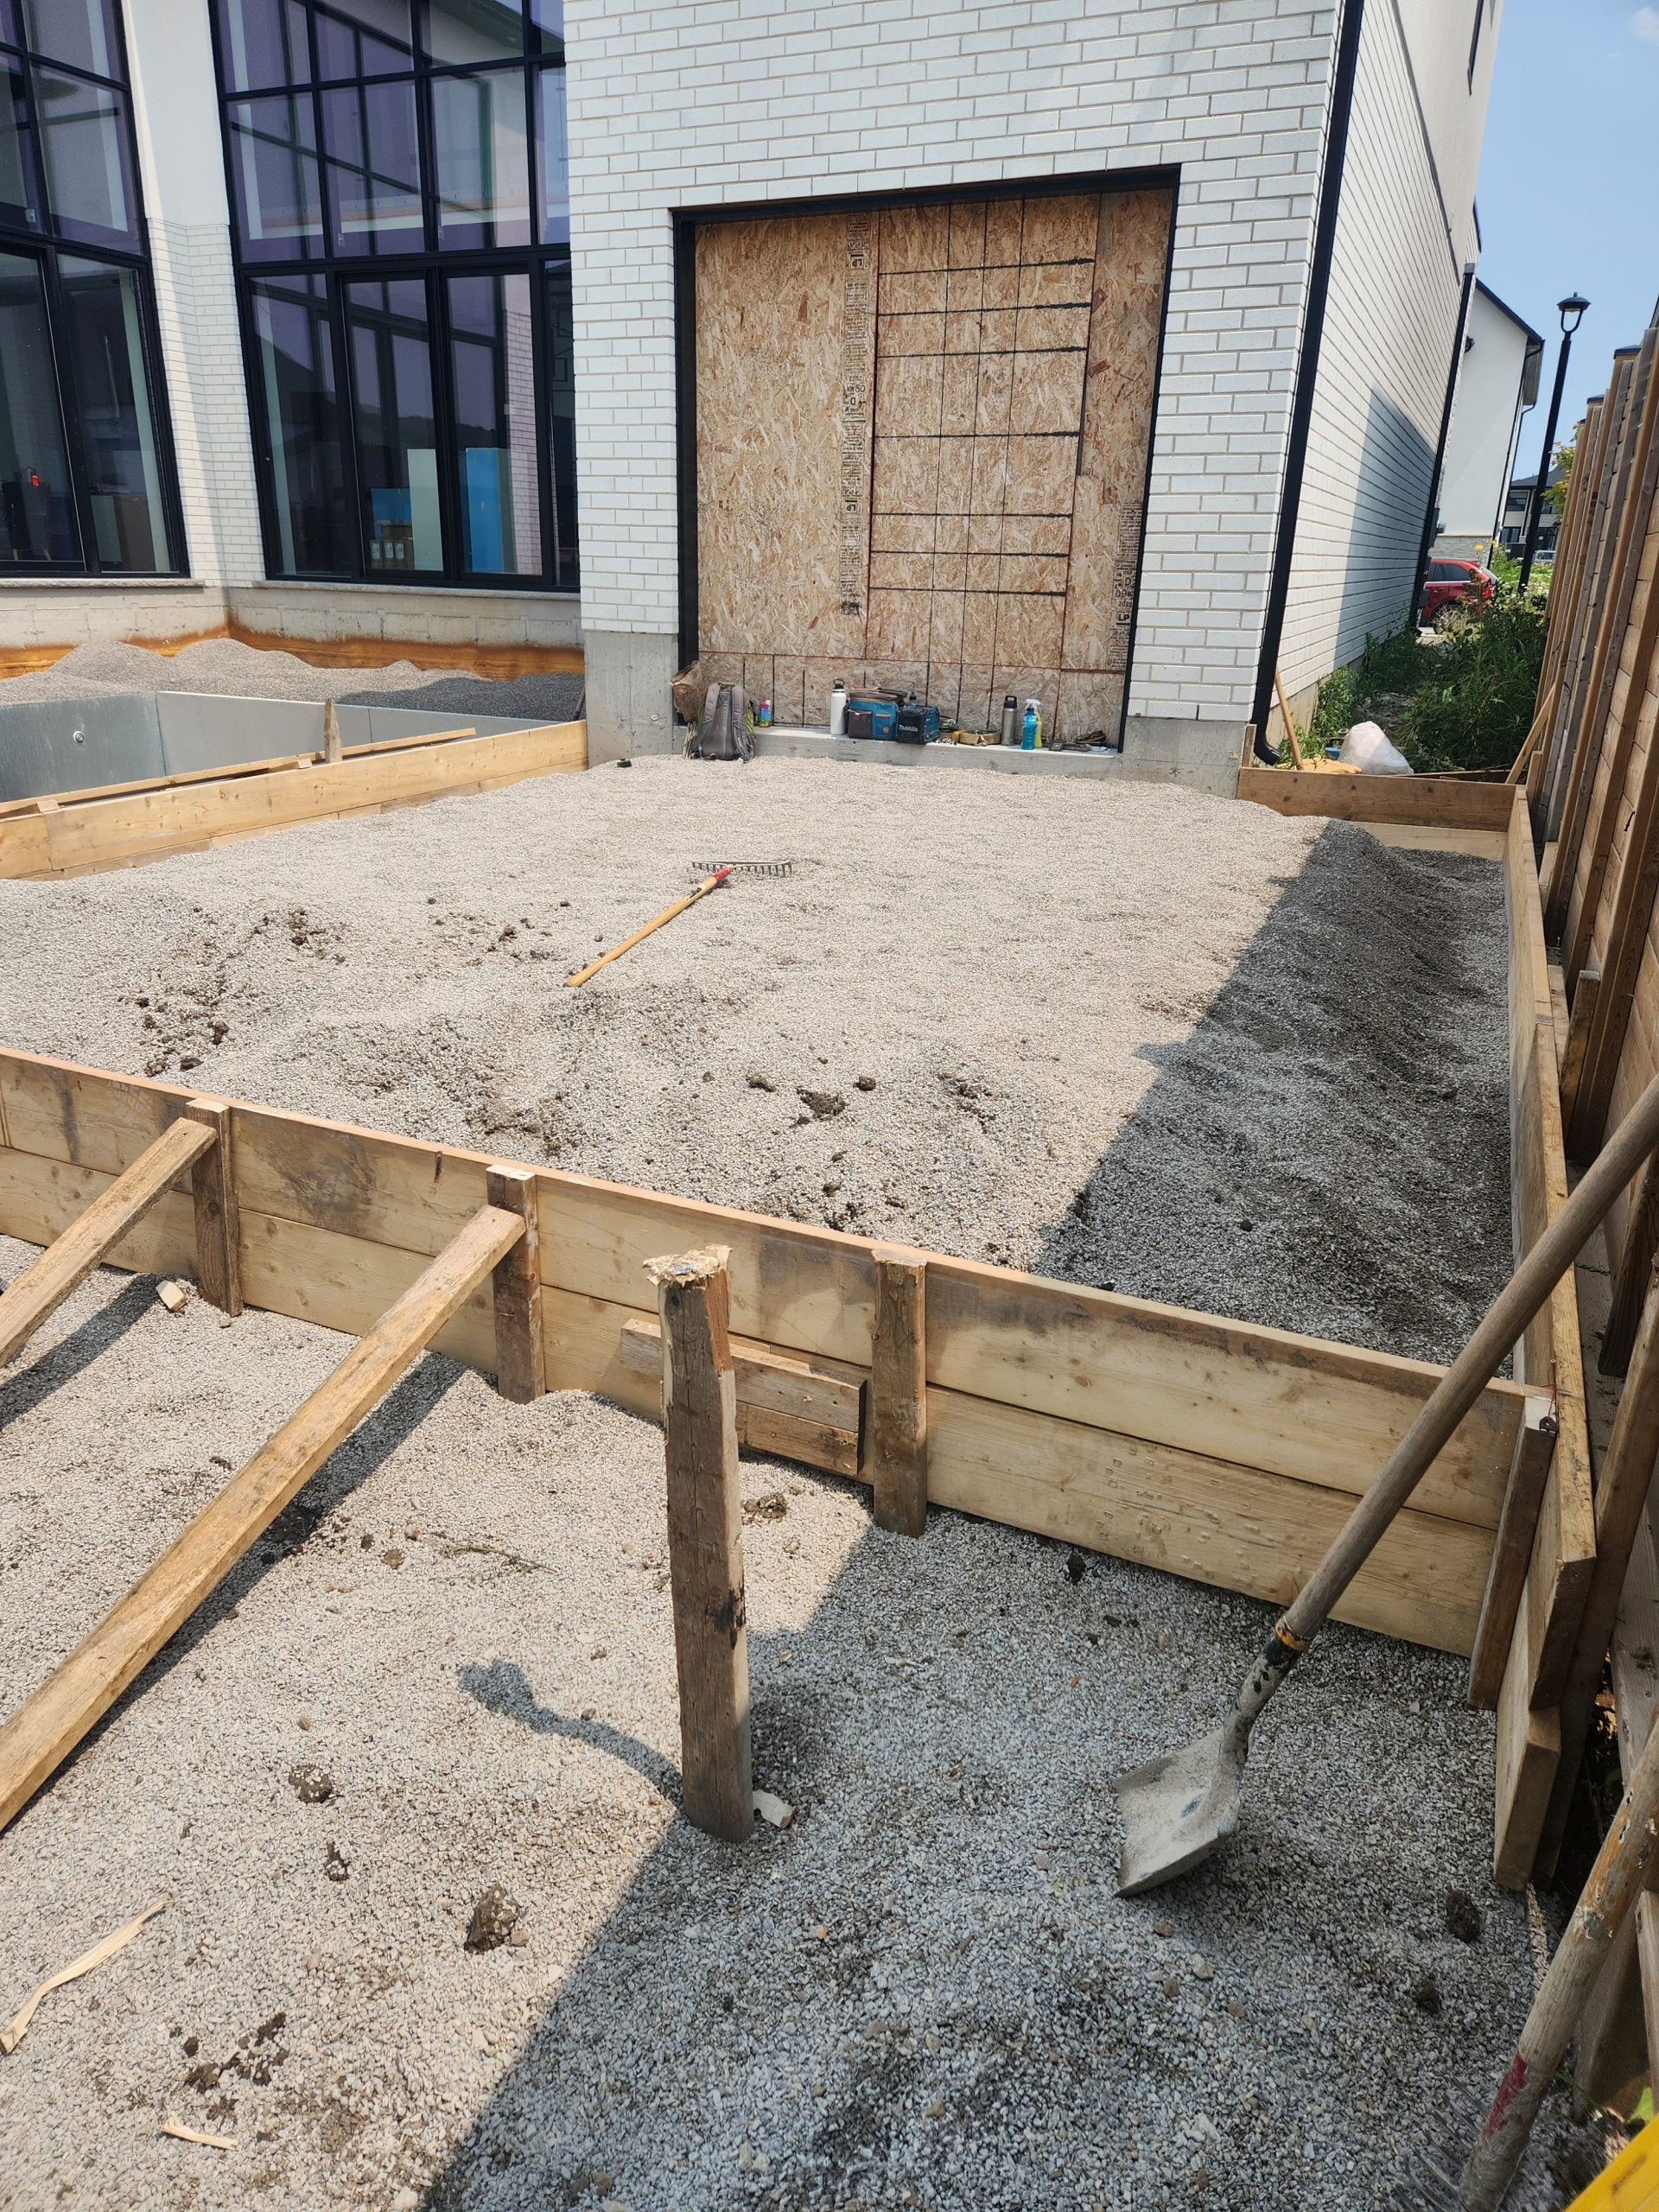
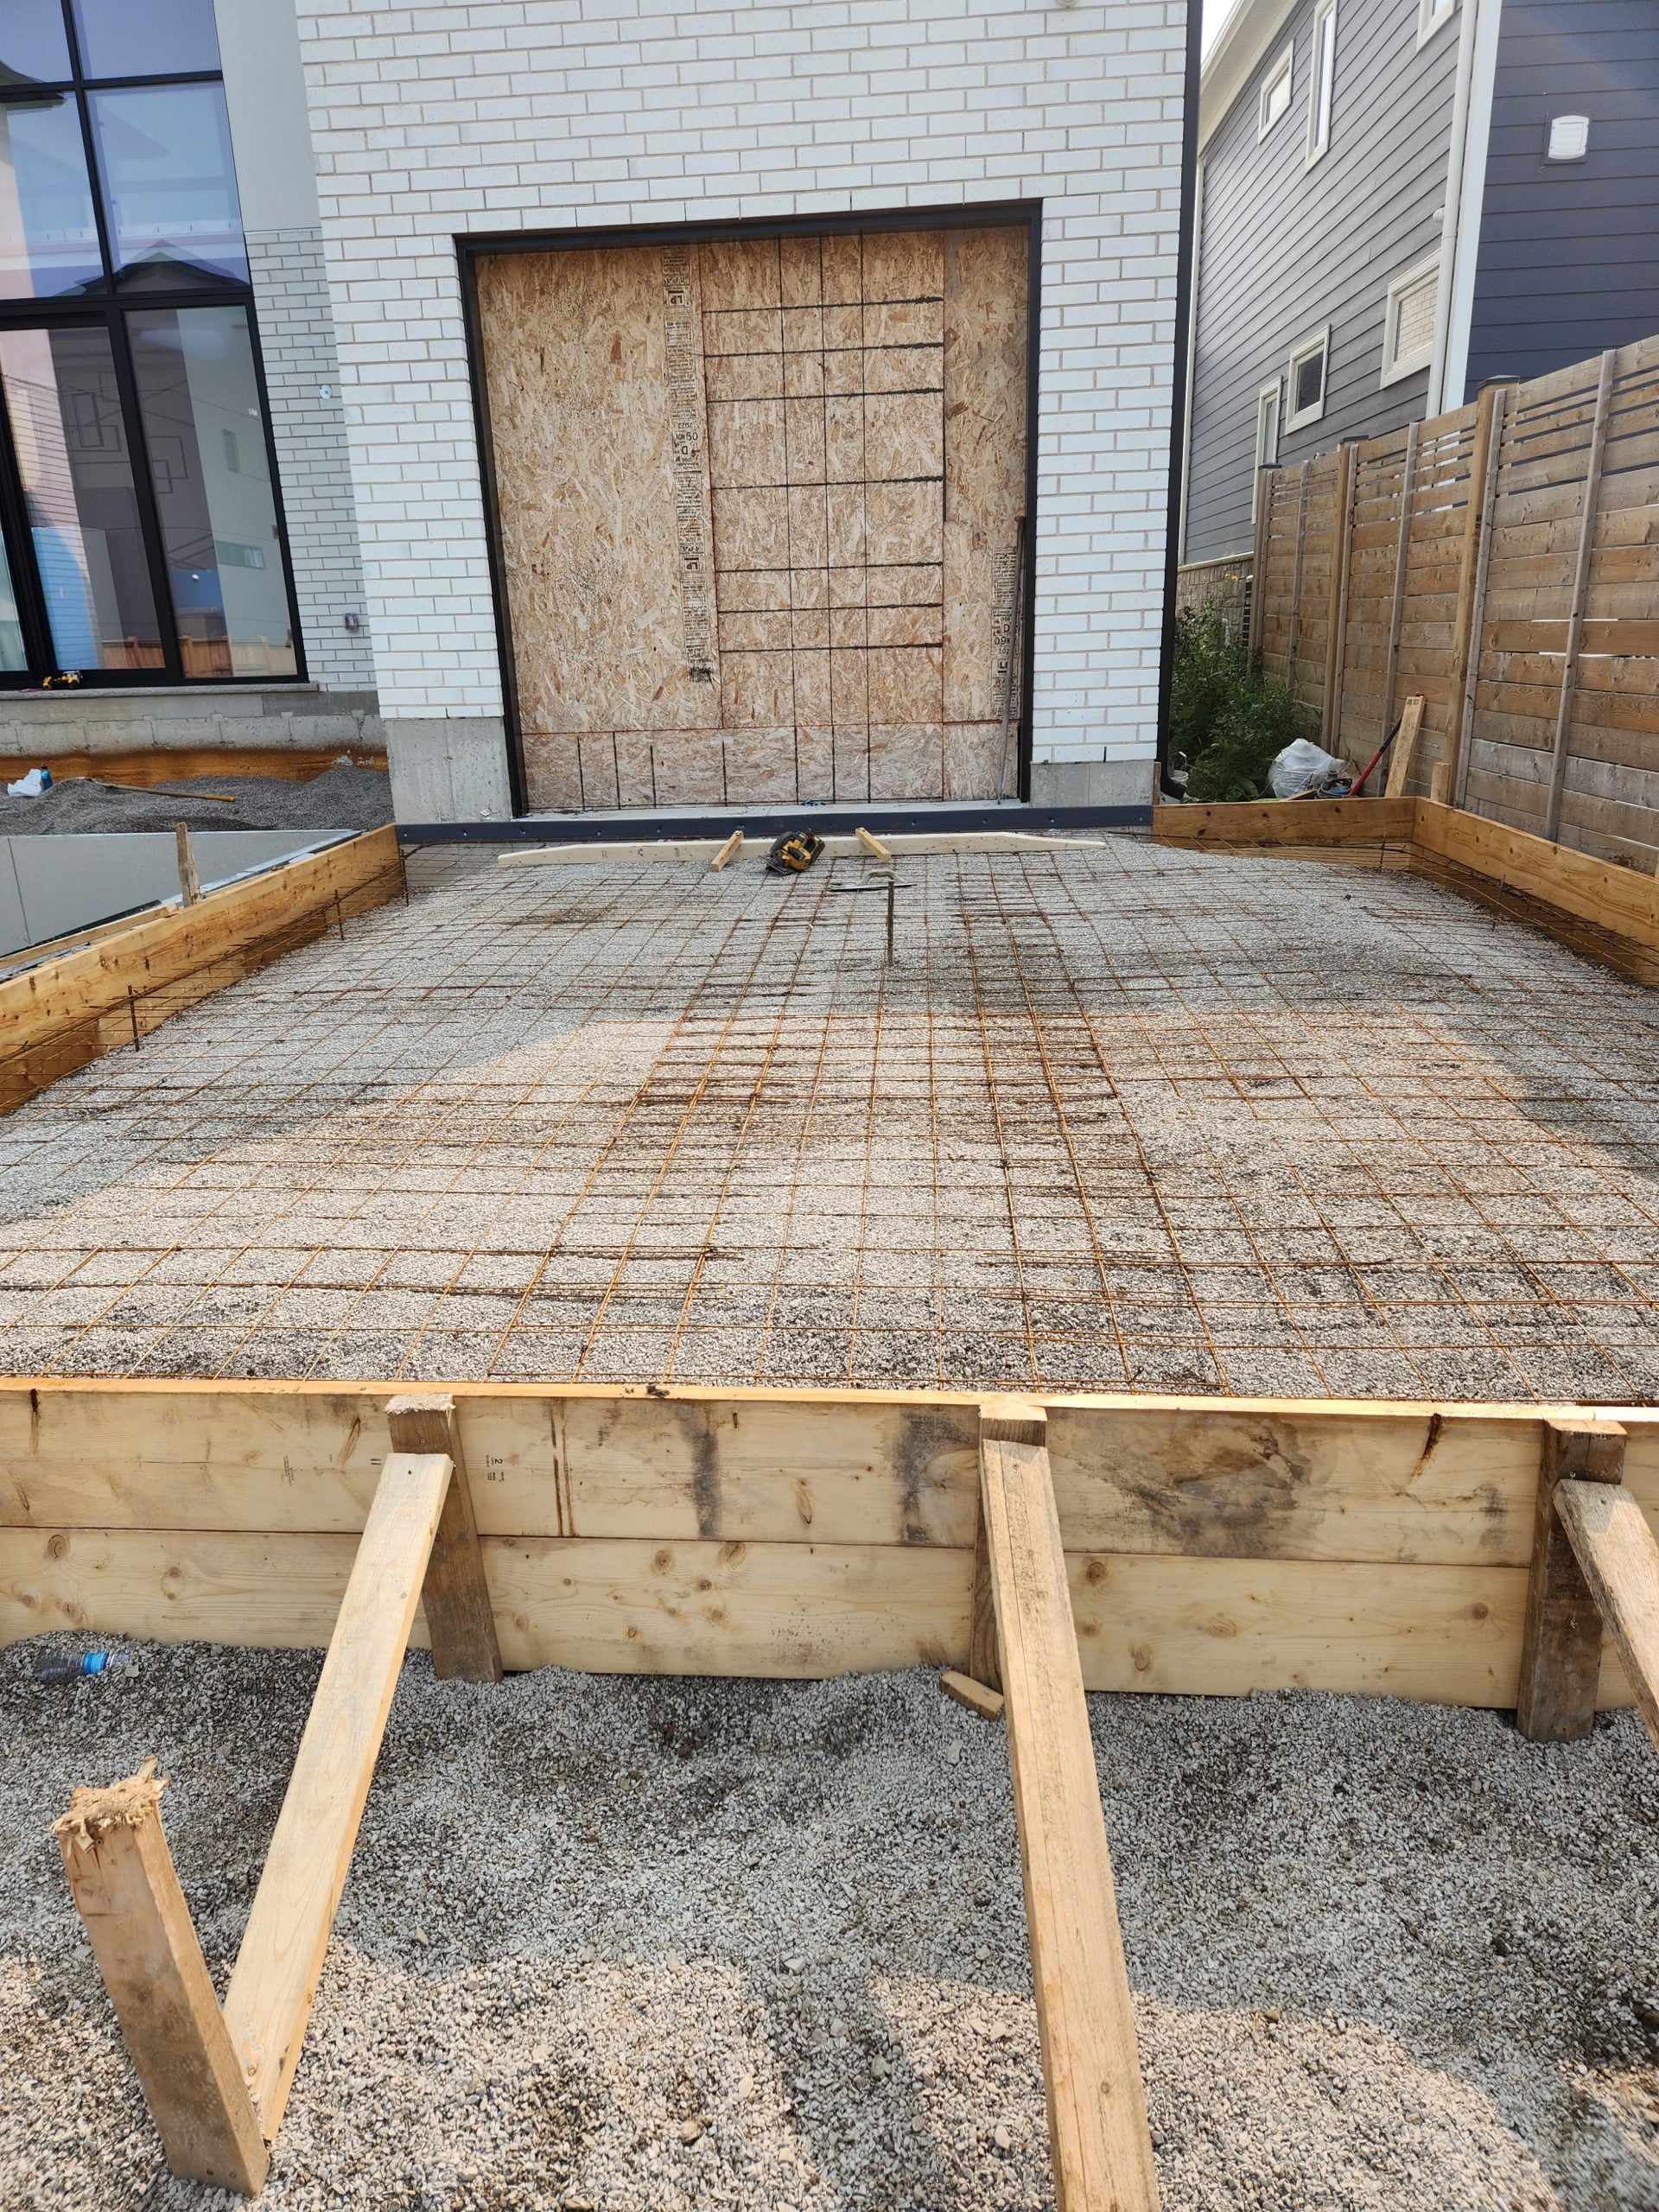
The day begin with starting to form the “upper” patio area. Then we added and tamped the gravel. And we finished the day with laying down wire mesh, re-bar, and bonding wire to prepare for concrete the next day.
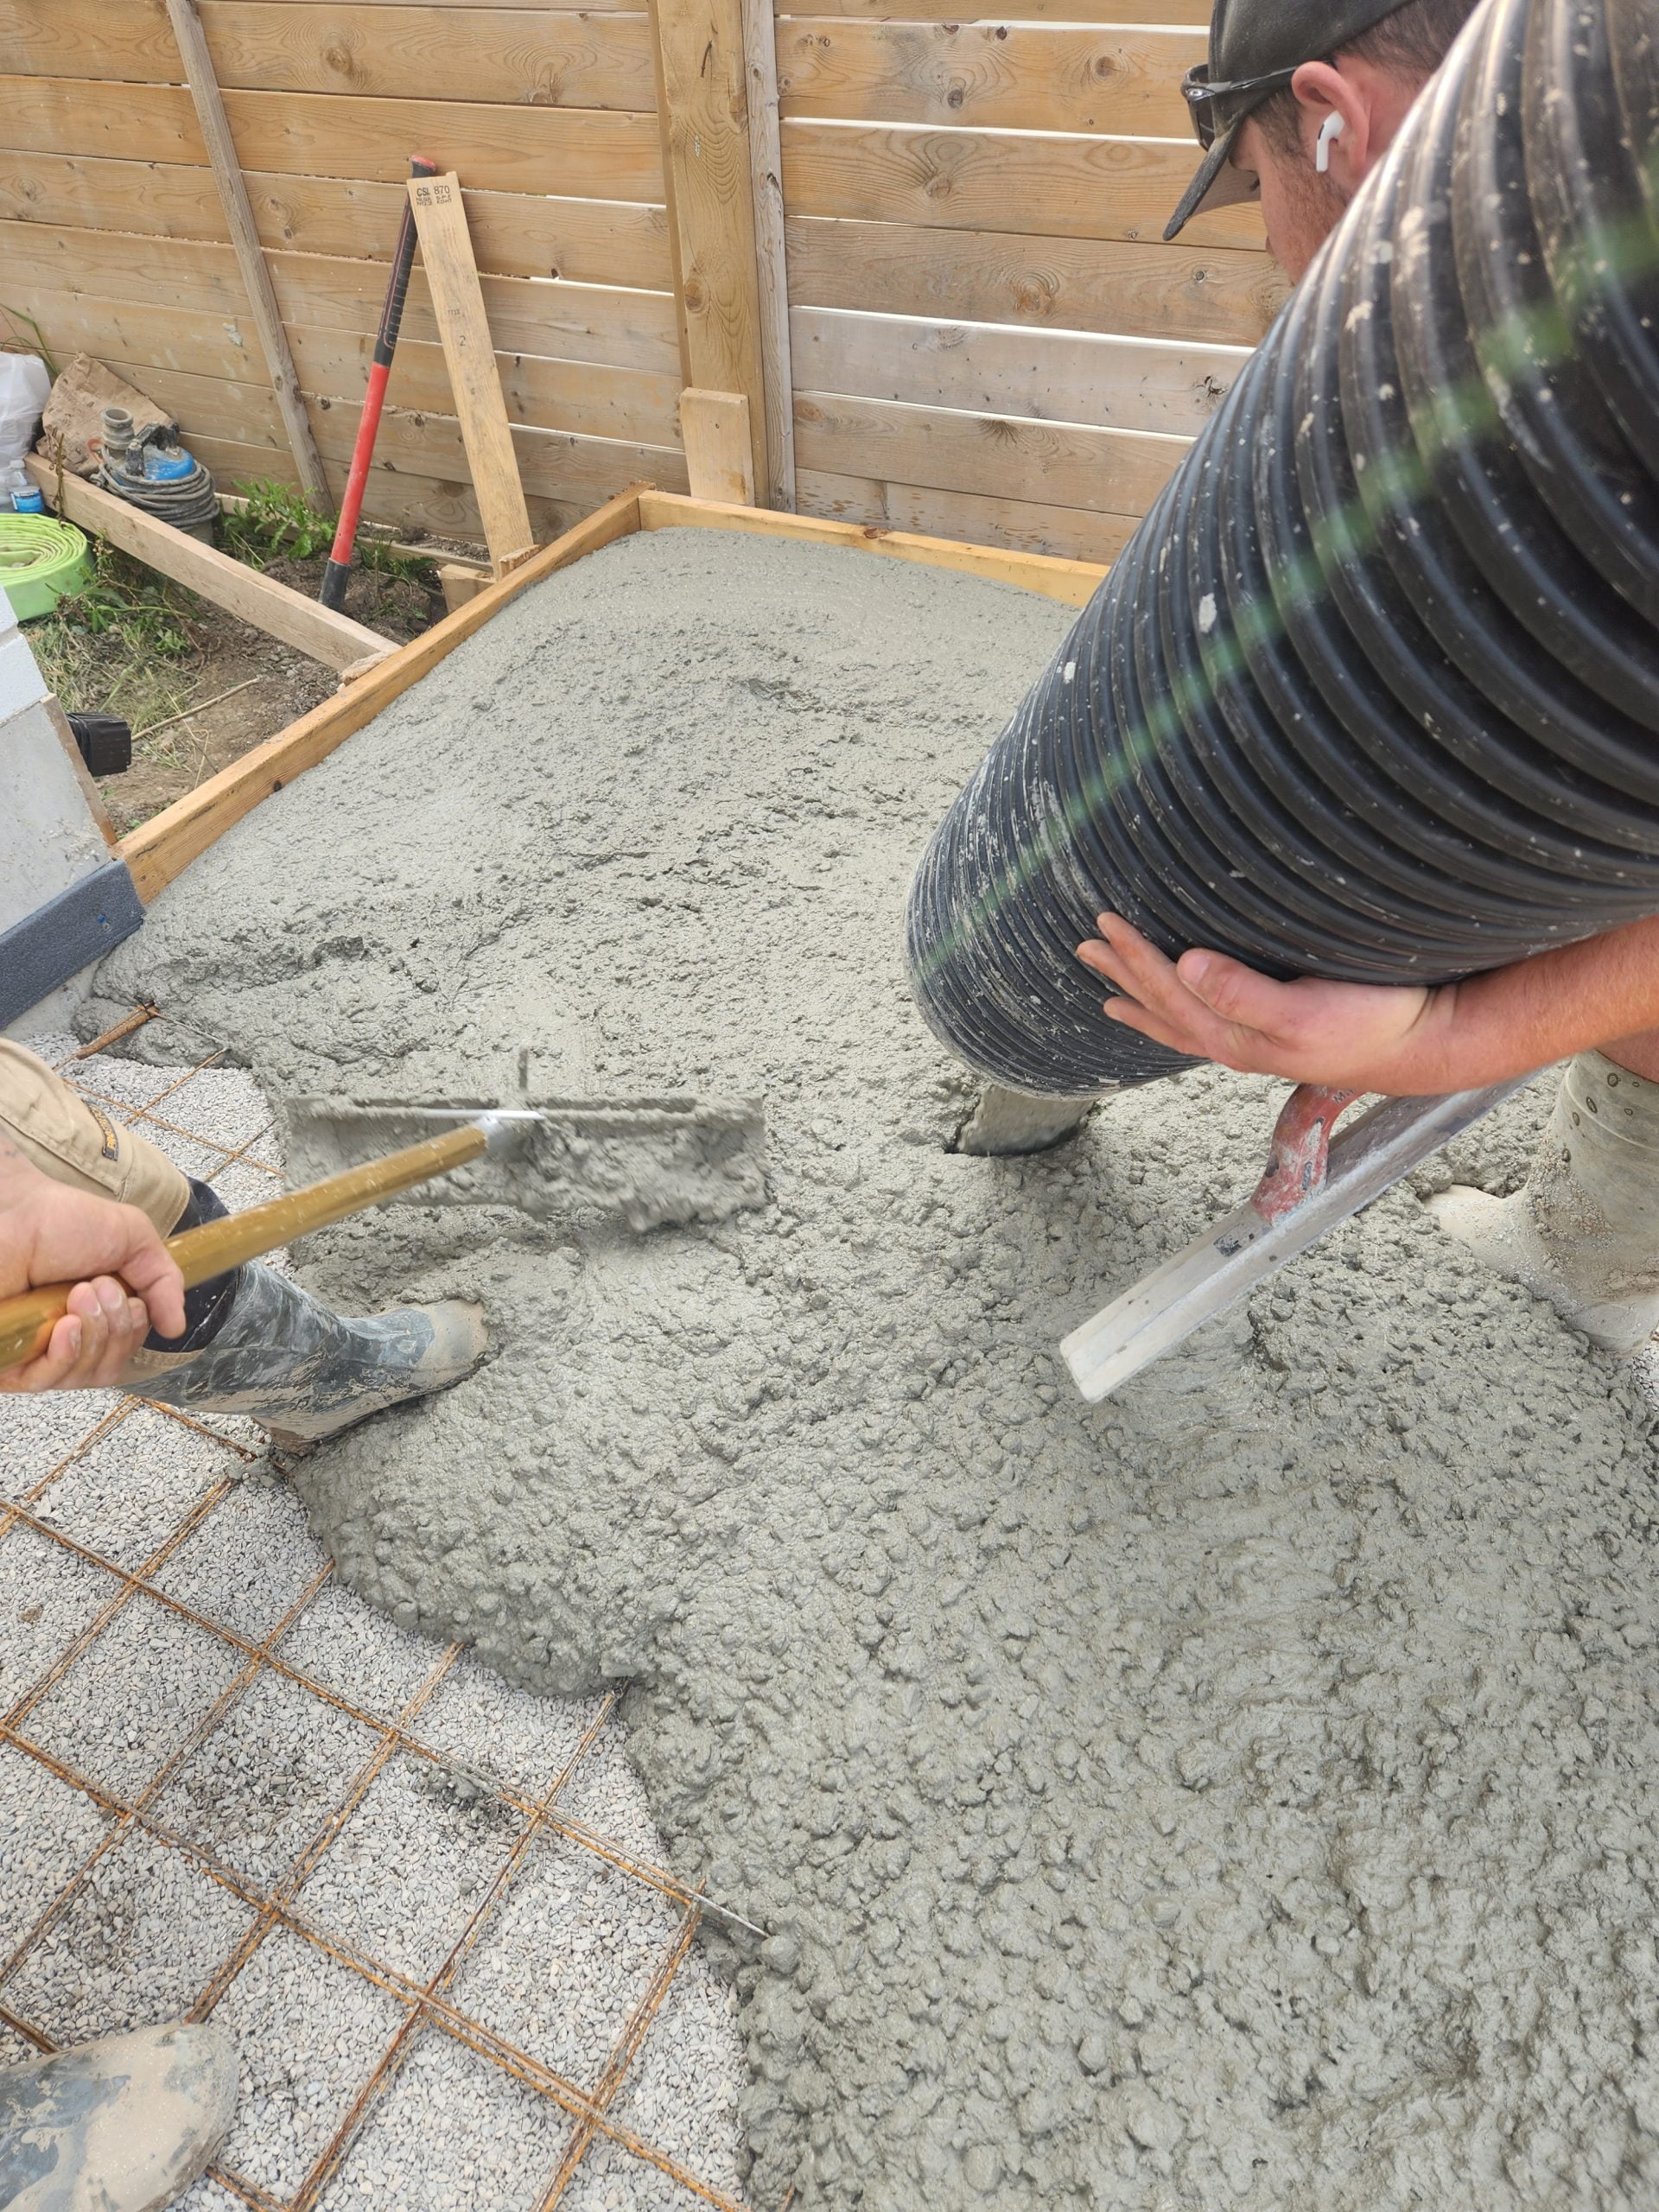
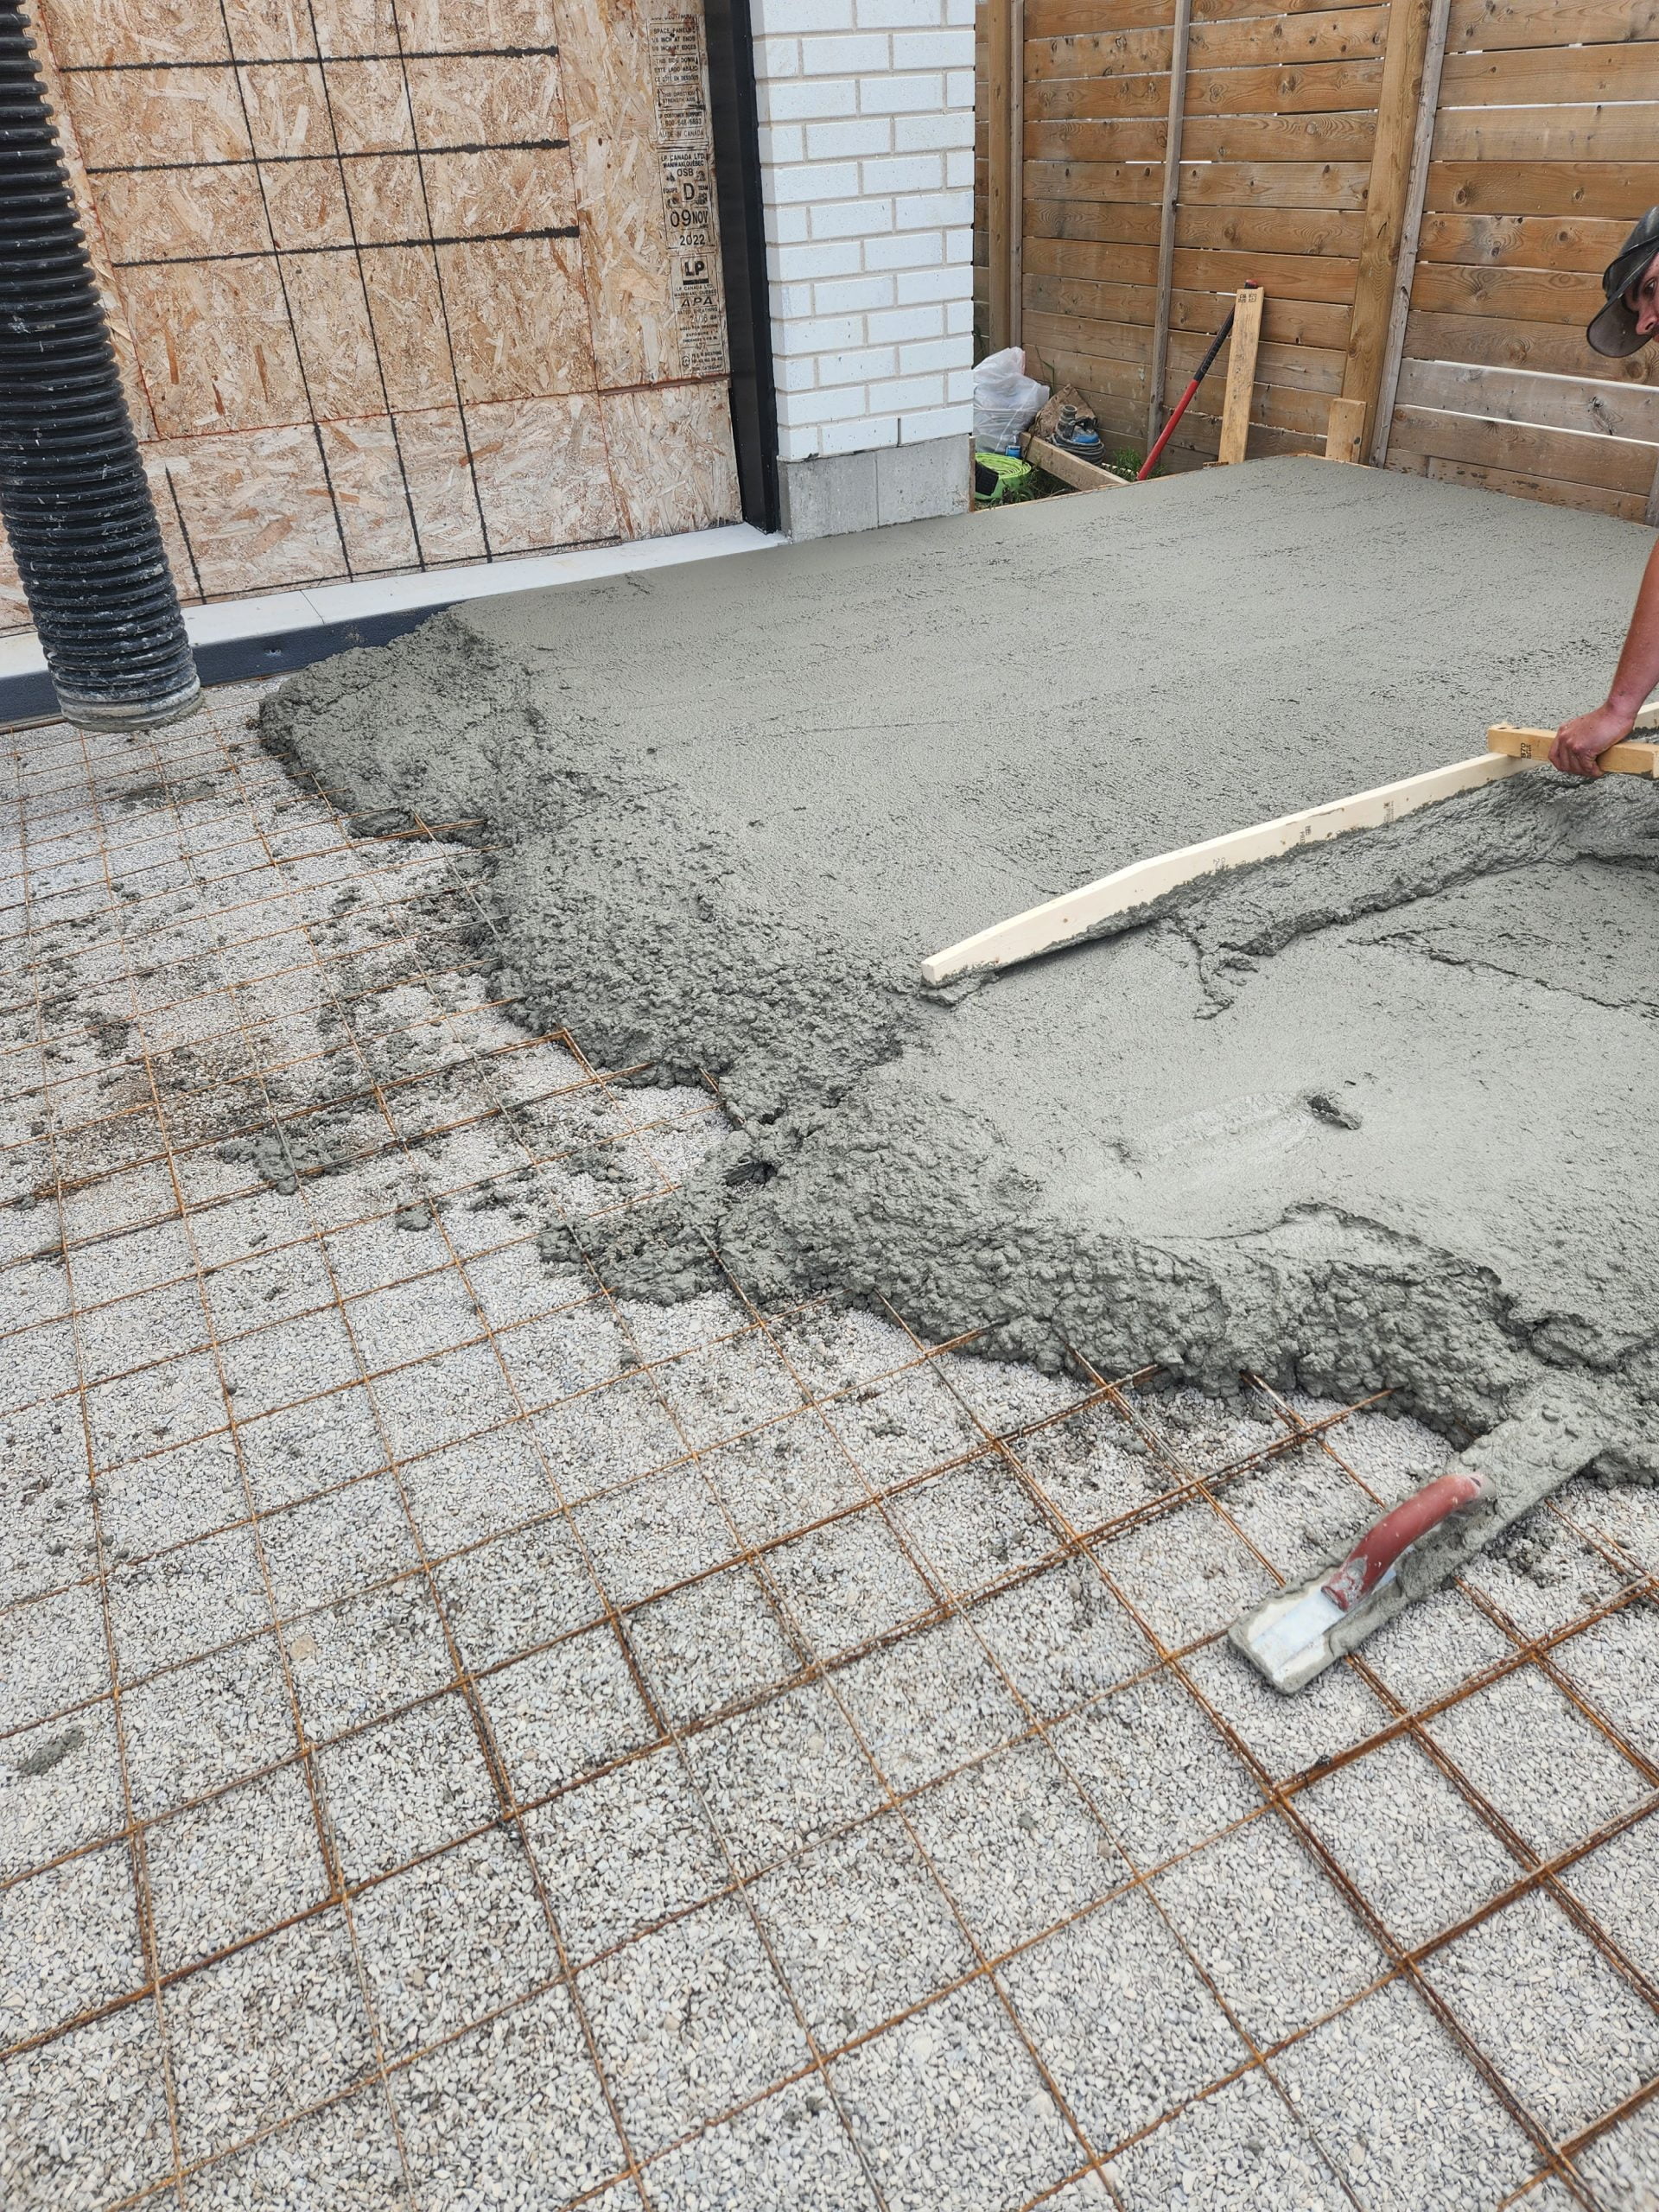
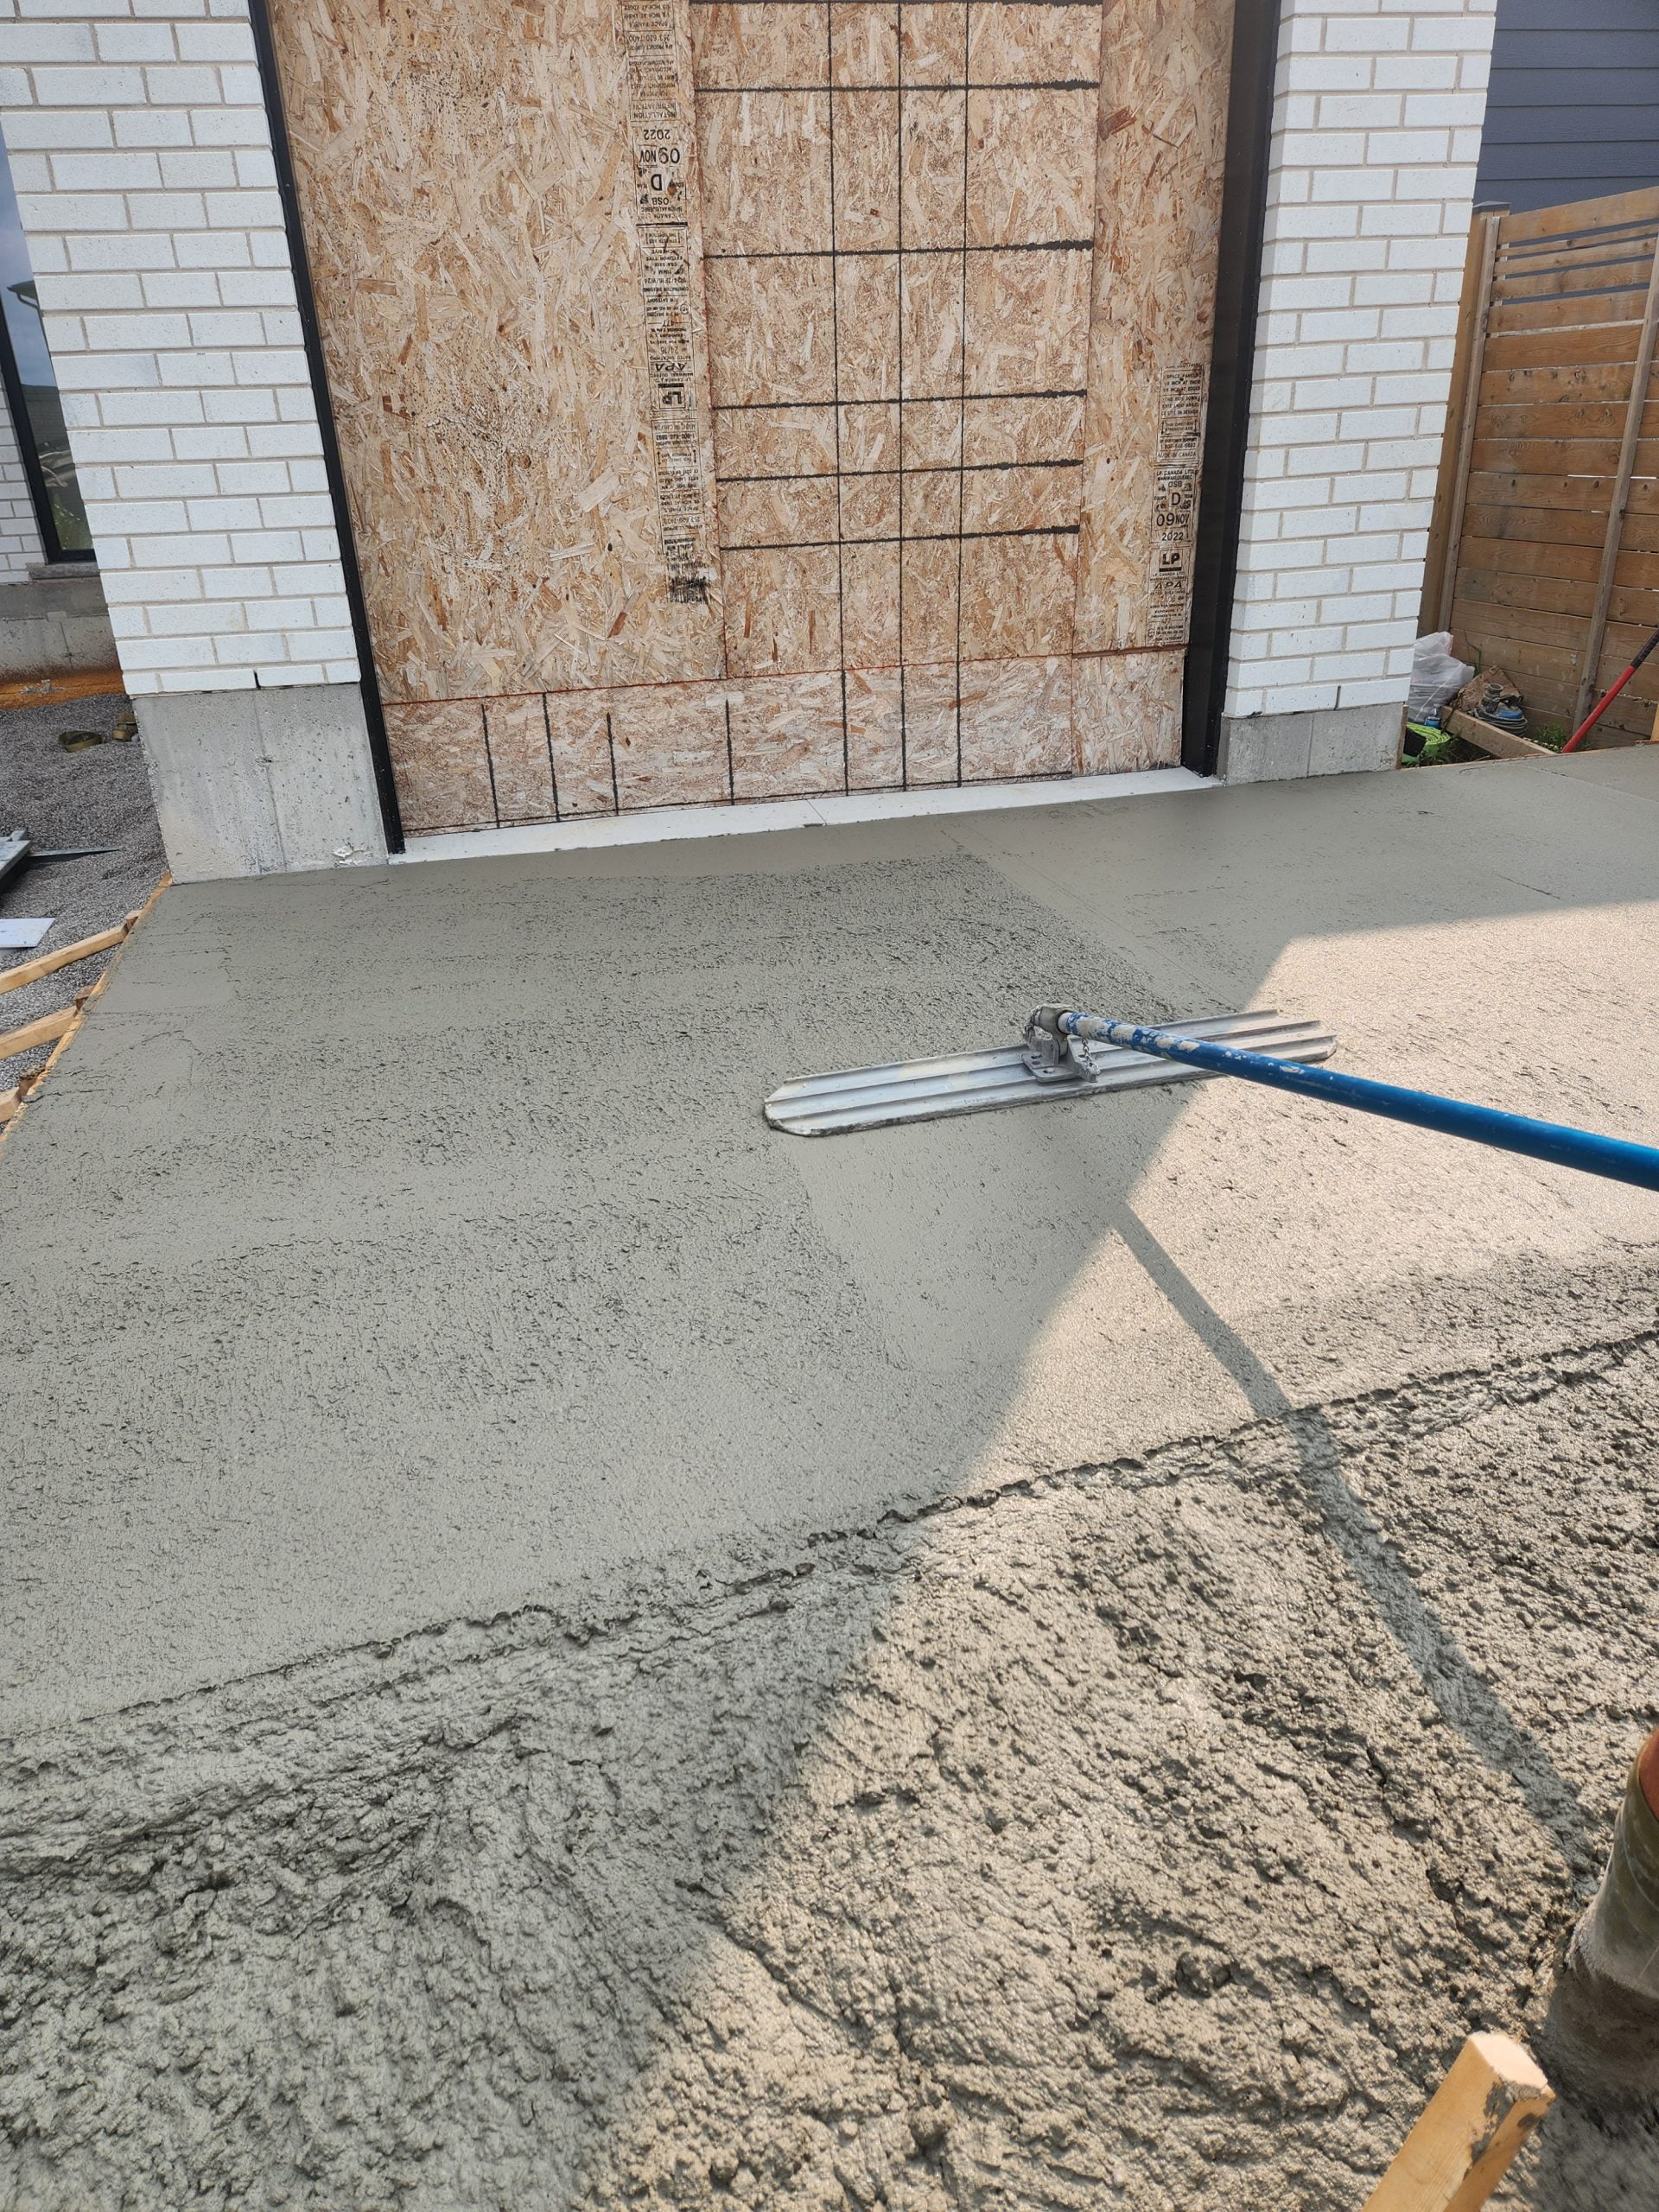
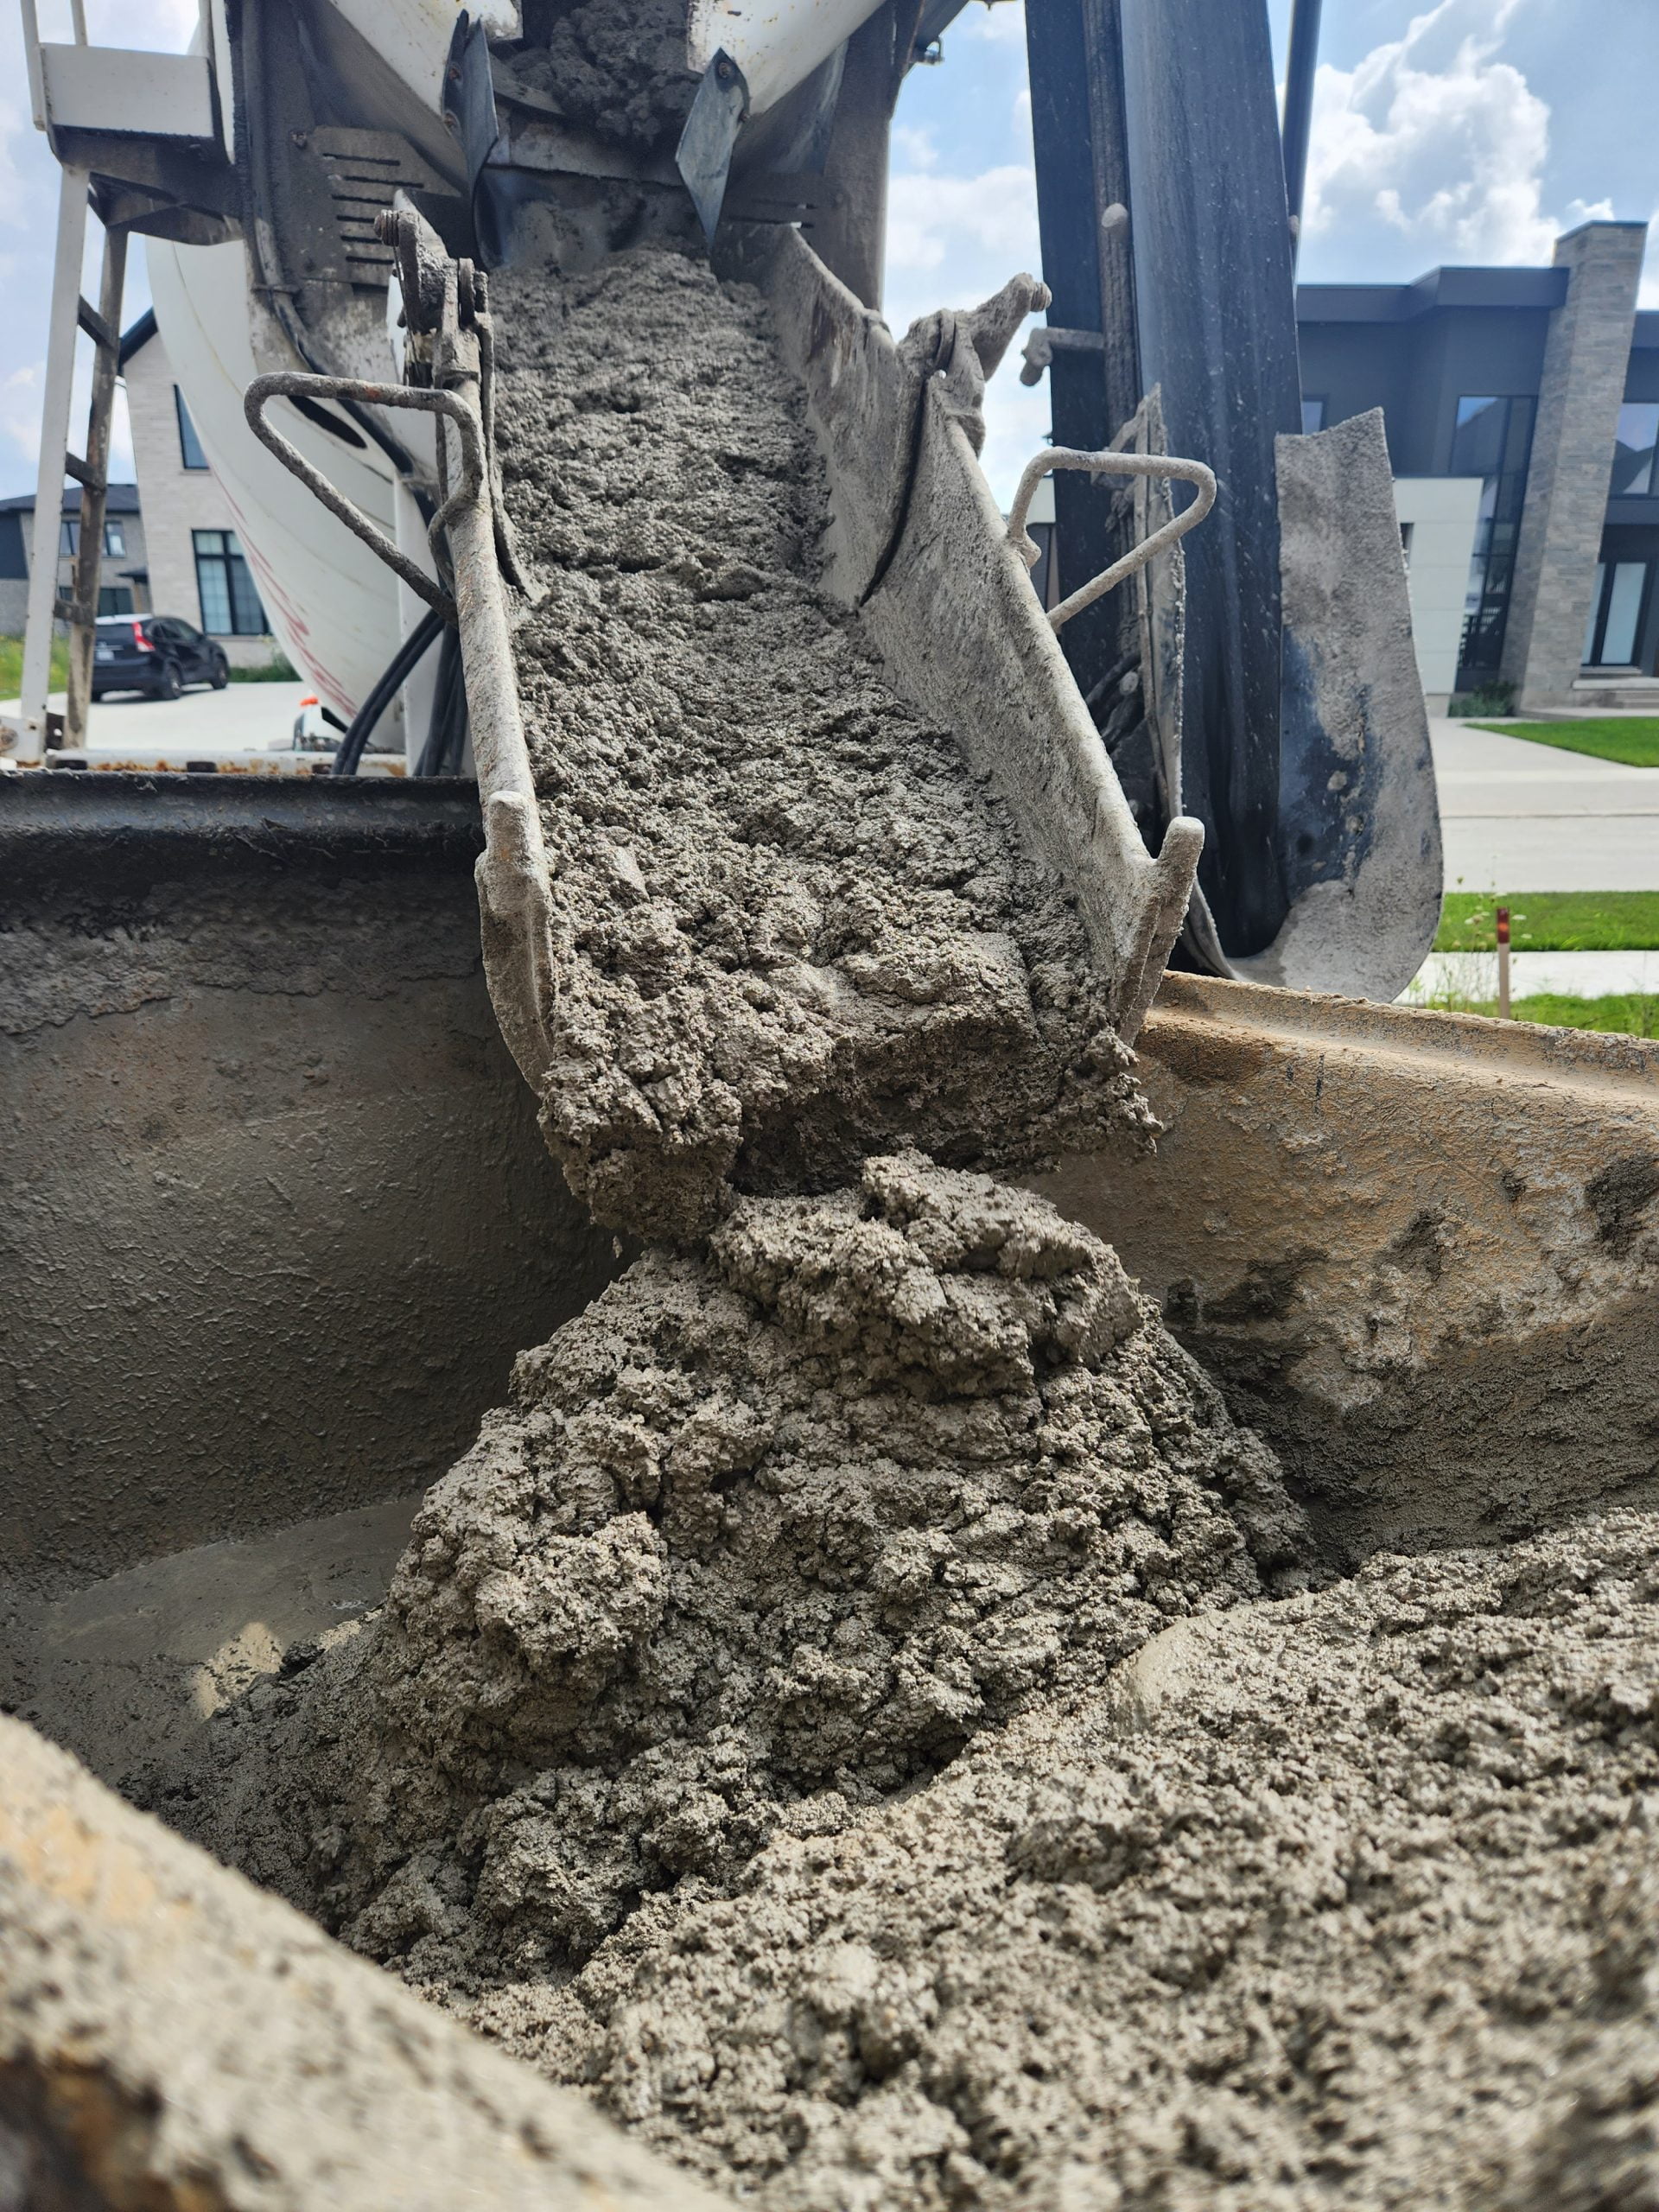
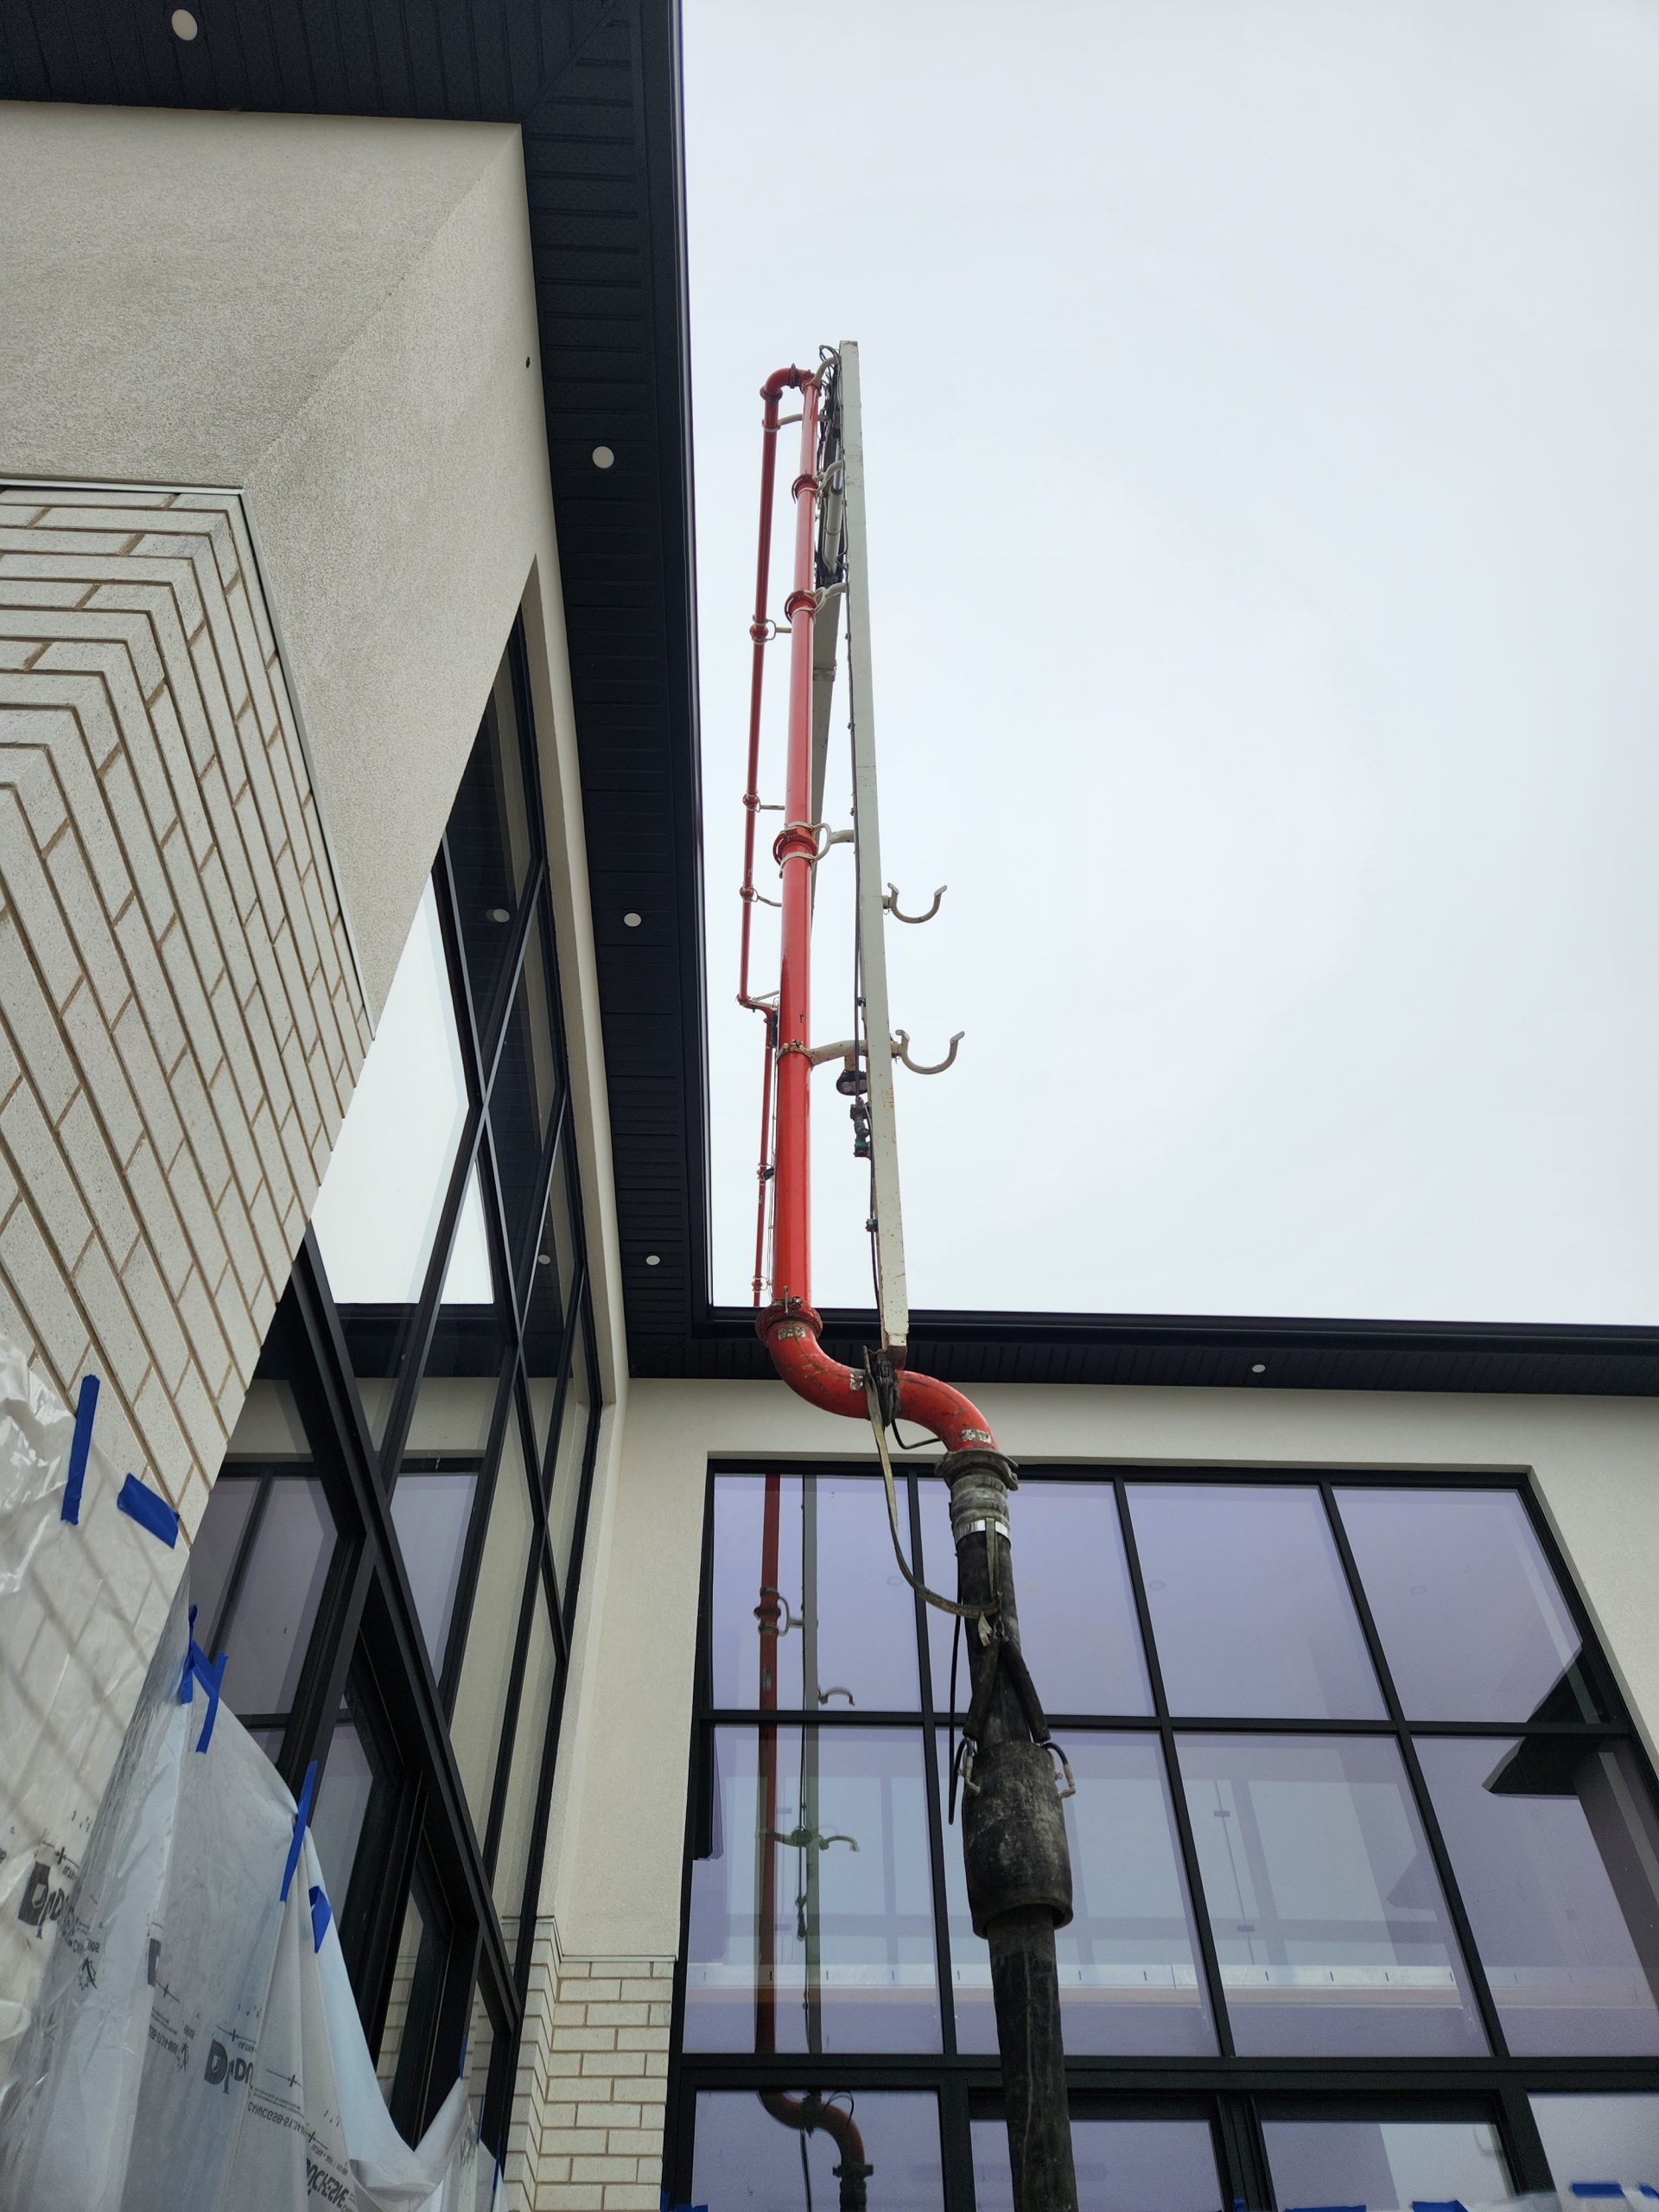
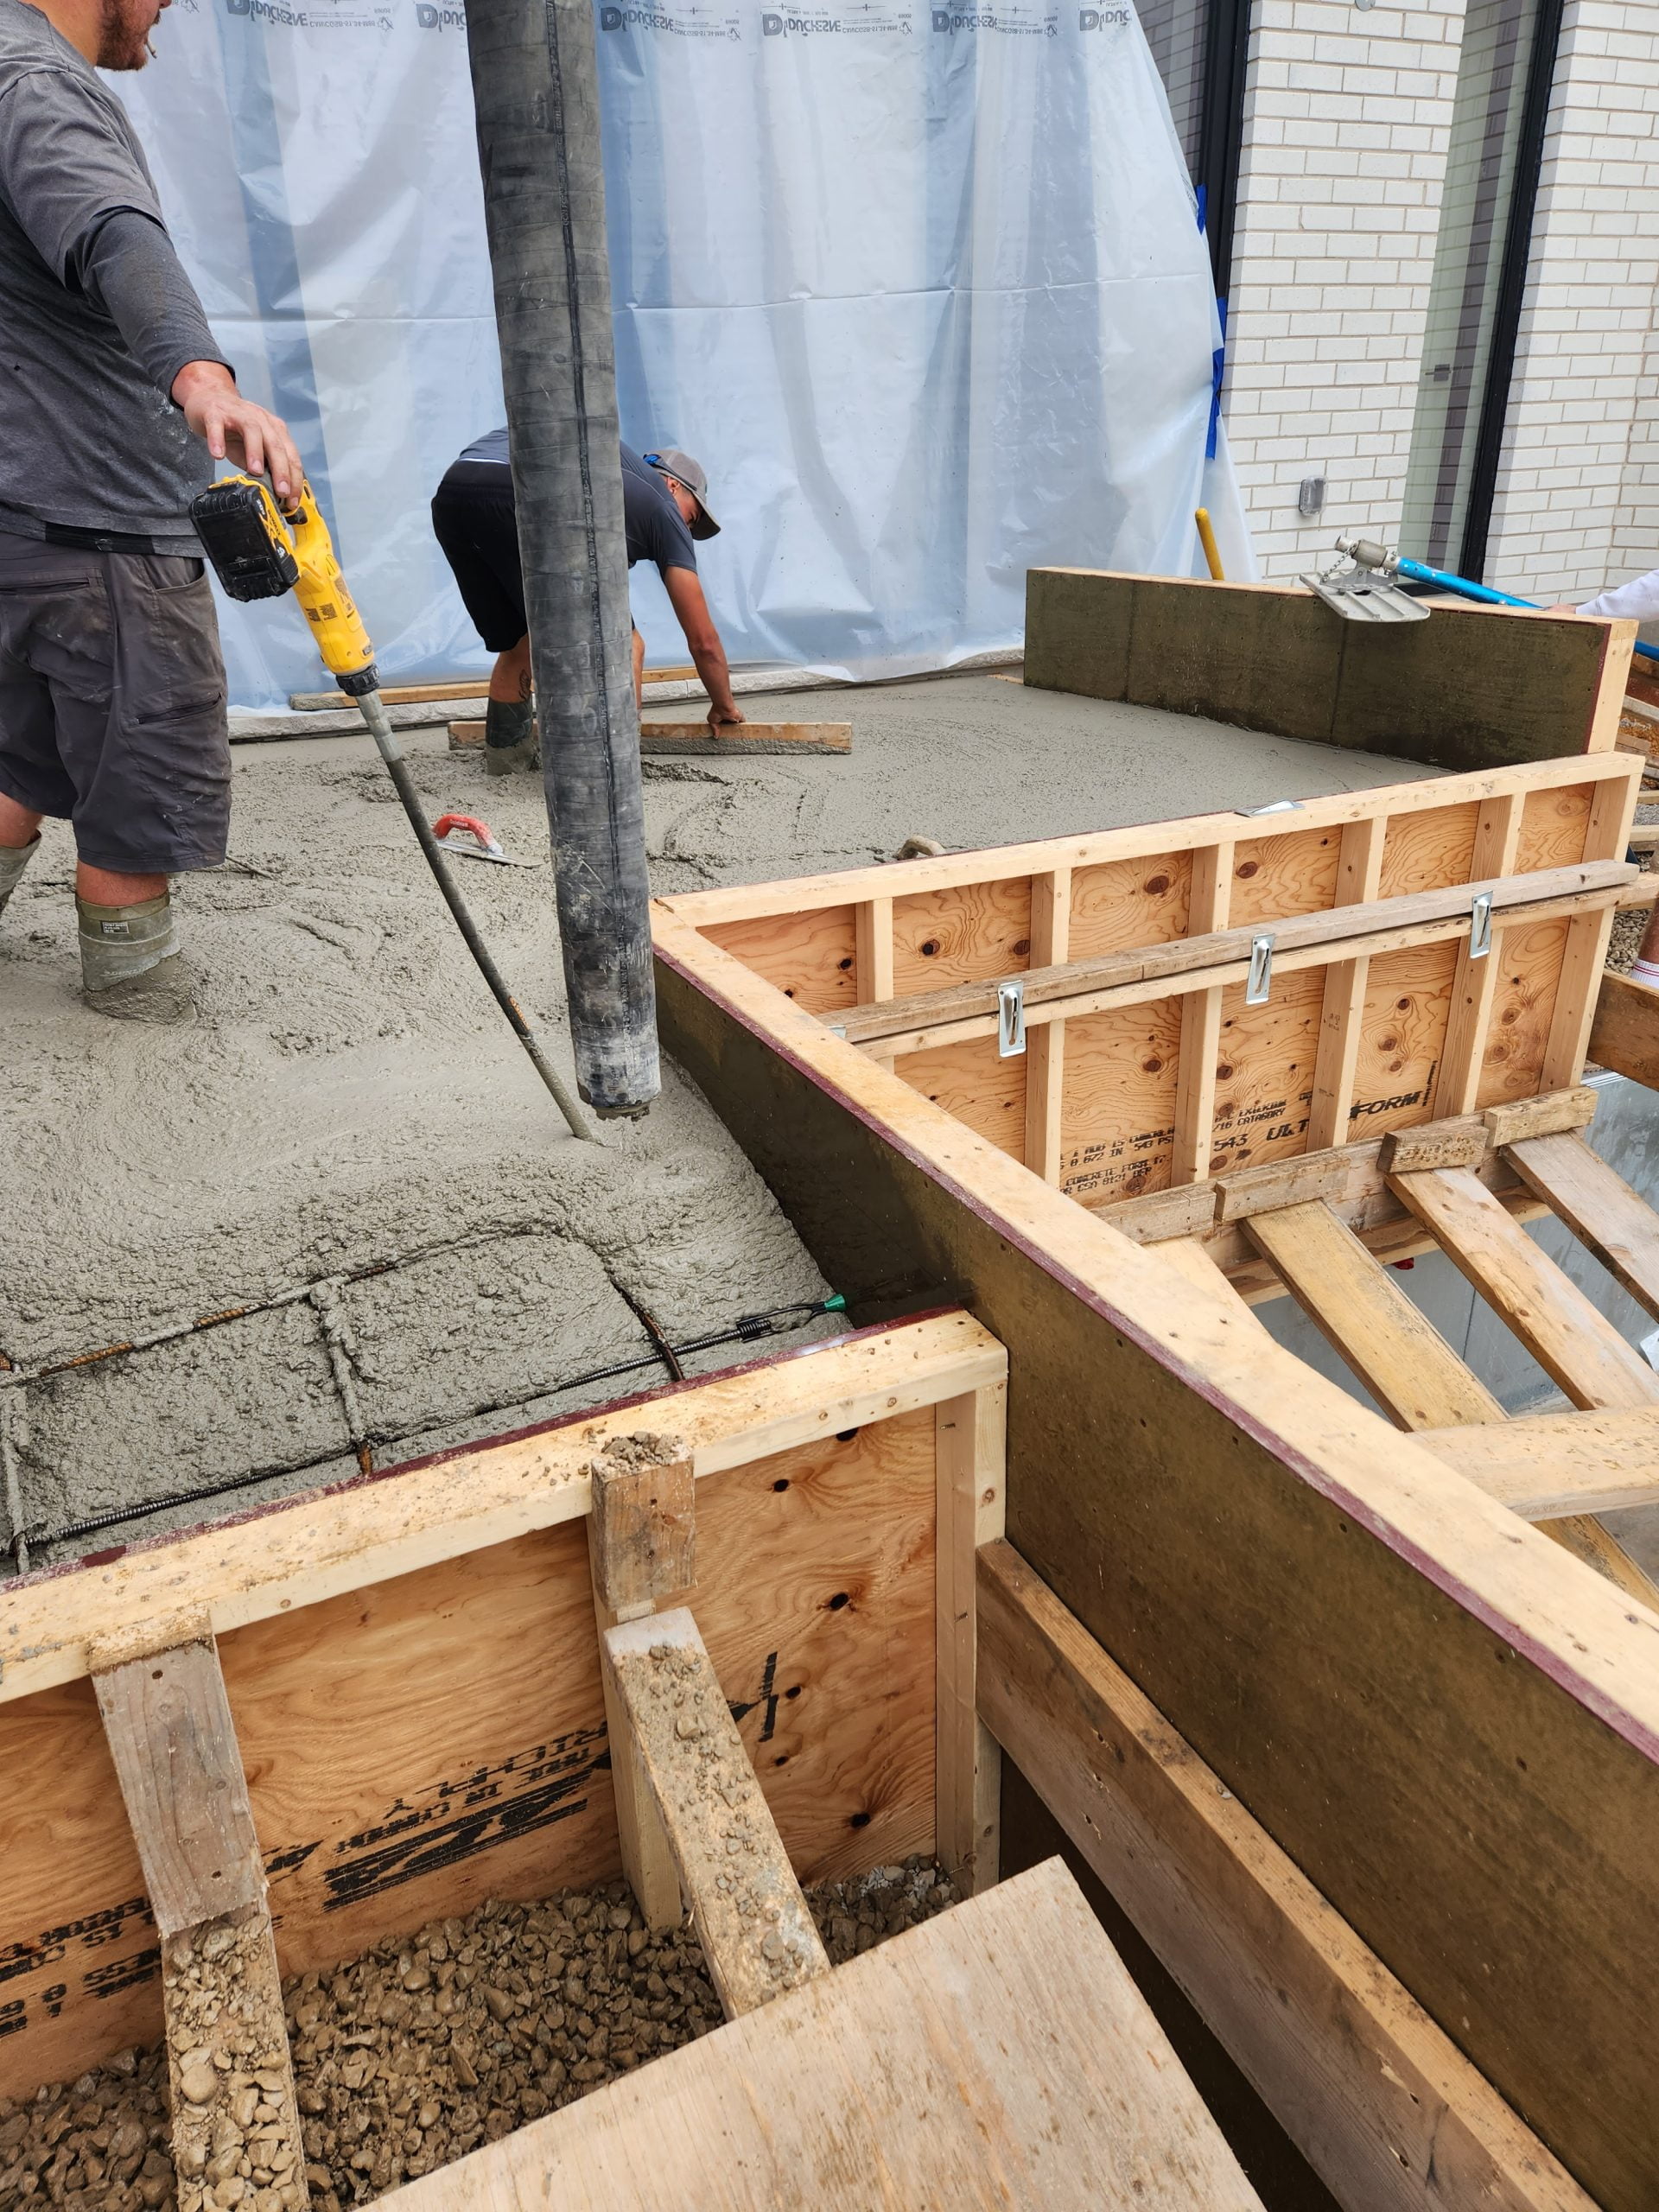
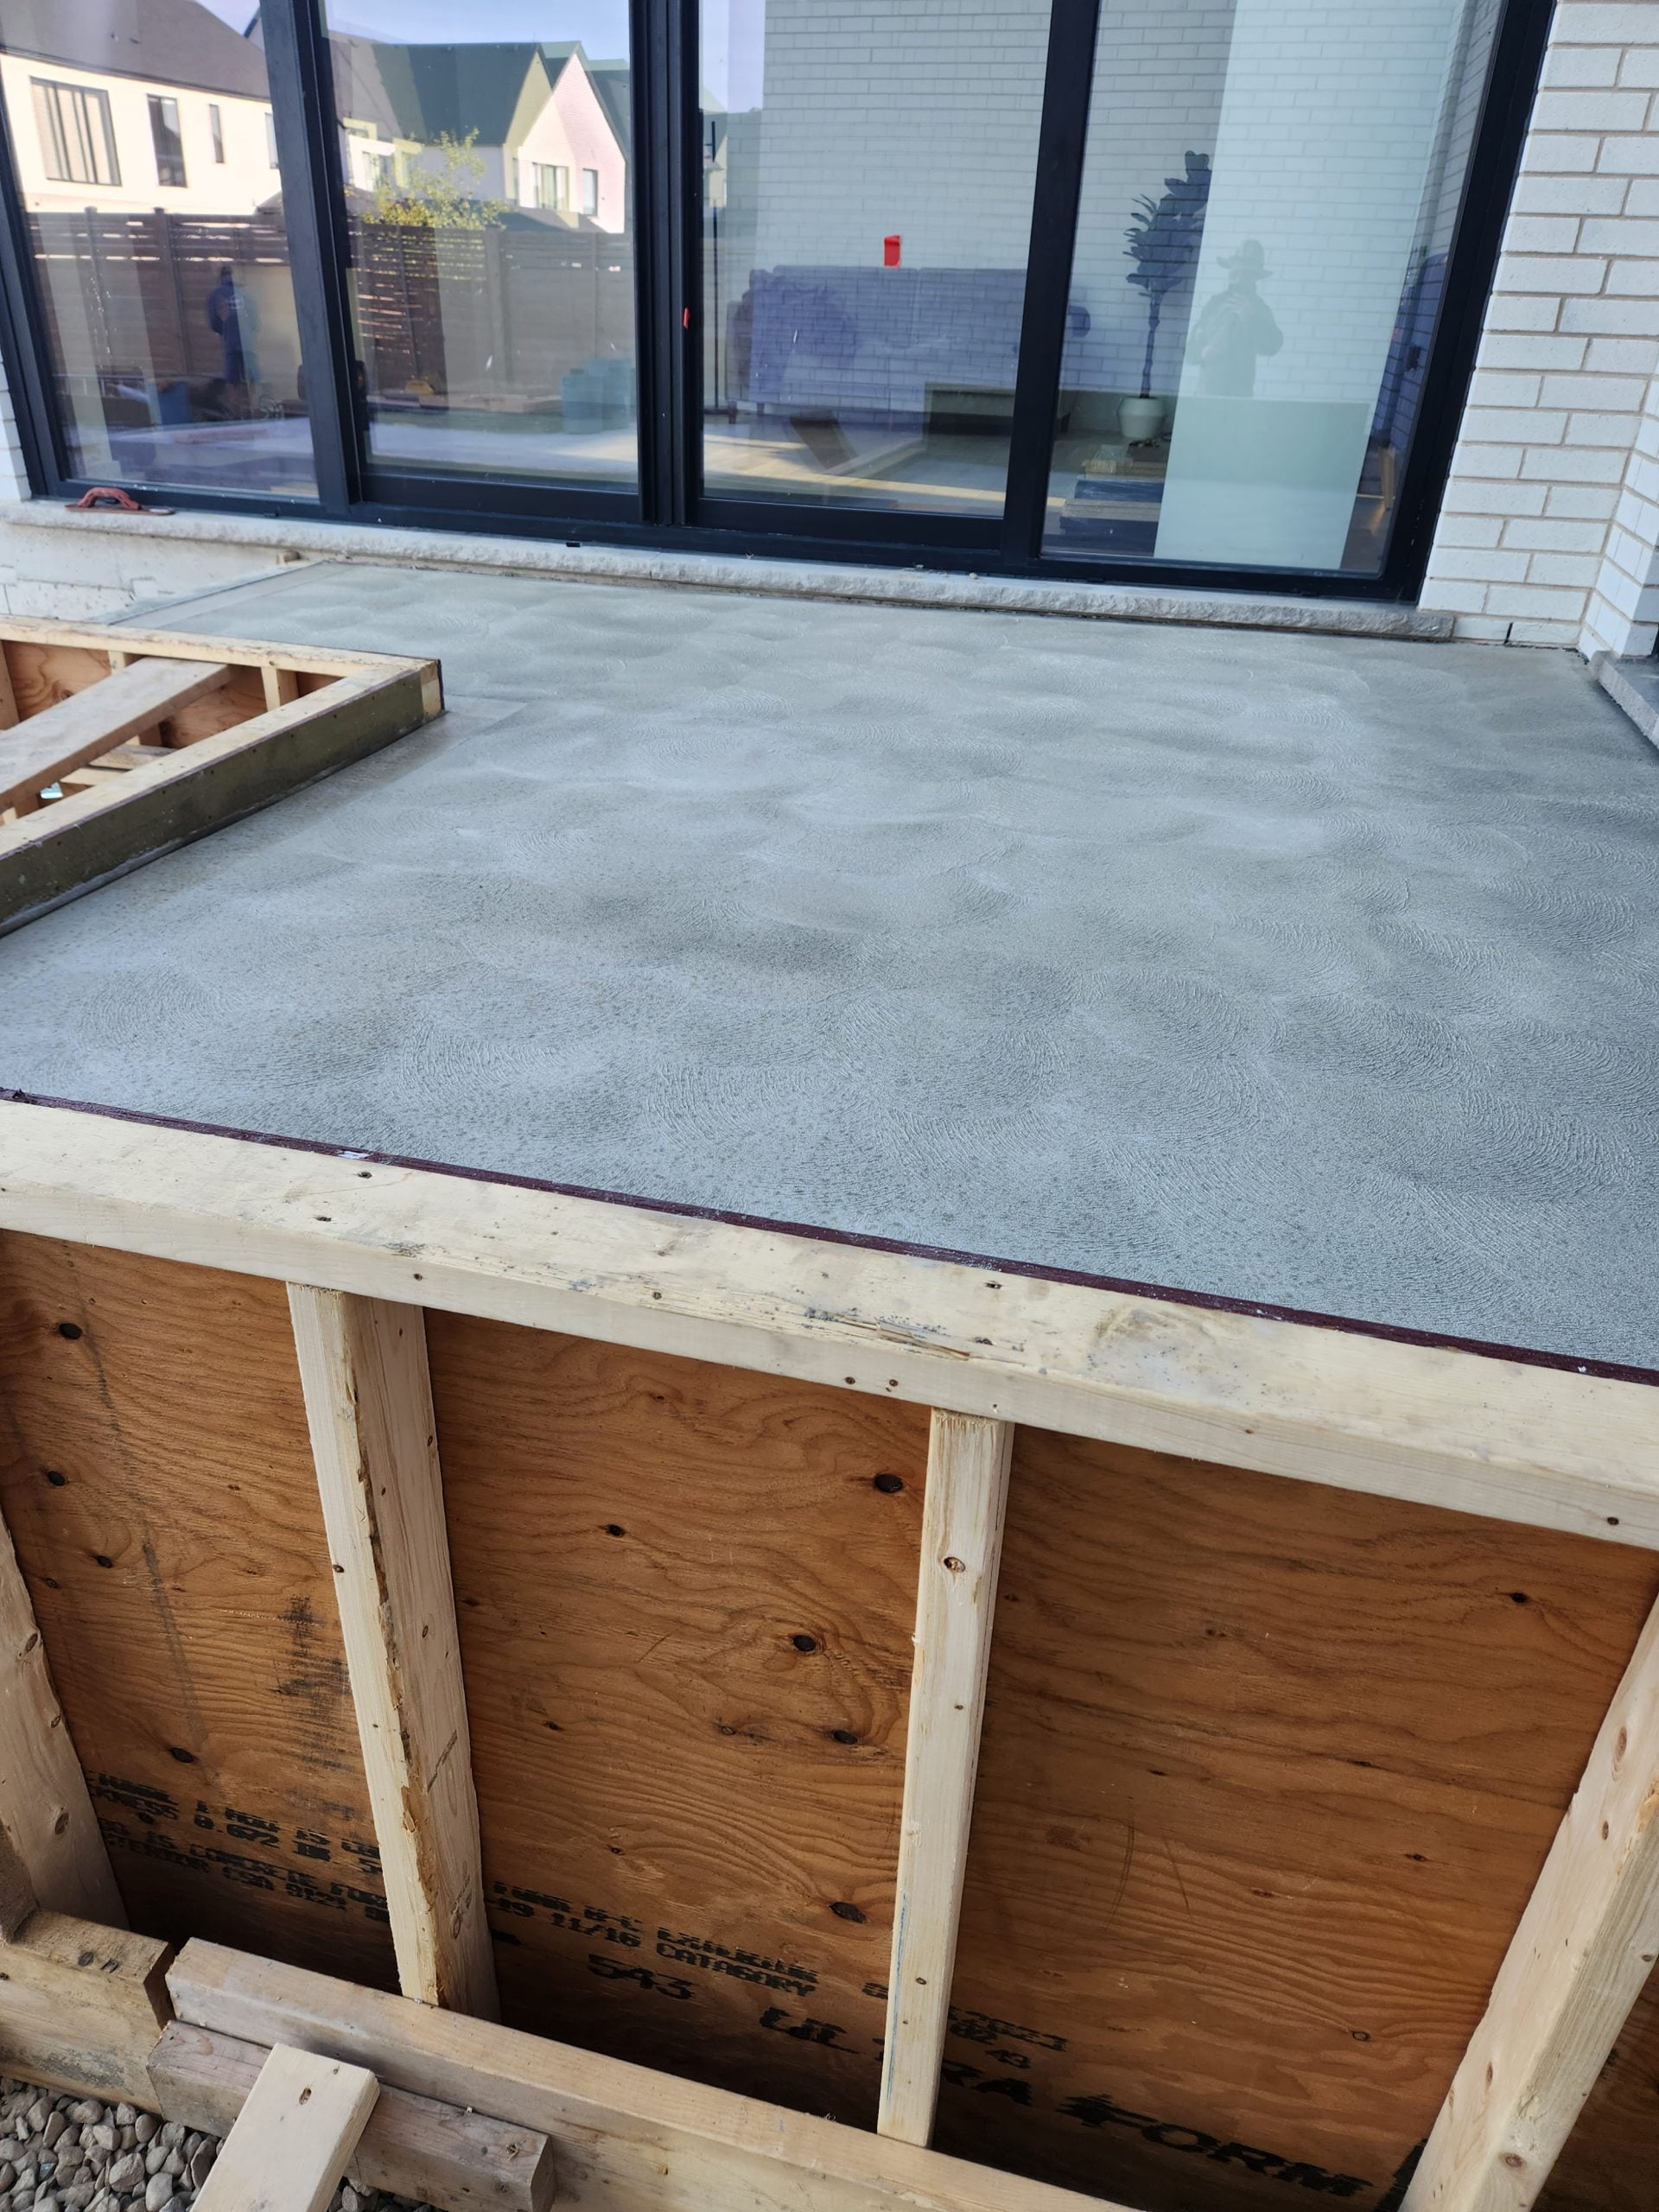
DAY FIVE
We poured the first of multiple concrete sections and created a “hand-spun” finish.
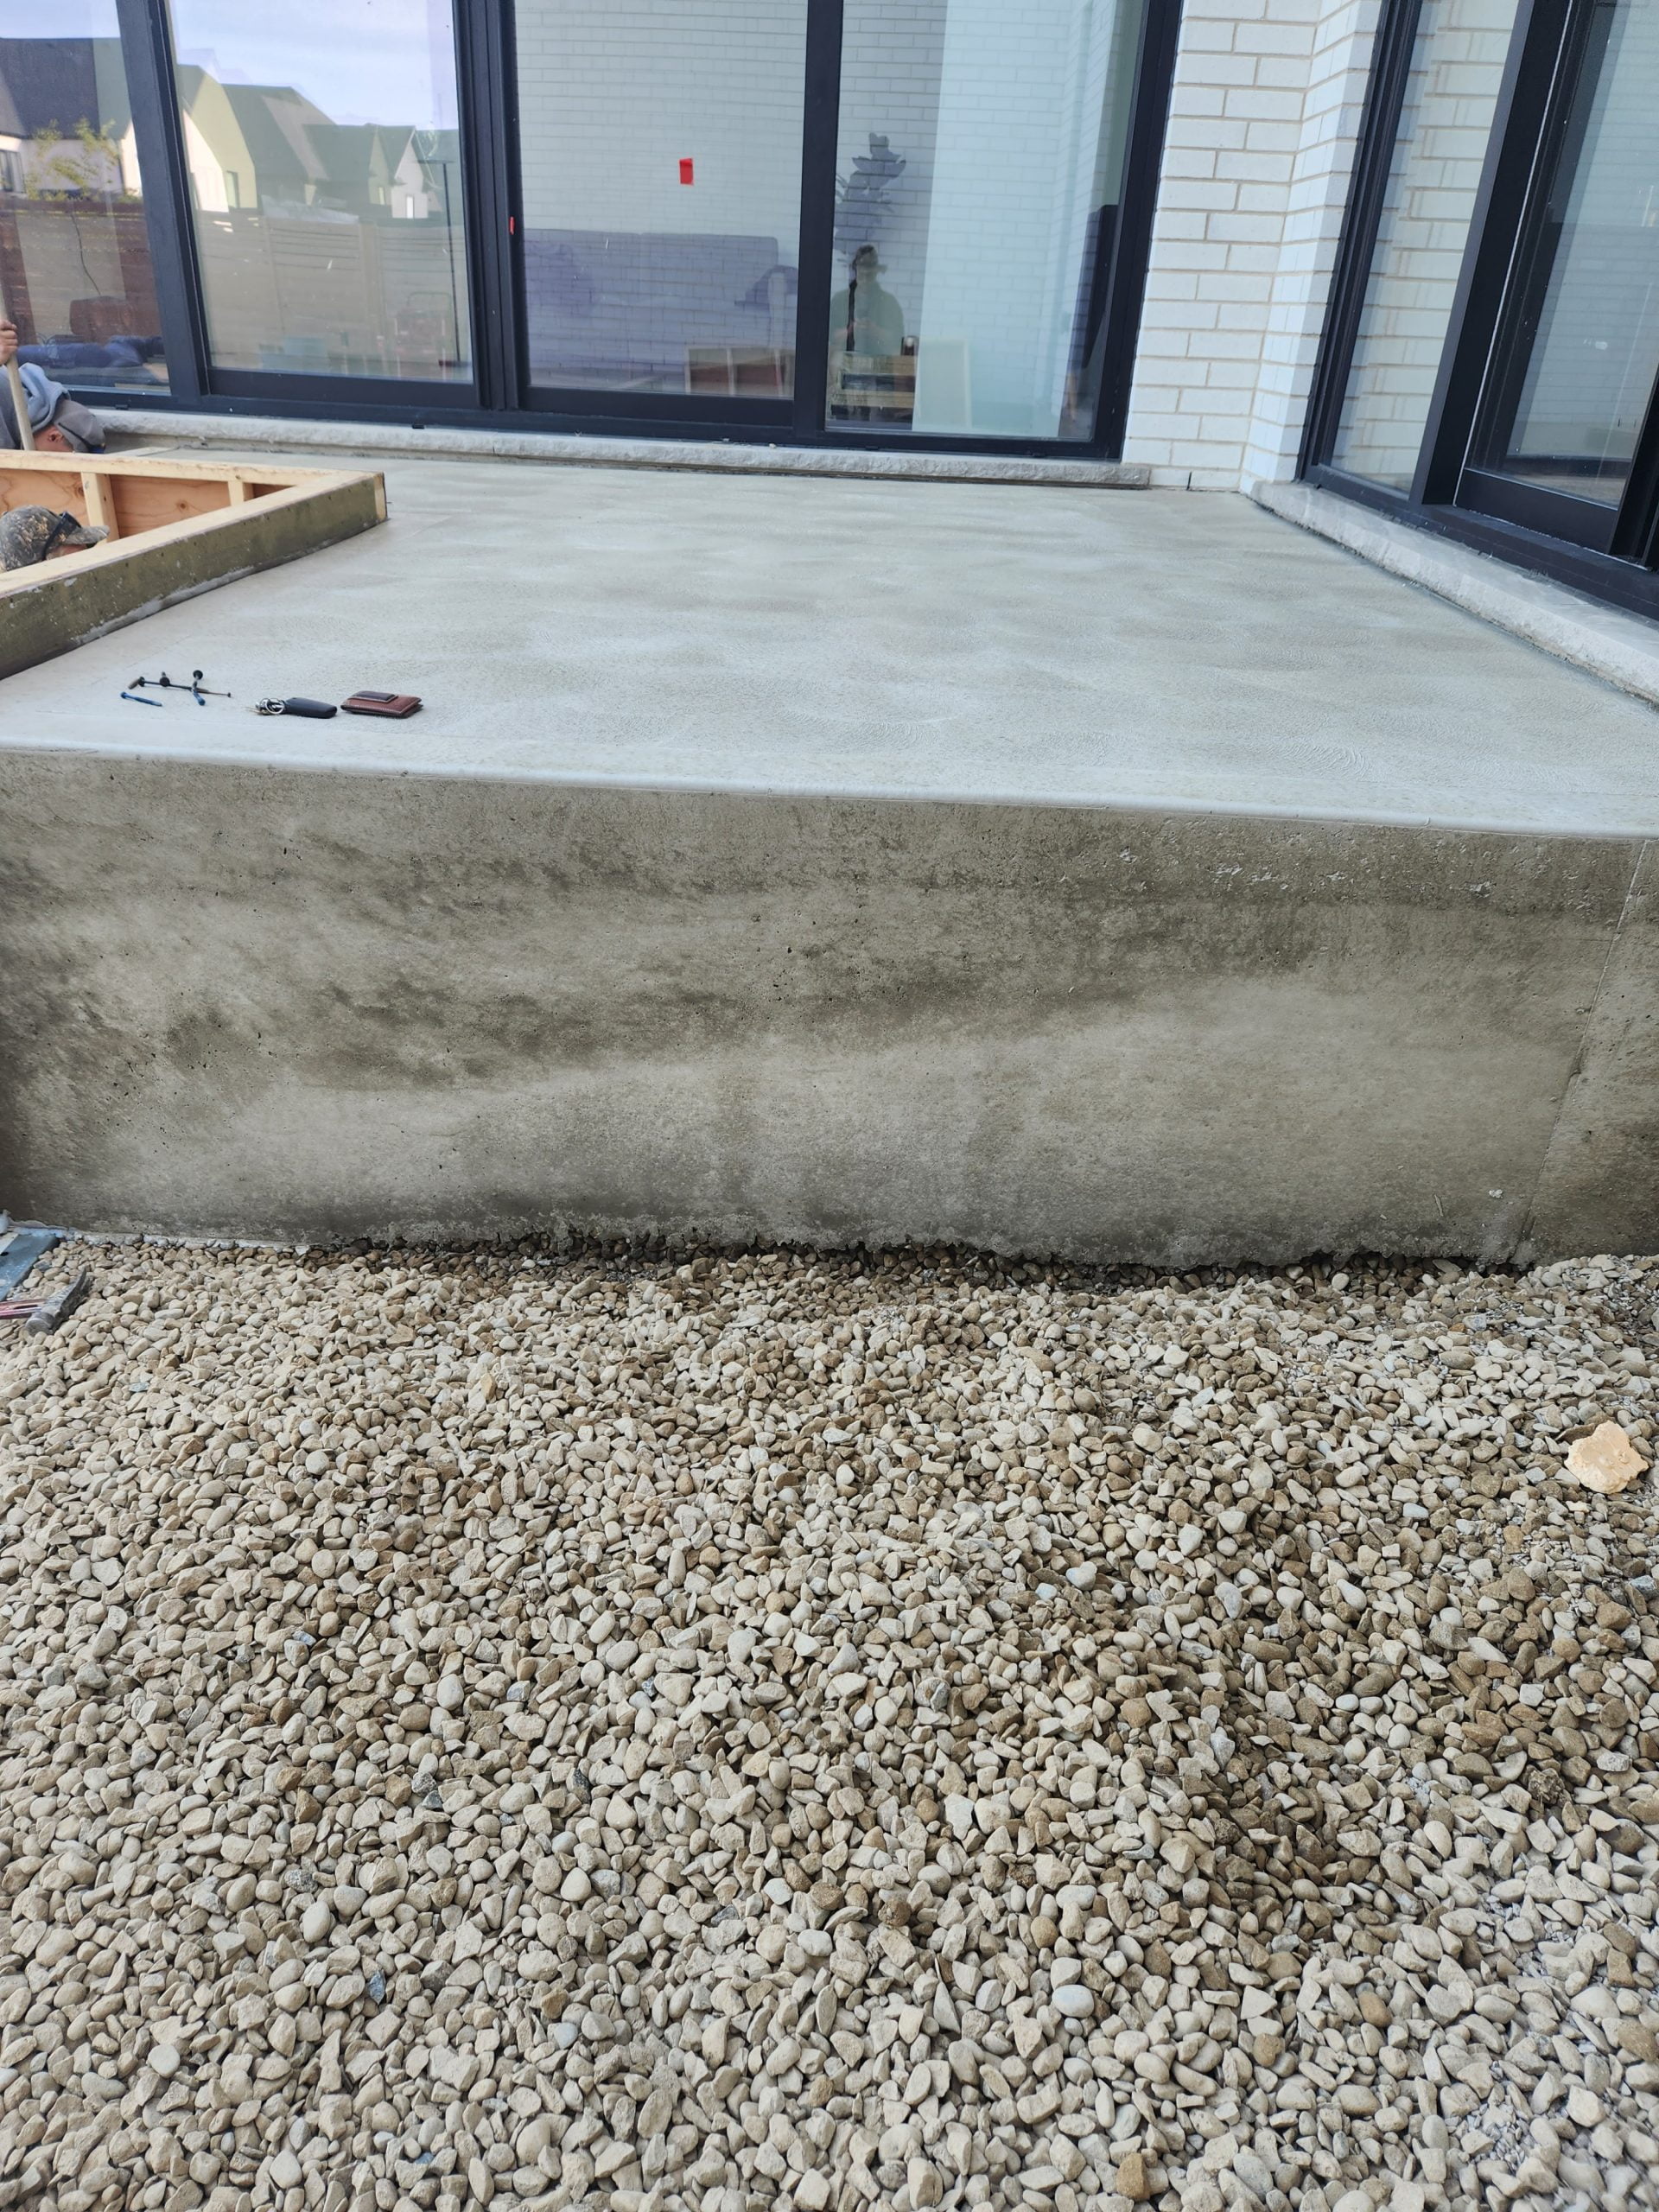
DAY SIX
We stripped the forms from the previous day’s concrete pour. Then we began forming up the main deck area. We also started levelling the crushed gravel.
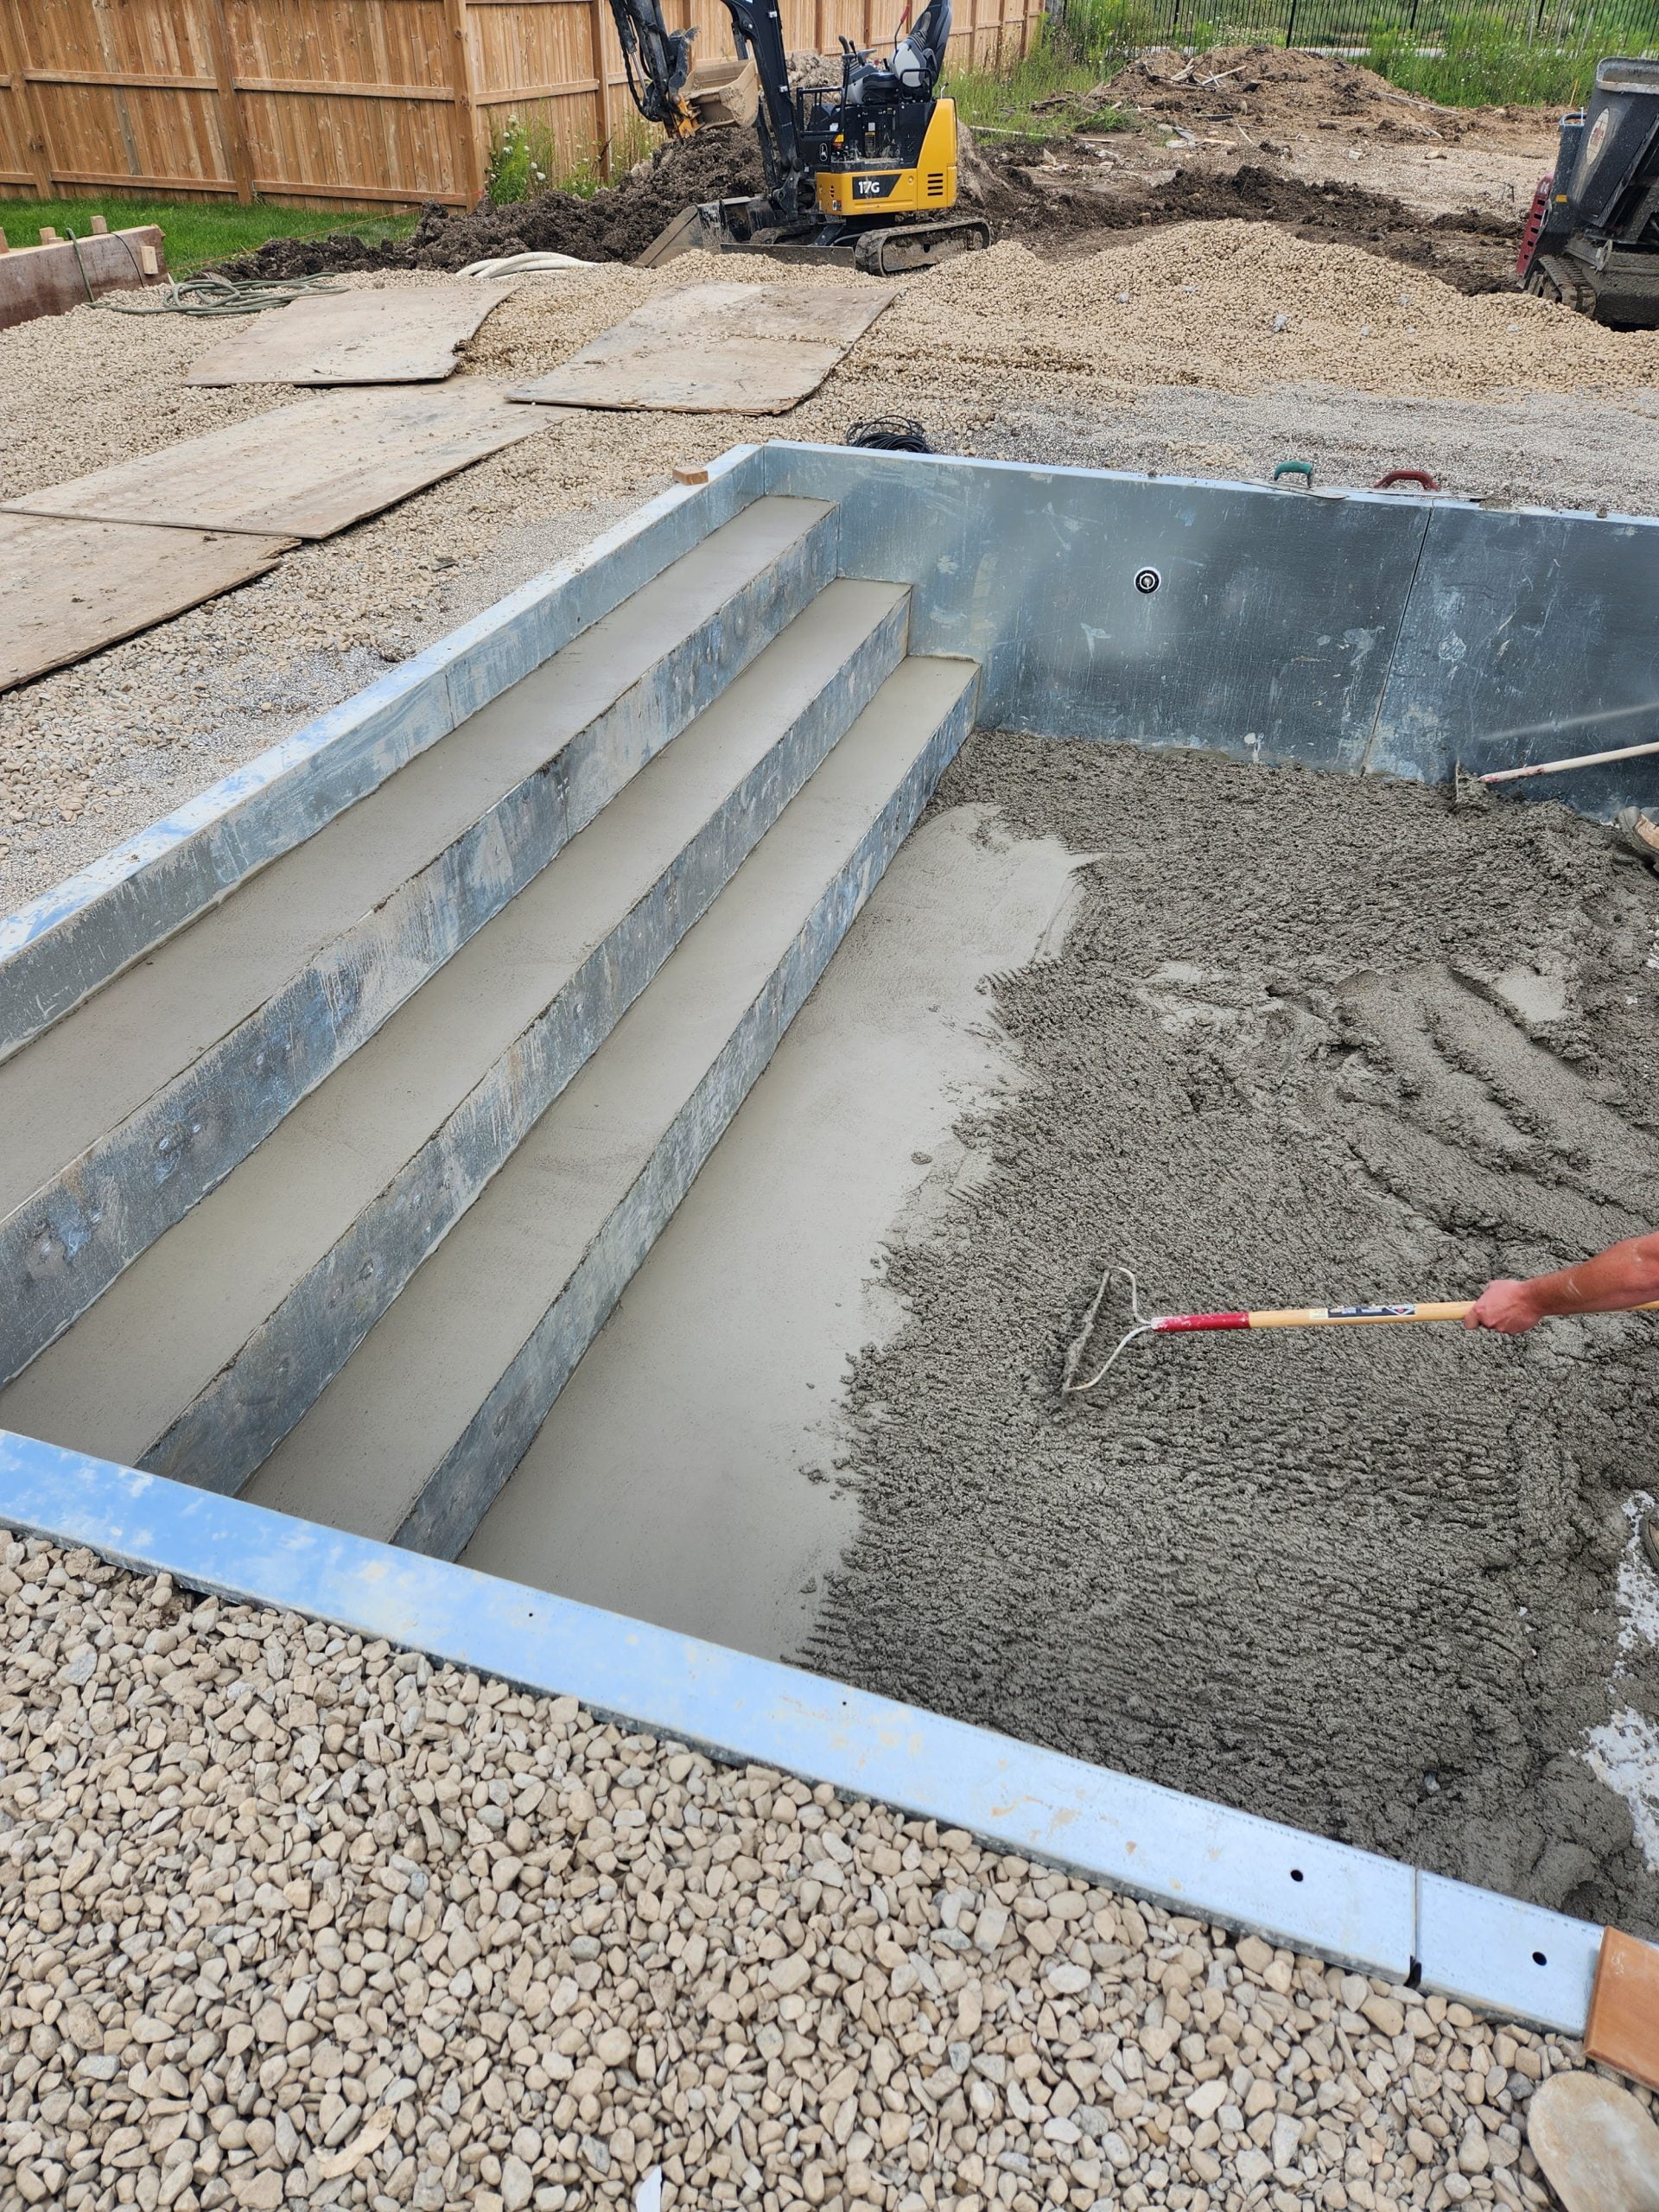
DAY SEVEN
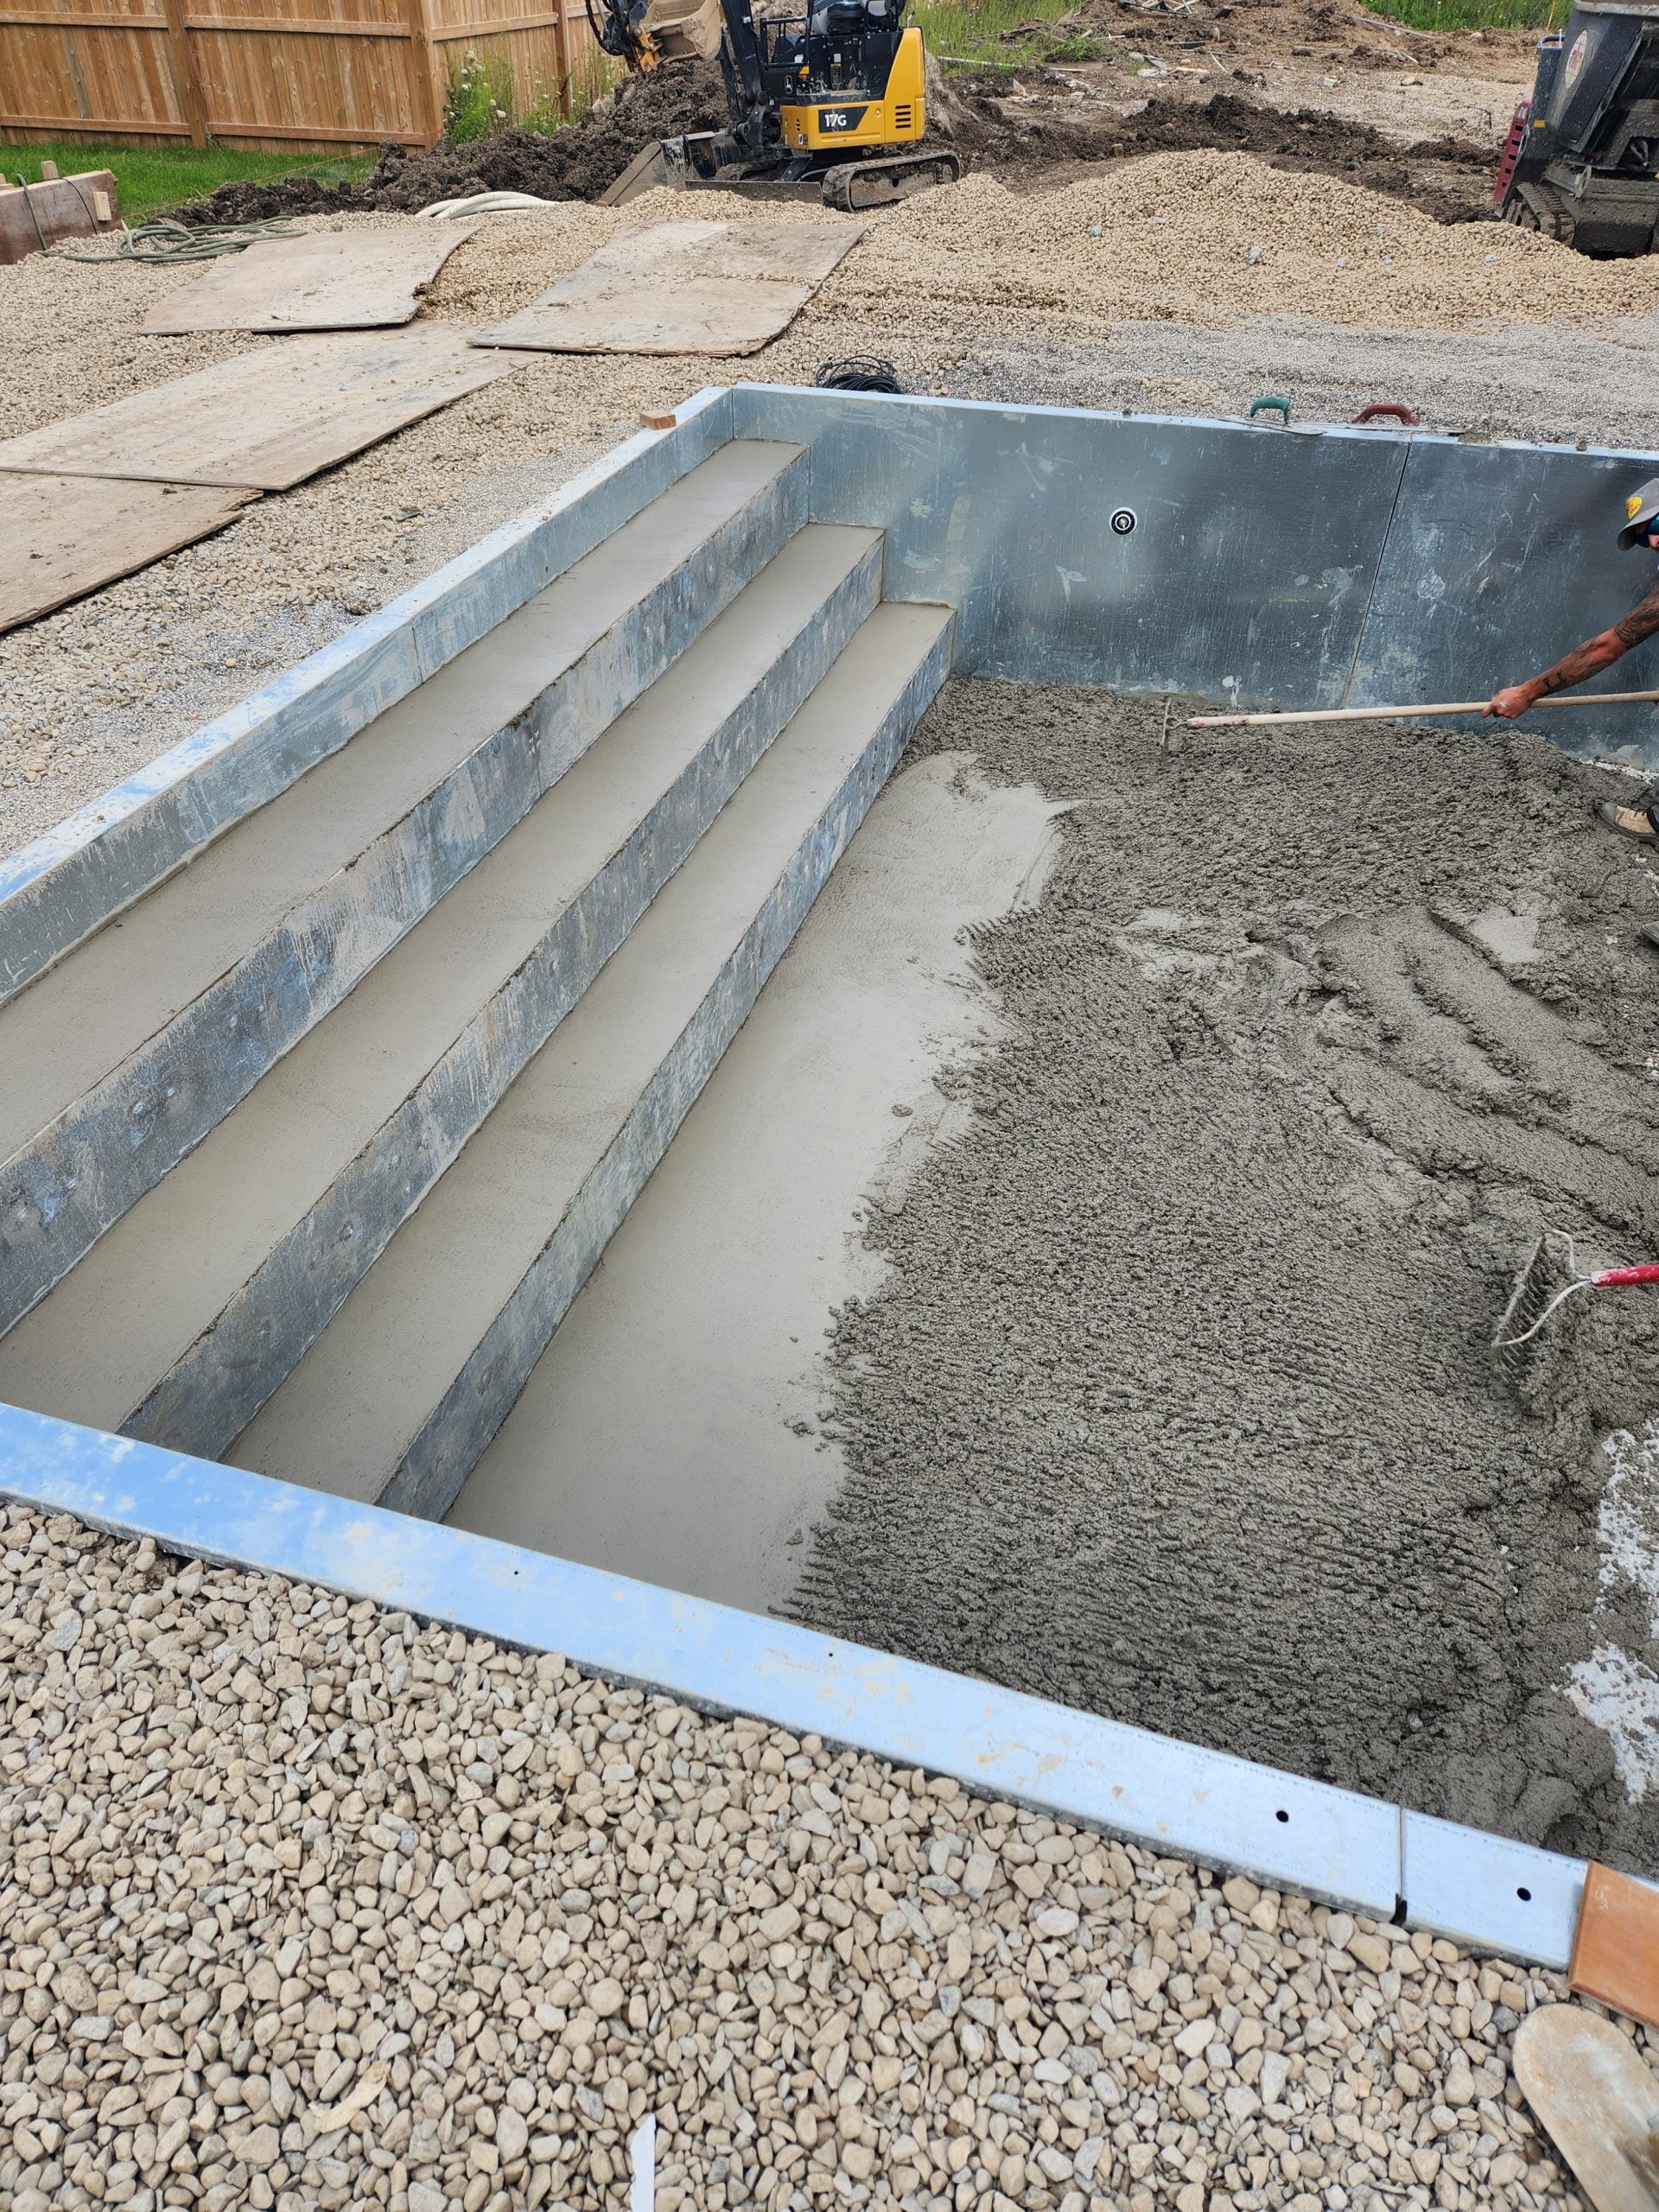
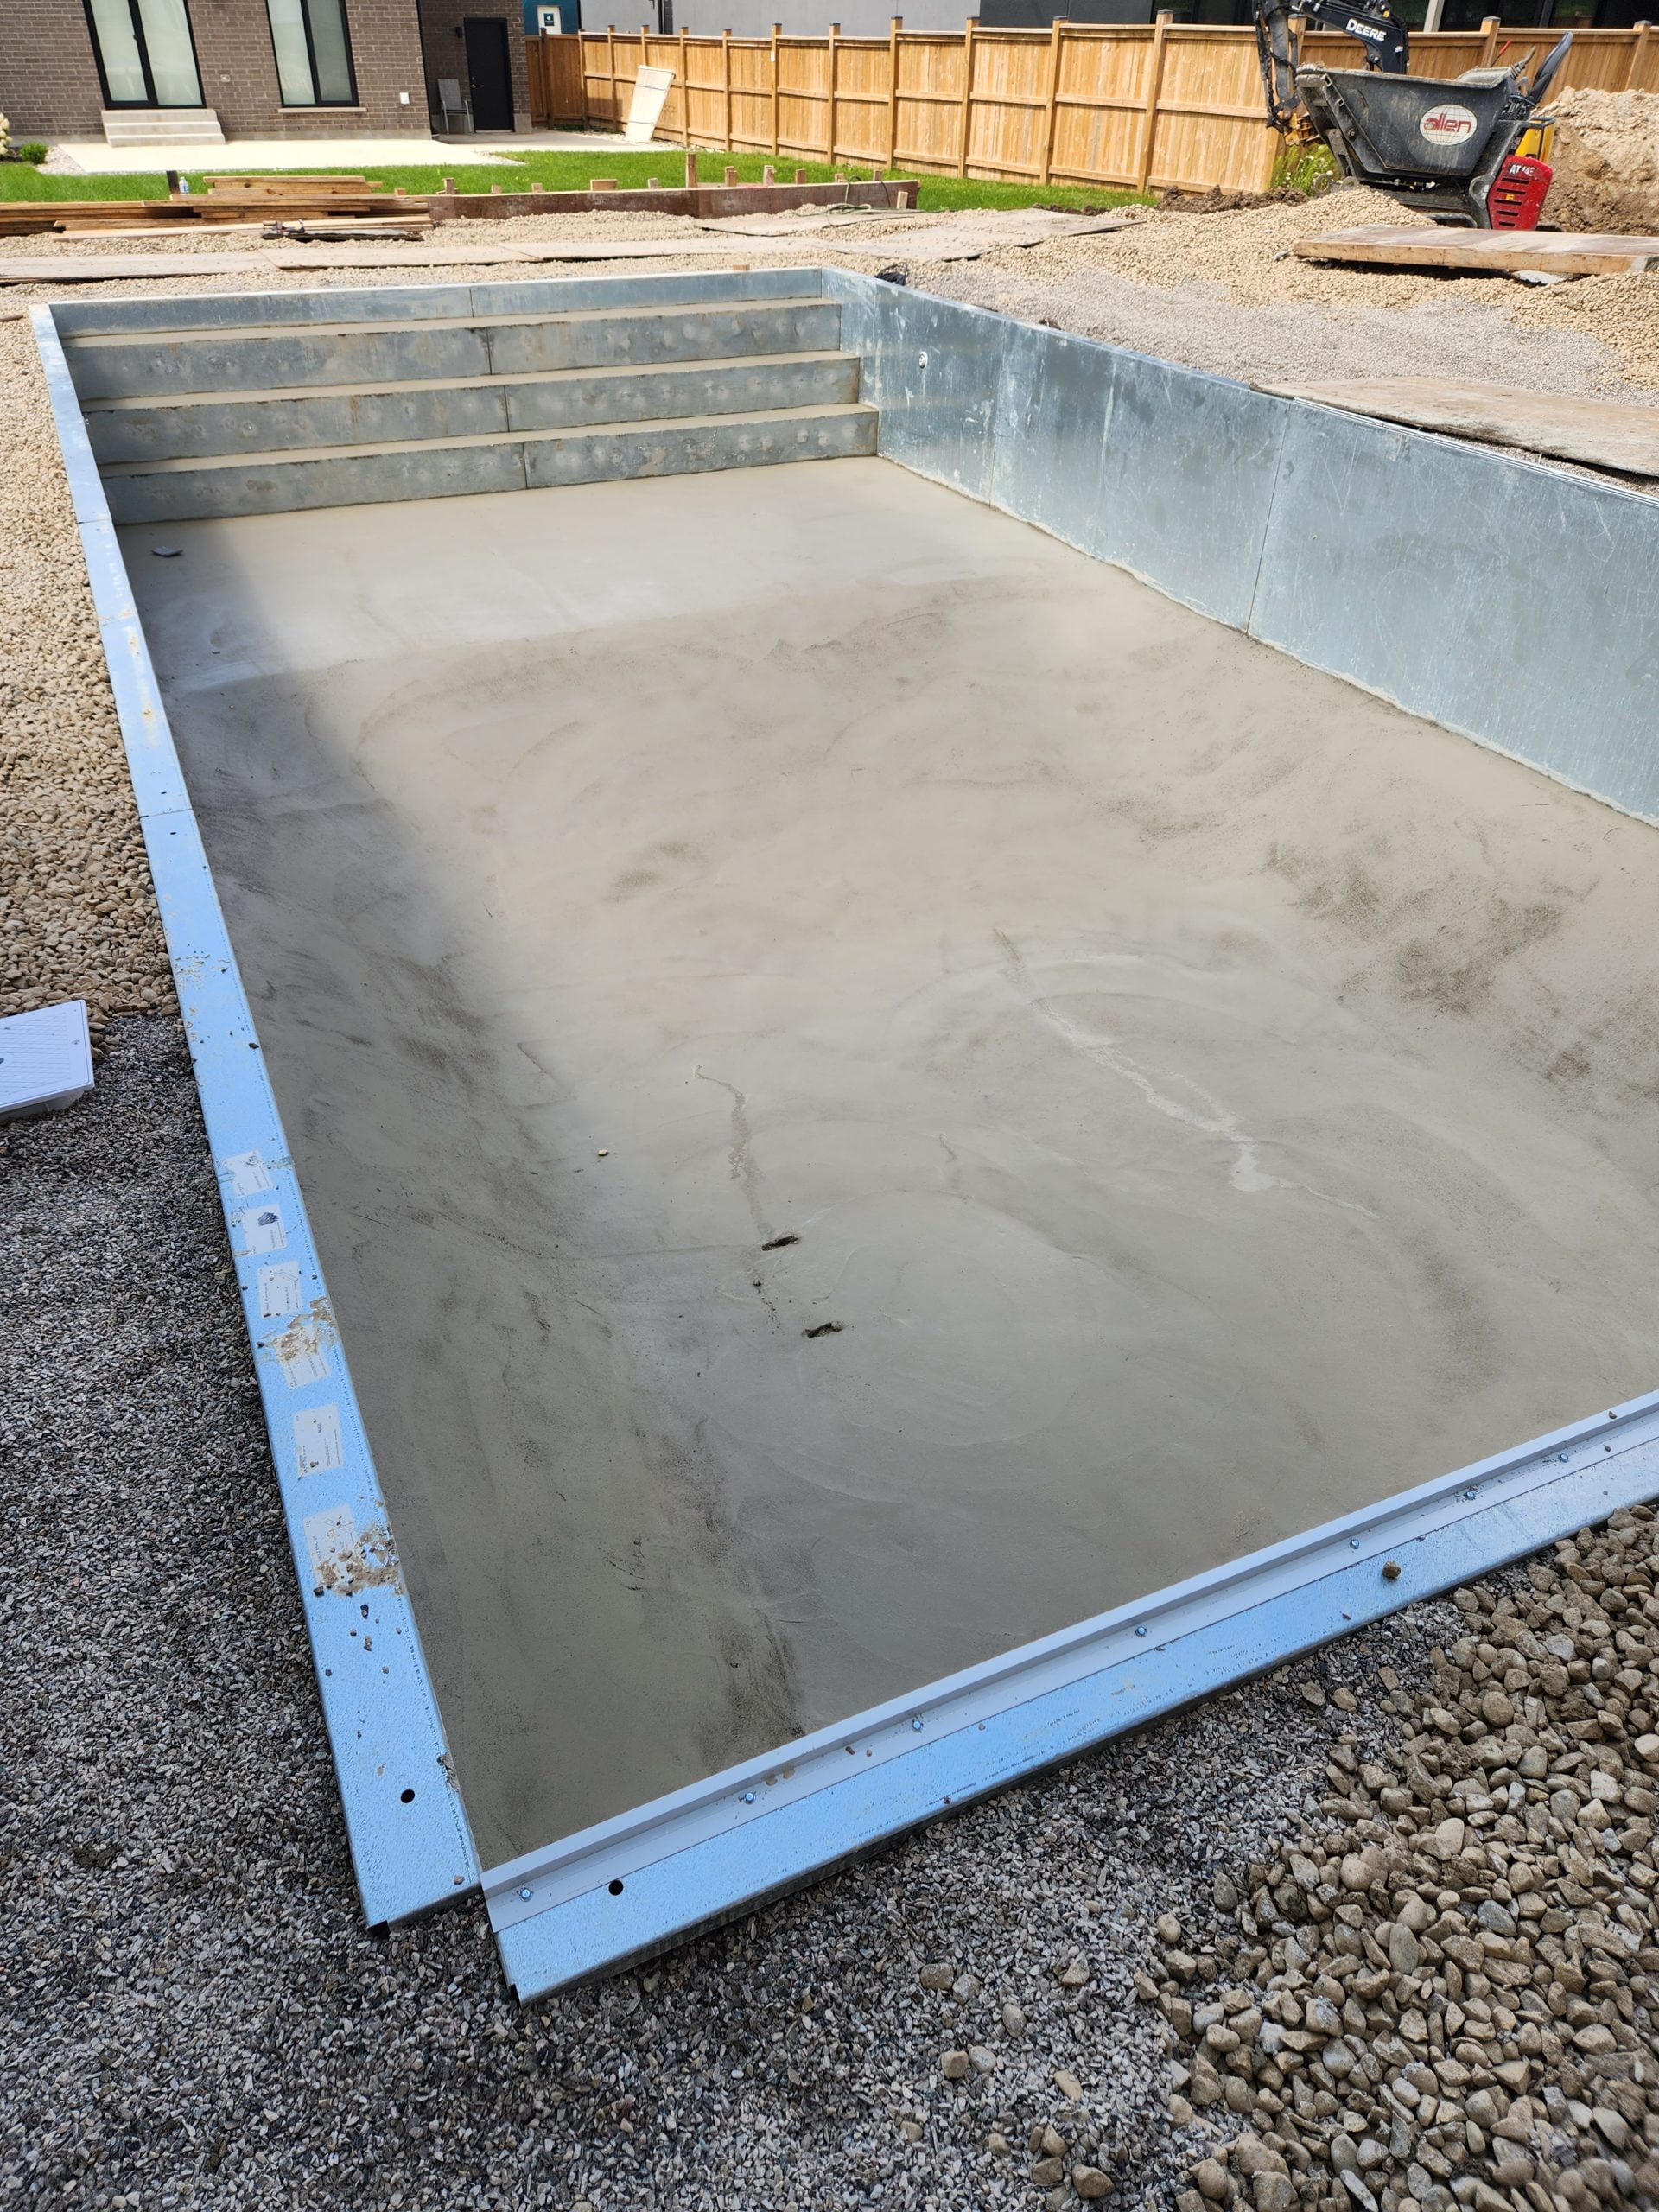
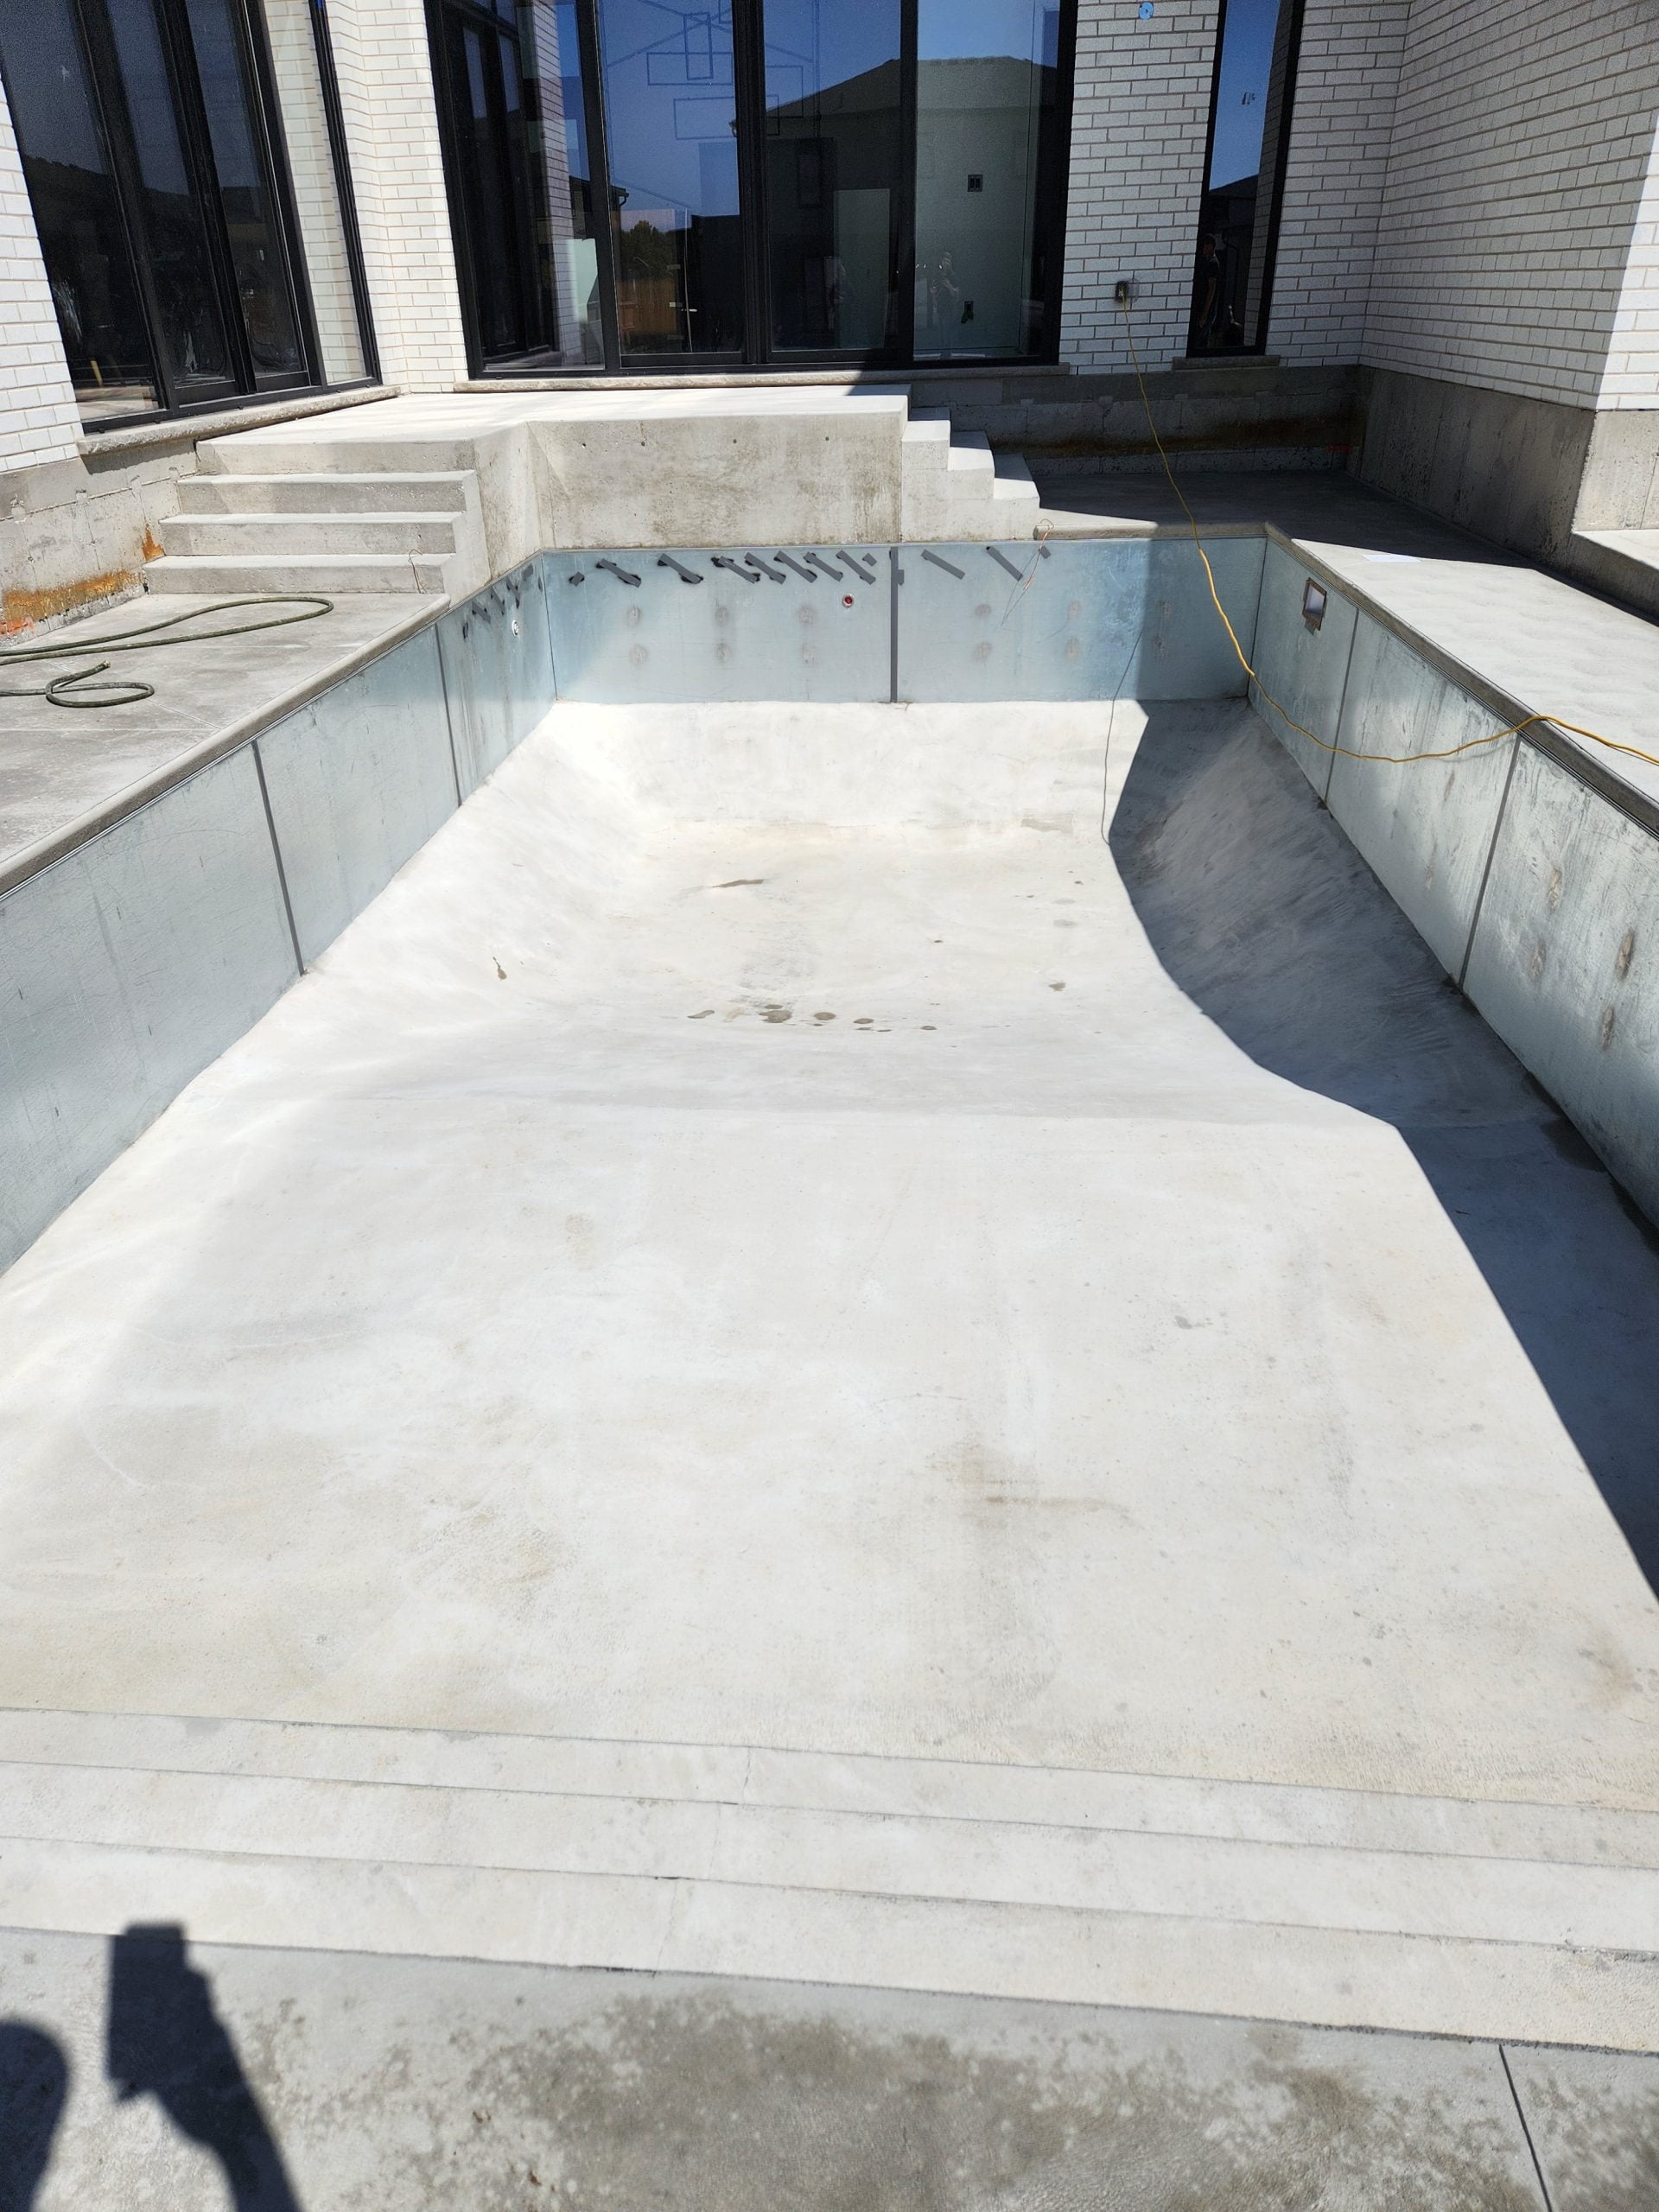
We grouted the bottom of the pool as well as the steel steps.
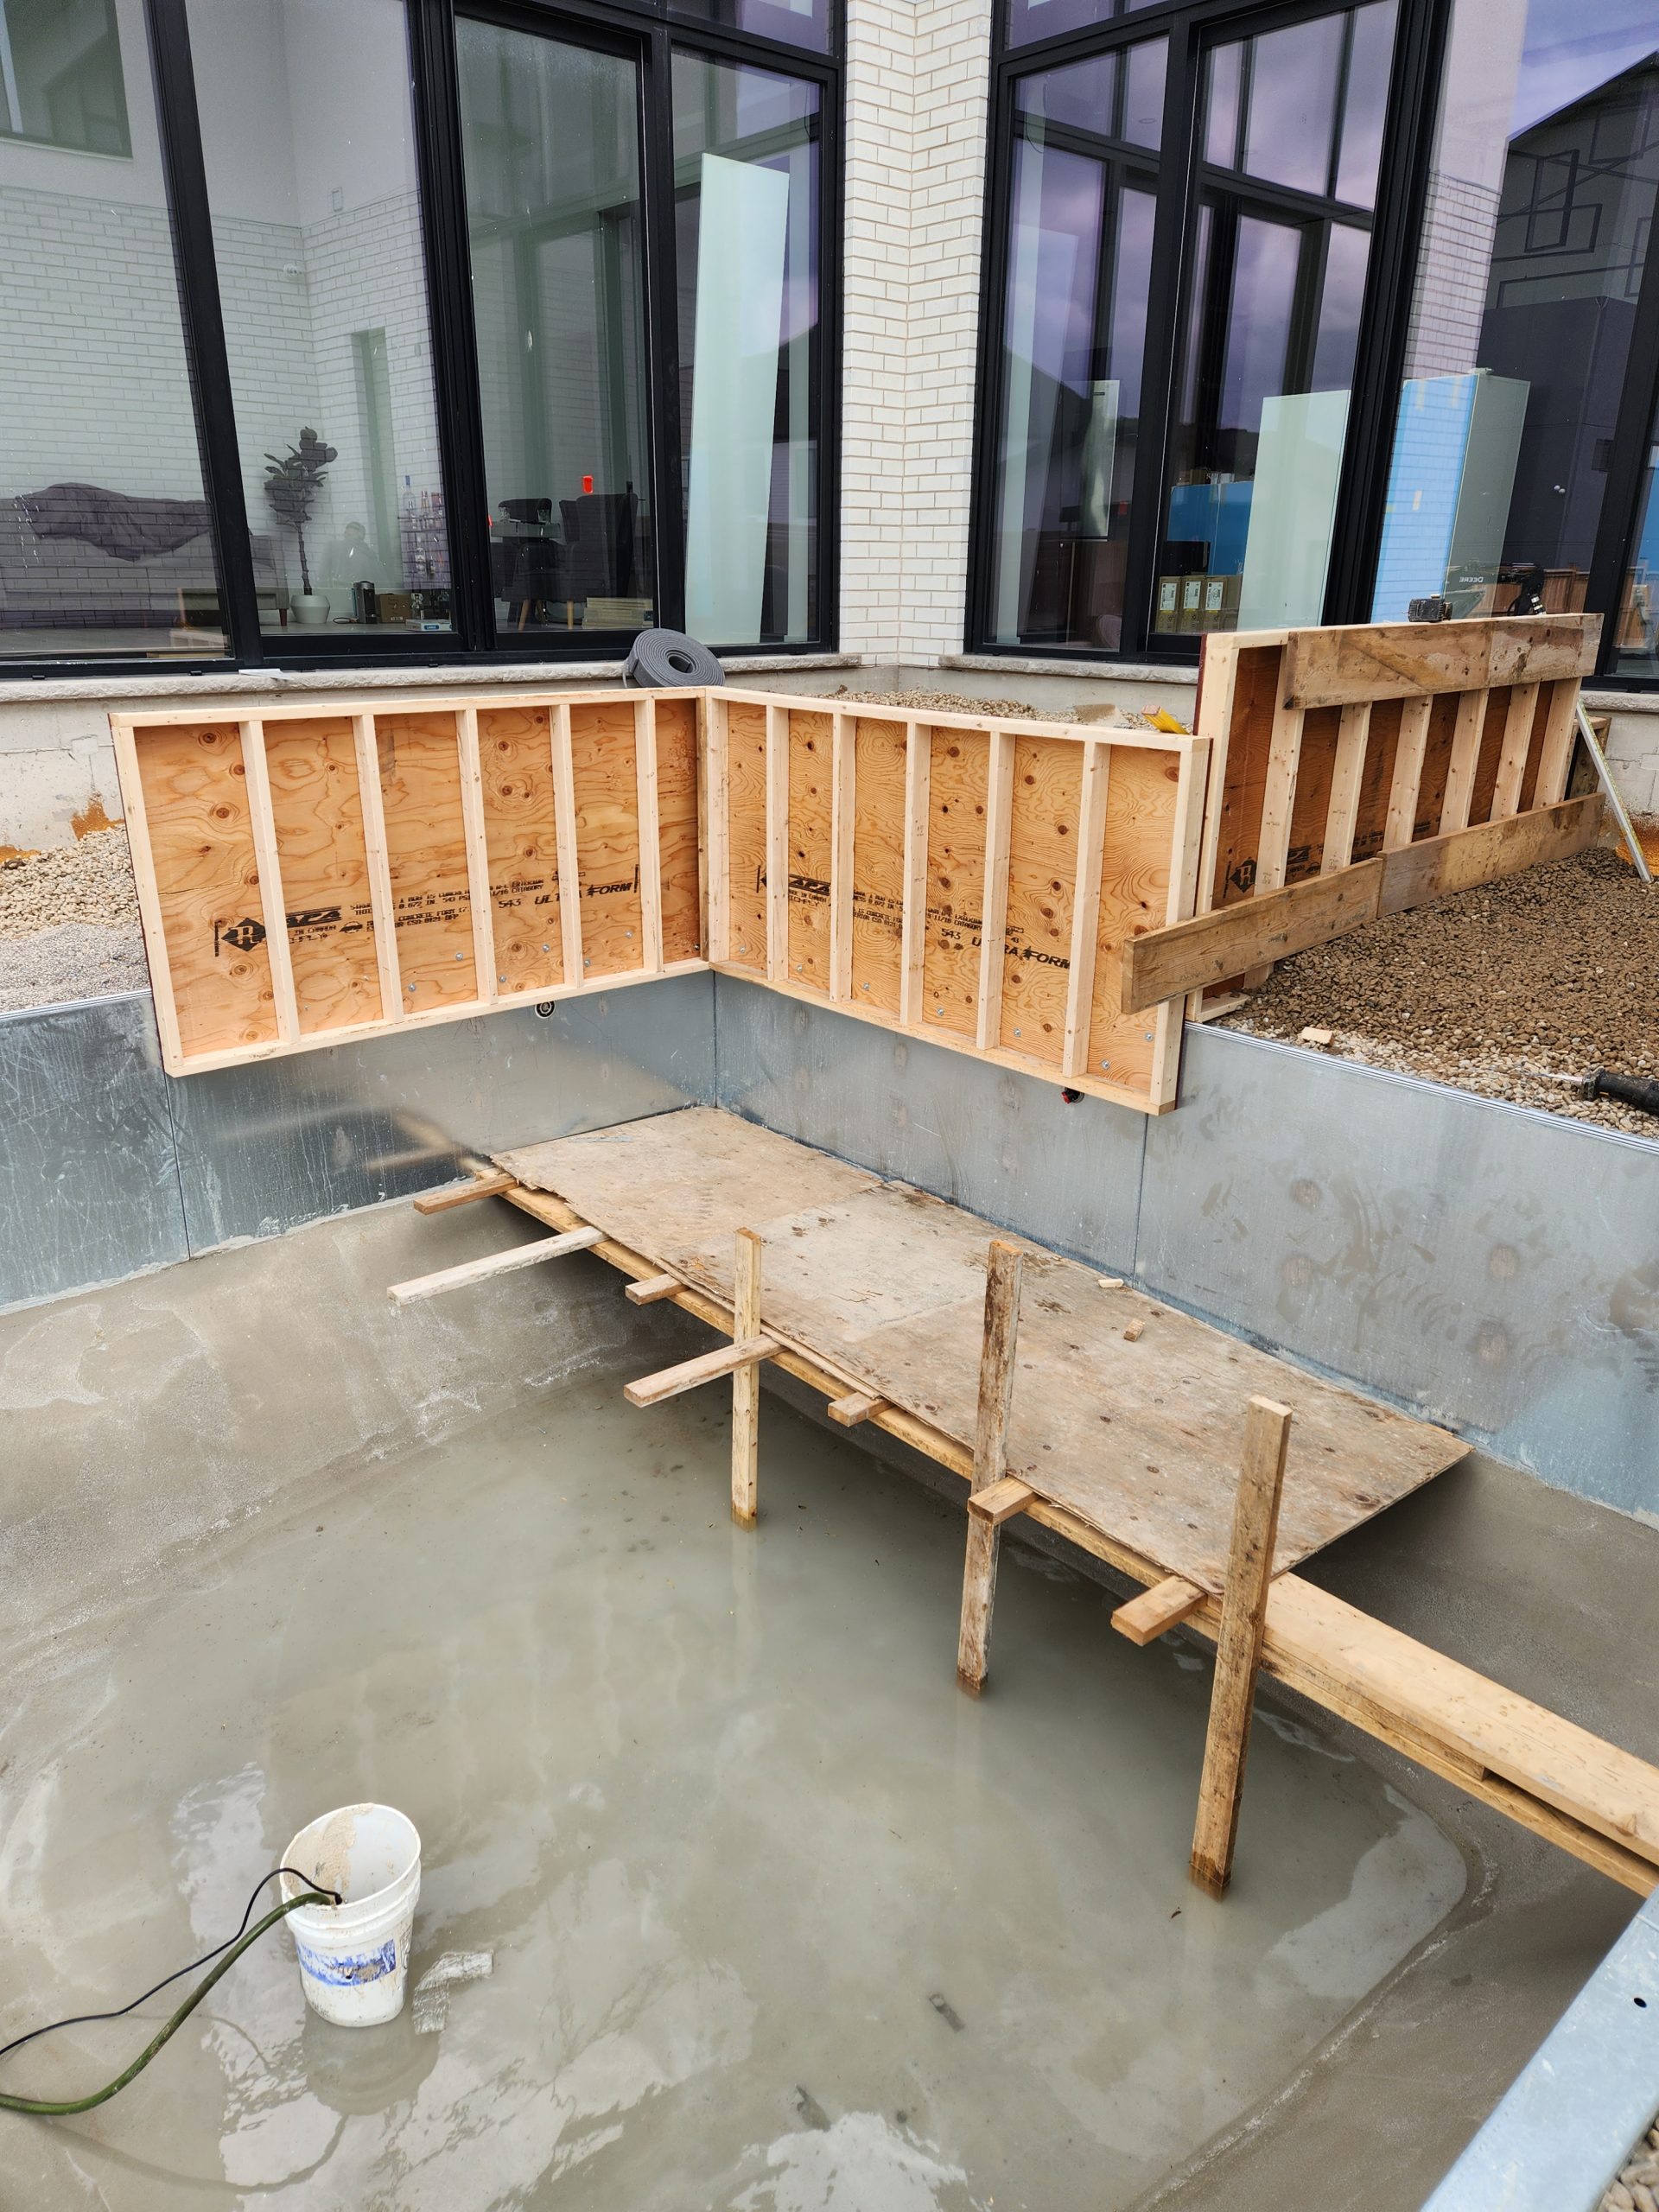
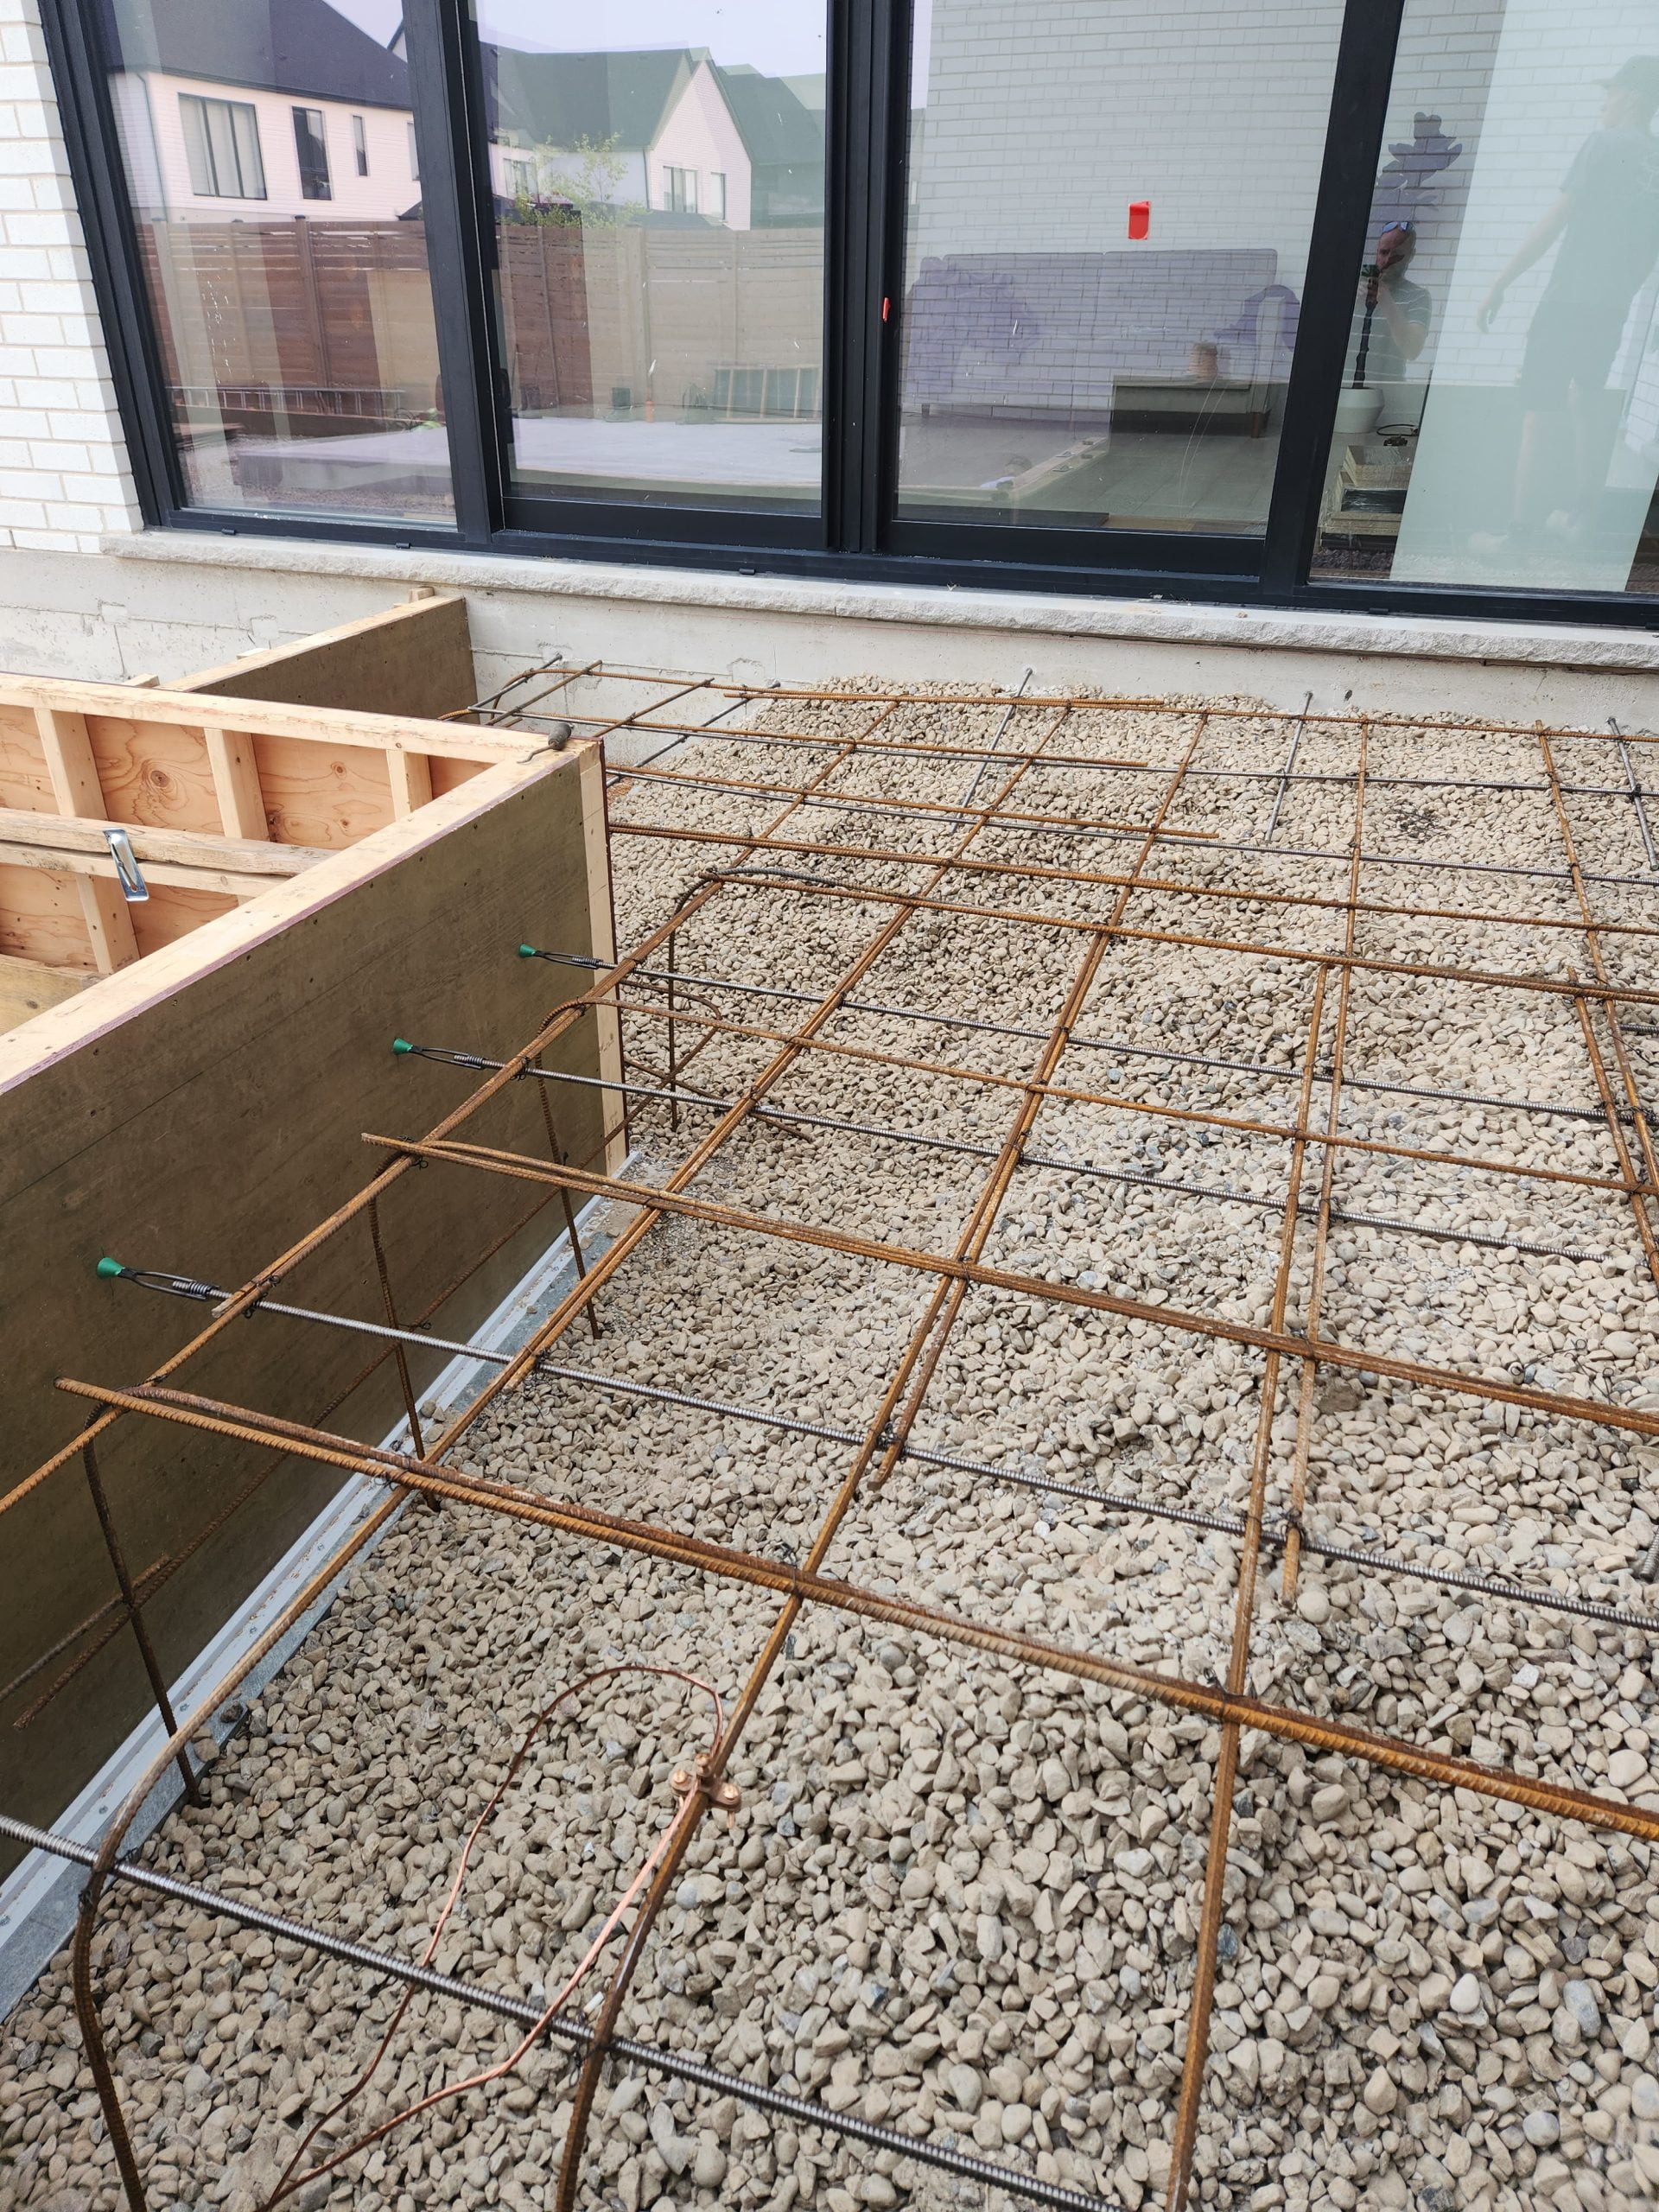
DAY EIGHT & NINE
First, we formed up the raised patio area to grant house access to the pool. This marked the half-way point of the project. Then we came back the next day to add re-bar and properly bond the raised patio area. And then we poured the concrete for this area.
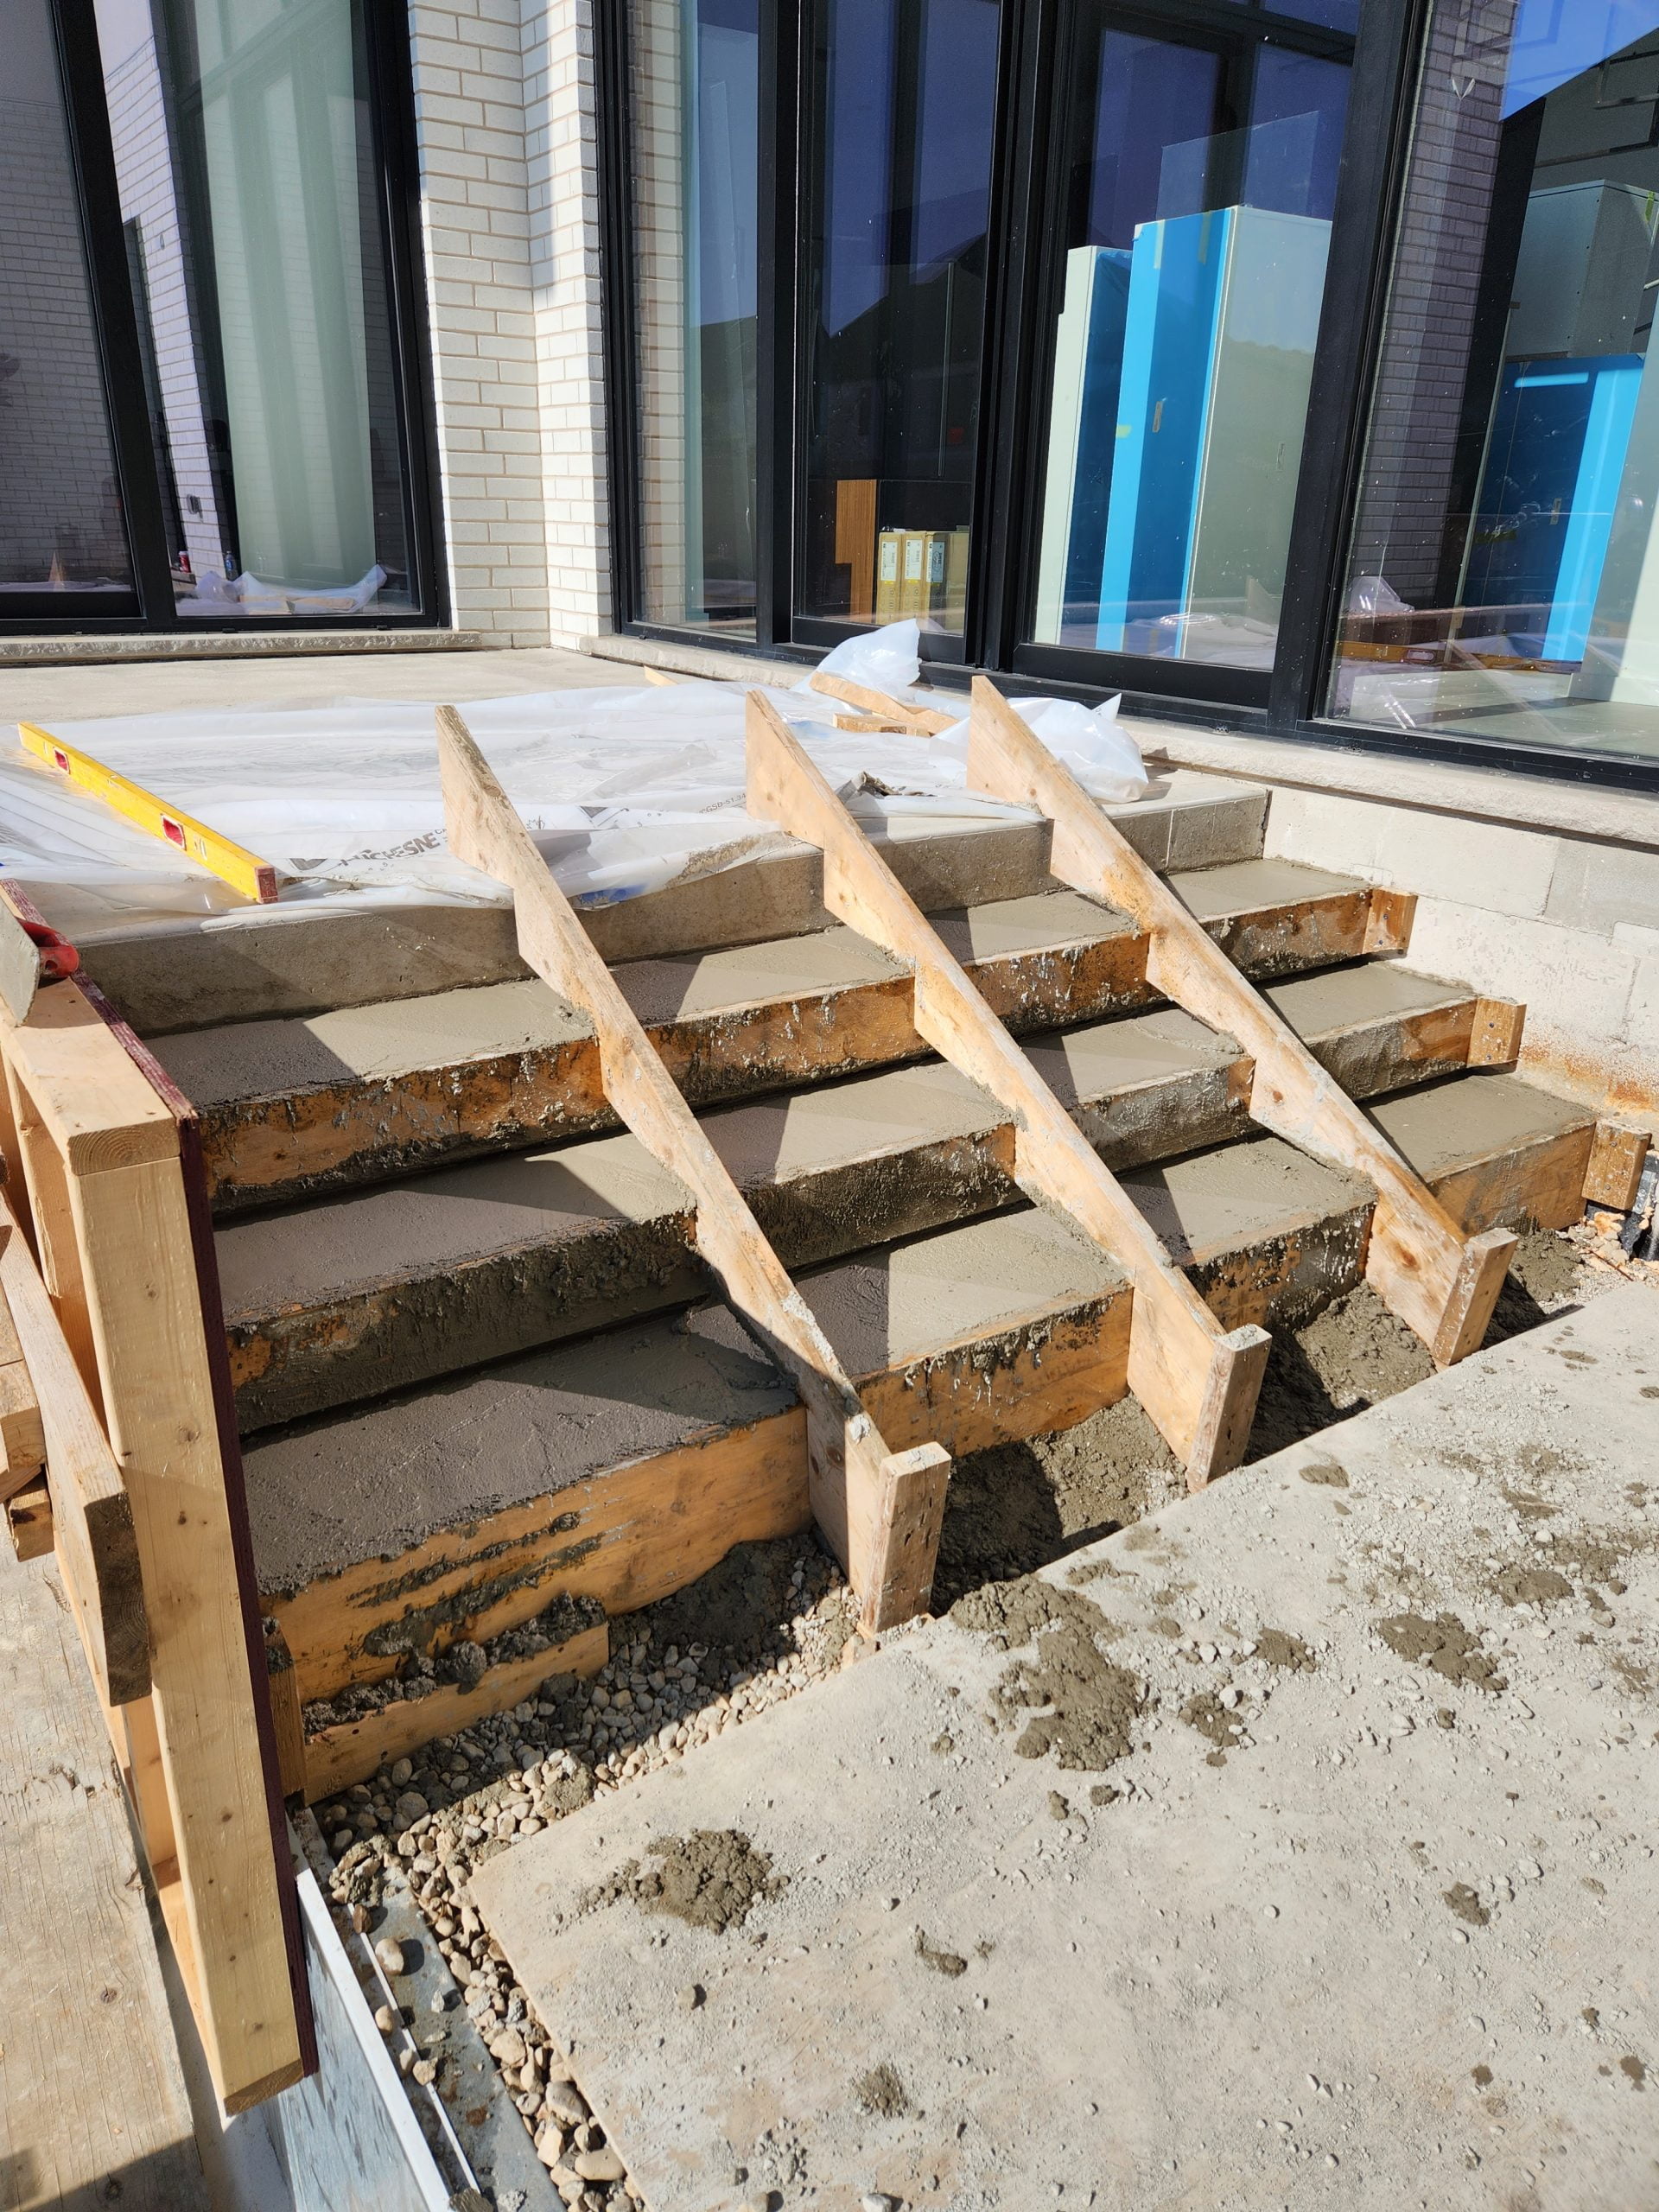
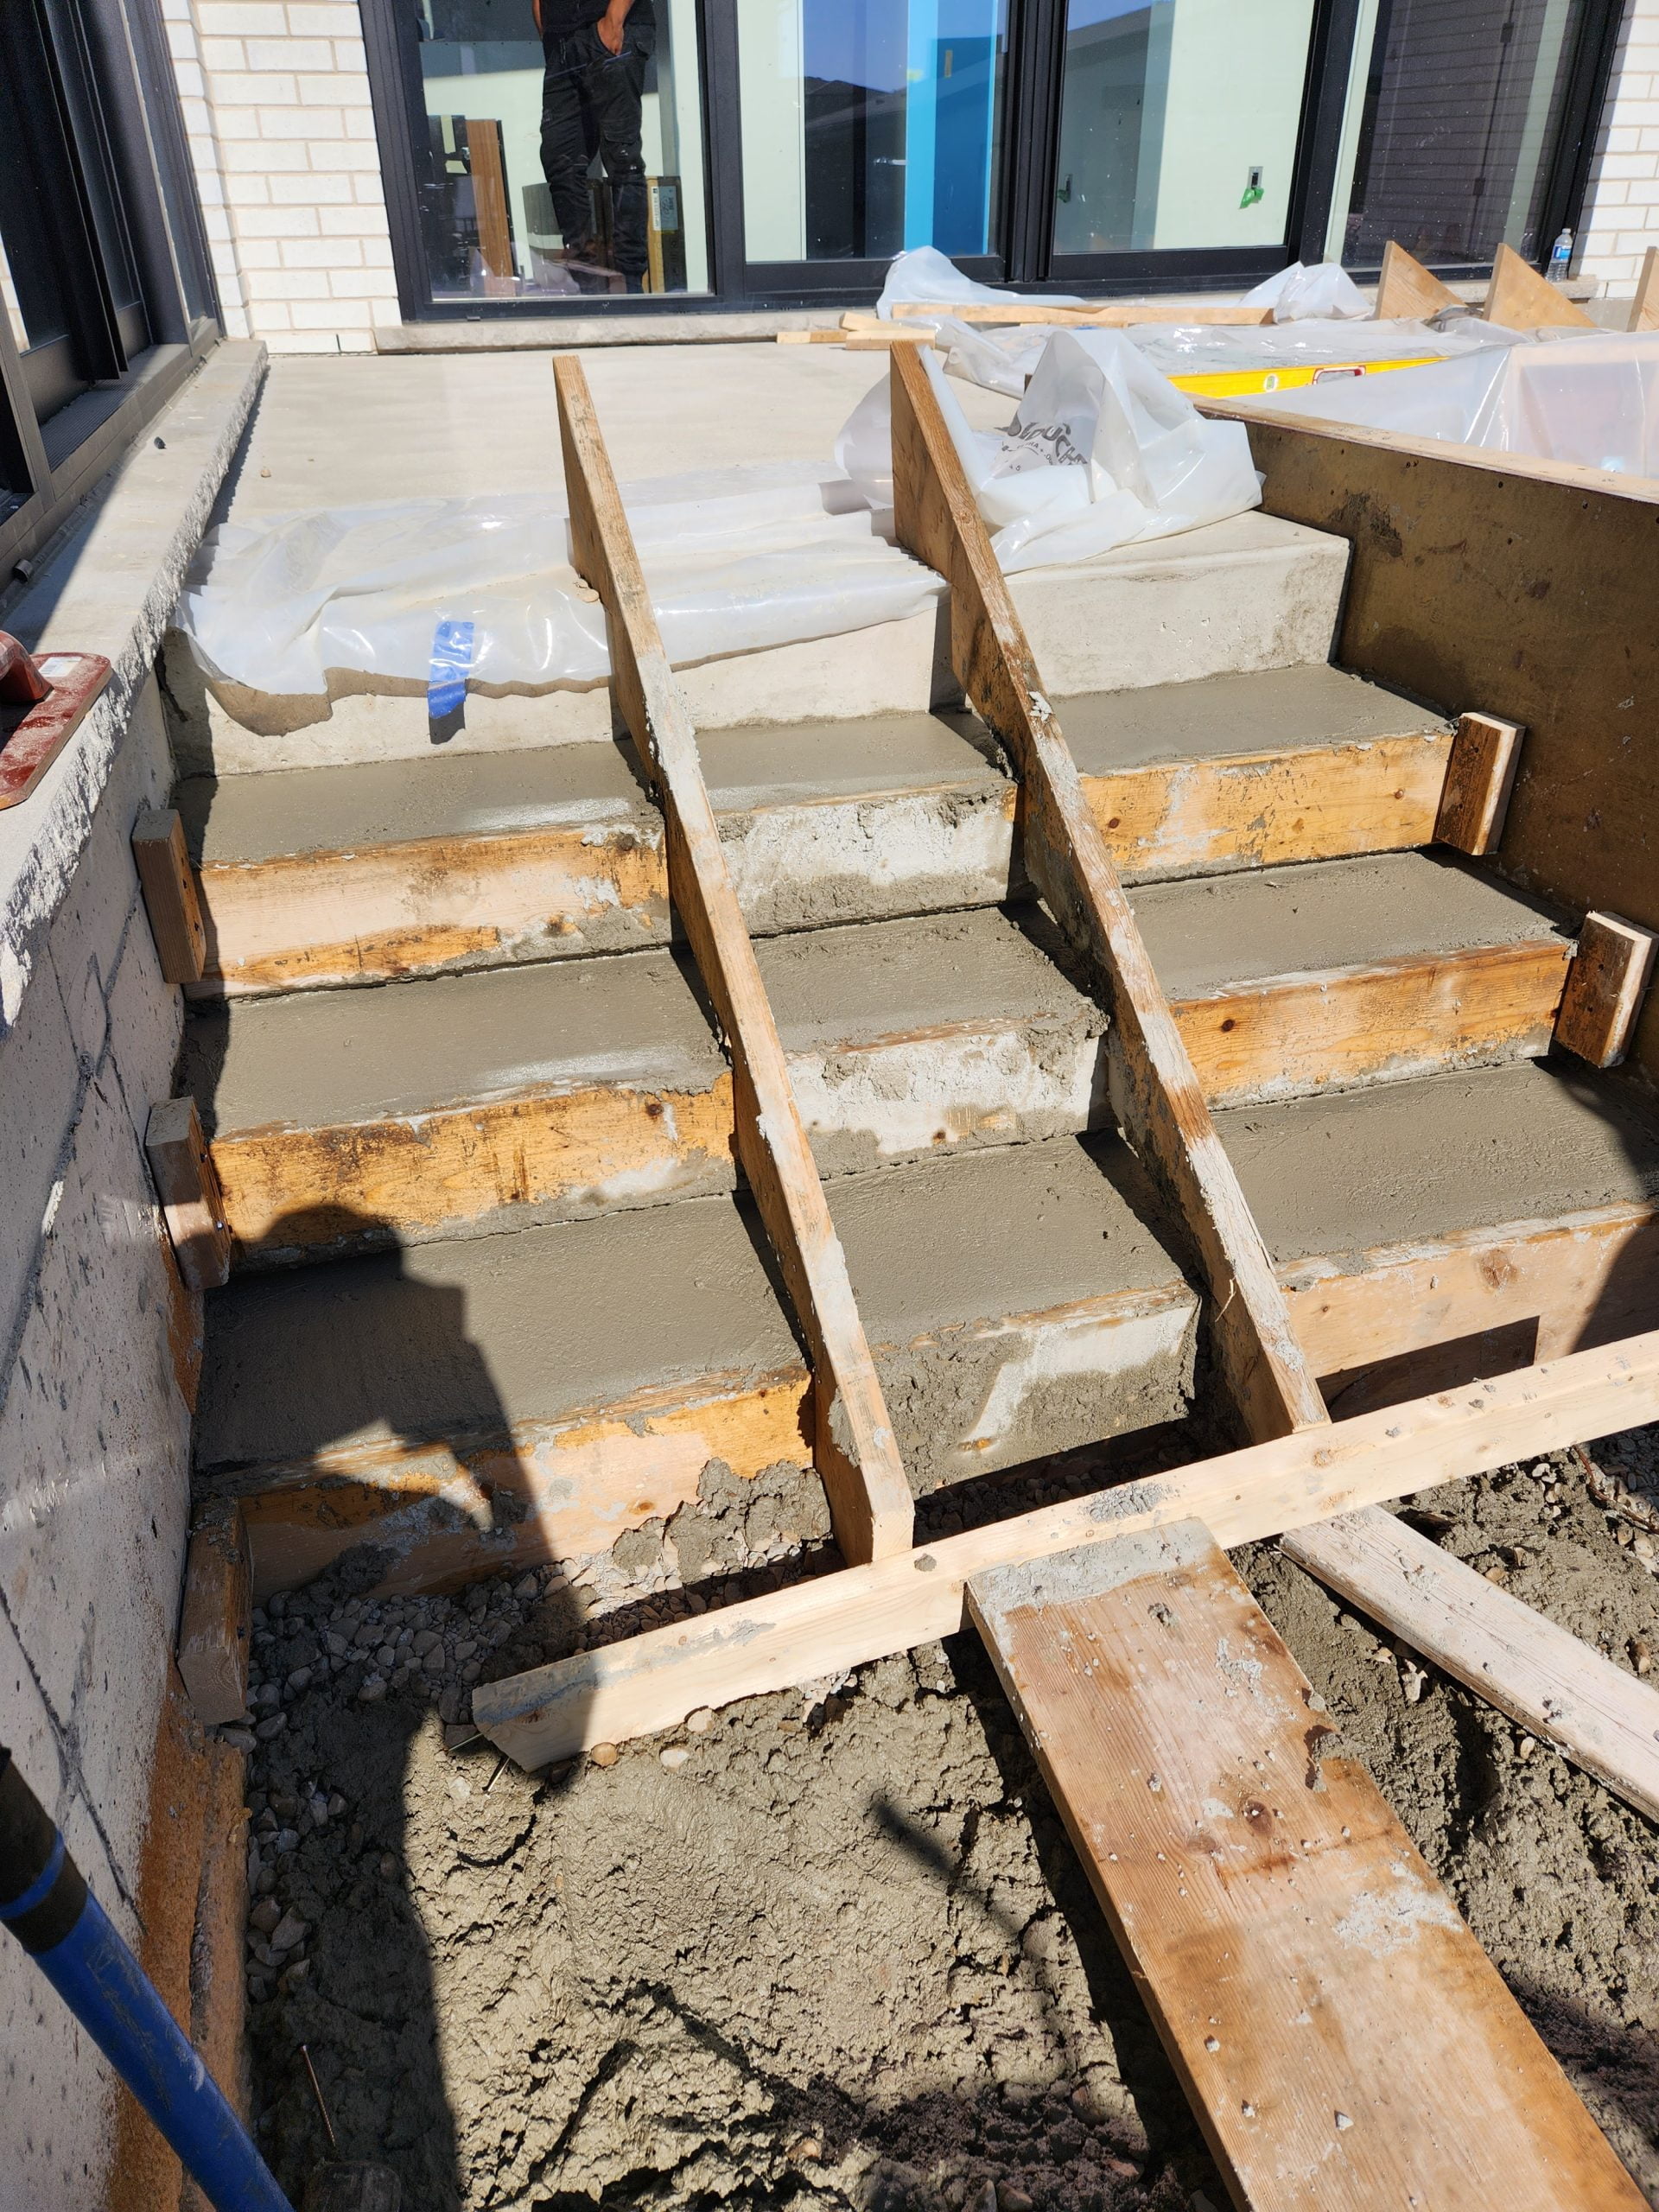
DAY TEN
We stripped the forms of the raised patio area and formed up the stairs. Then we poured the concrete for stairs.
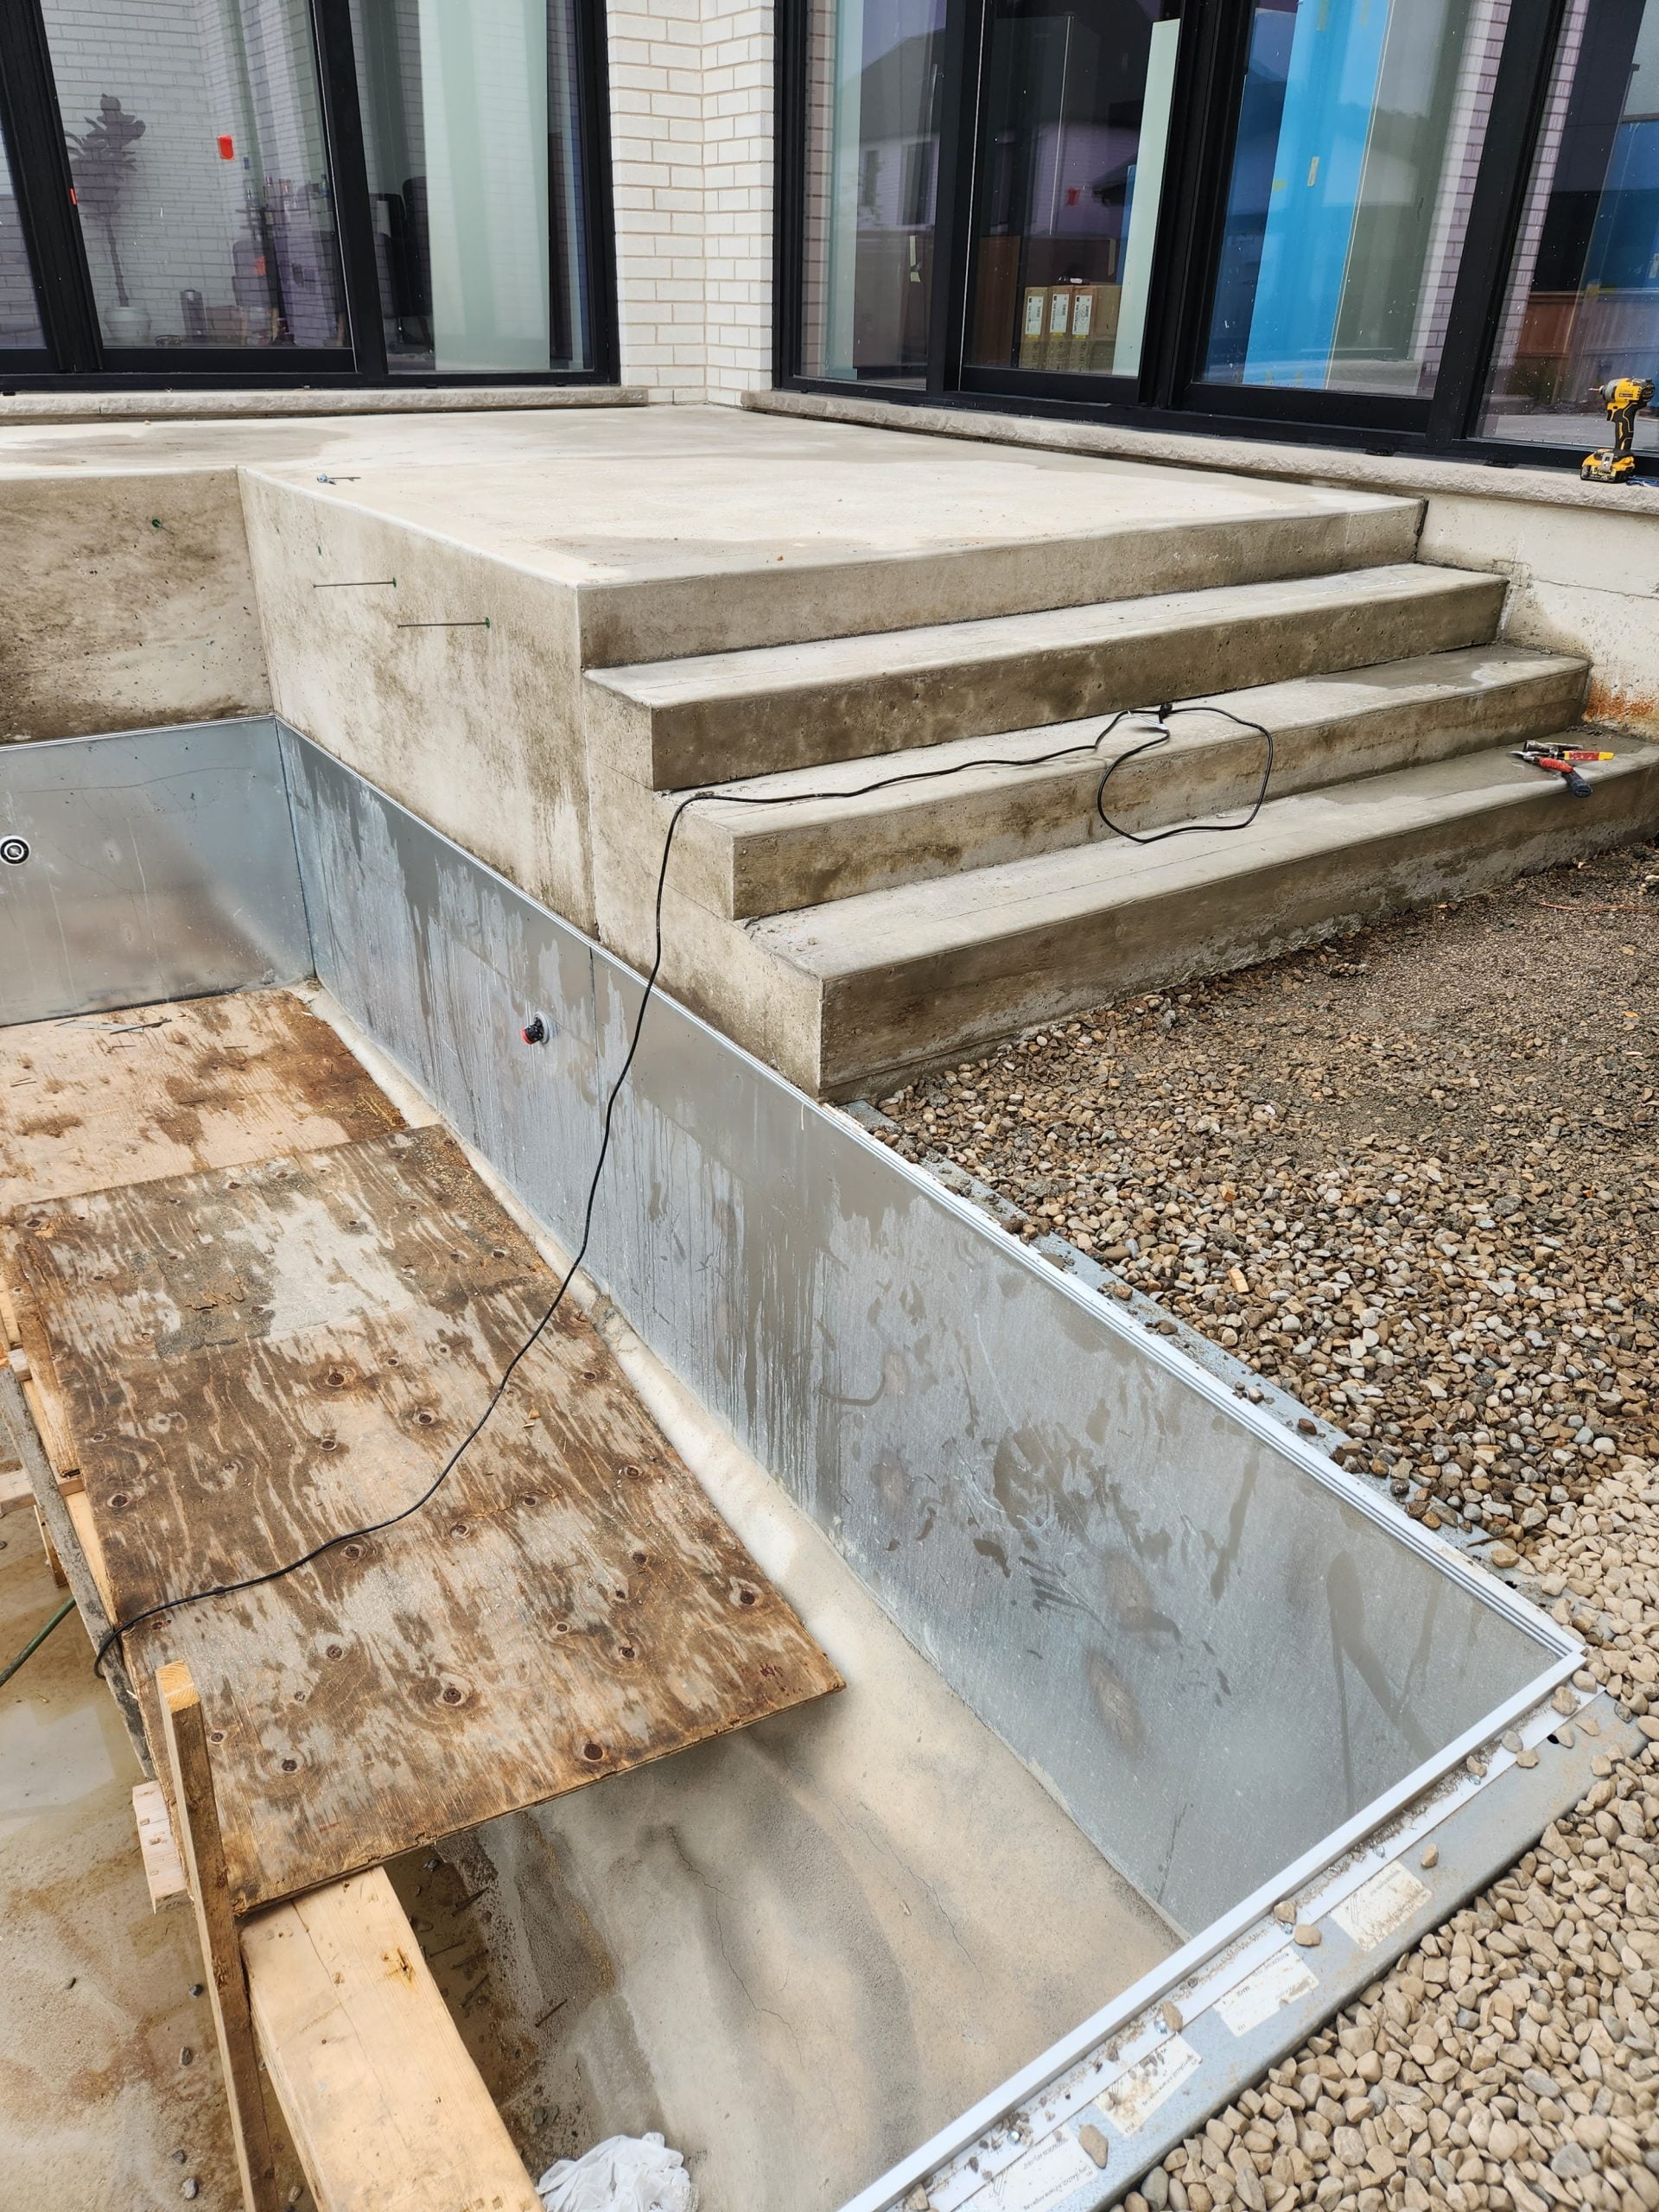
DAY ELEVEN & TWELVE
The weather did not cooperate so we had to cut the eleventh day short. But we were able to strip the forms from the stairs. We returned the next day to finish grading the main patio area. Then we added a strip drain to move water away from the house. Next we put cantilever coping forms on pool and laid wire mesh and bonded mesh.
DAY THIRTEEN & FOURTEEN
Today, we poured the main concrete patio area. Upon our return the following day, we stripped the forming from the patio area and made relief cuts in the concrete. You can really see the project coming together now.
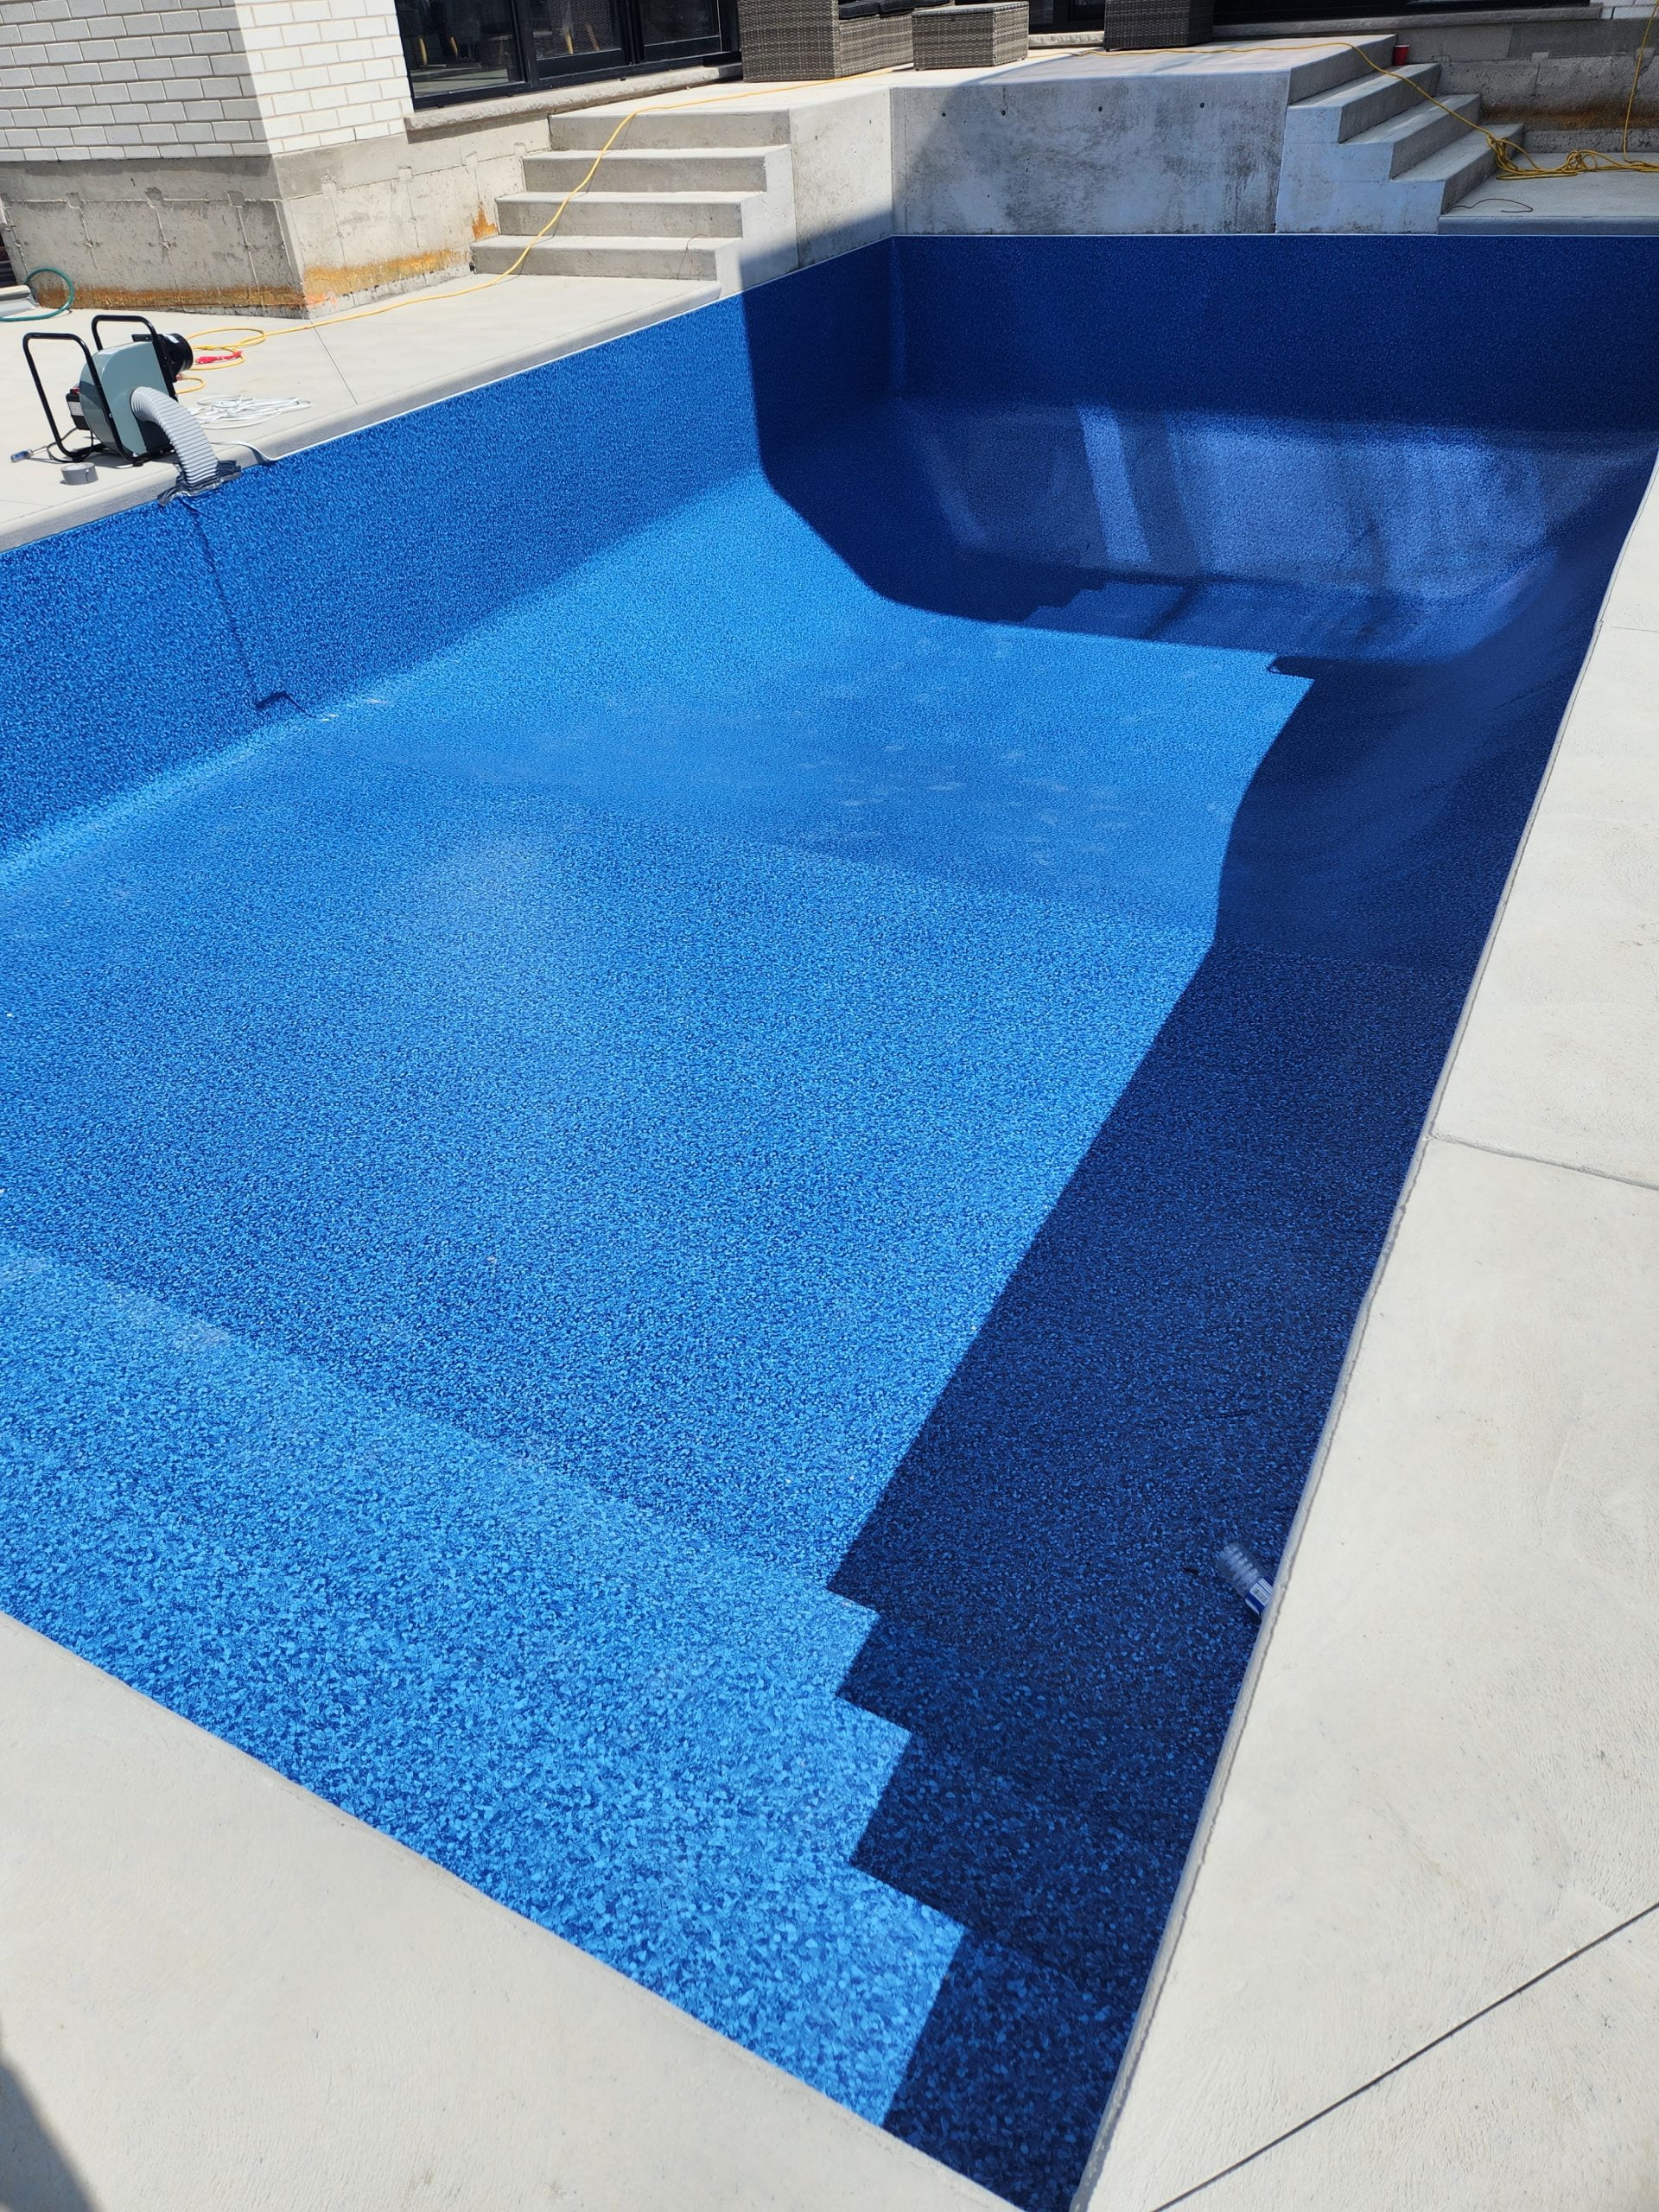
DAY FIFTEEN & SIXTEEN
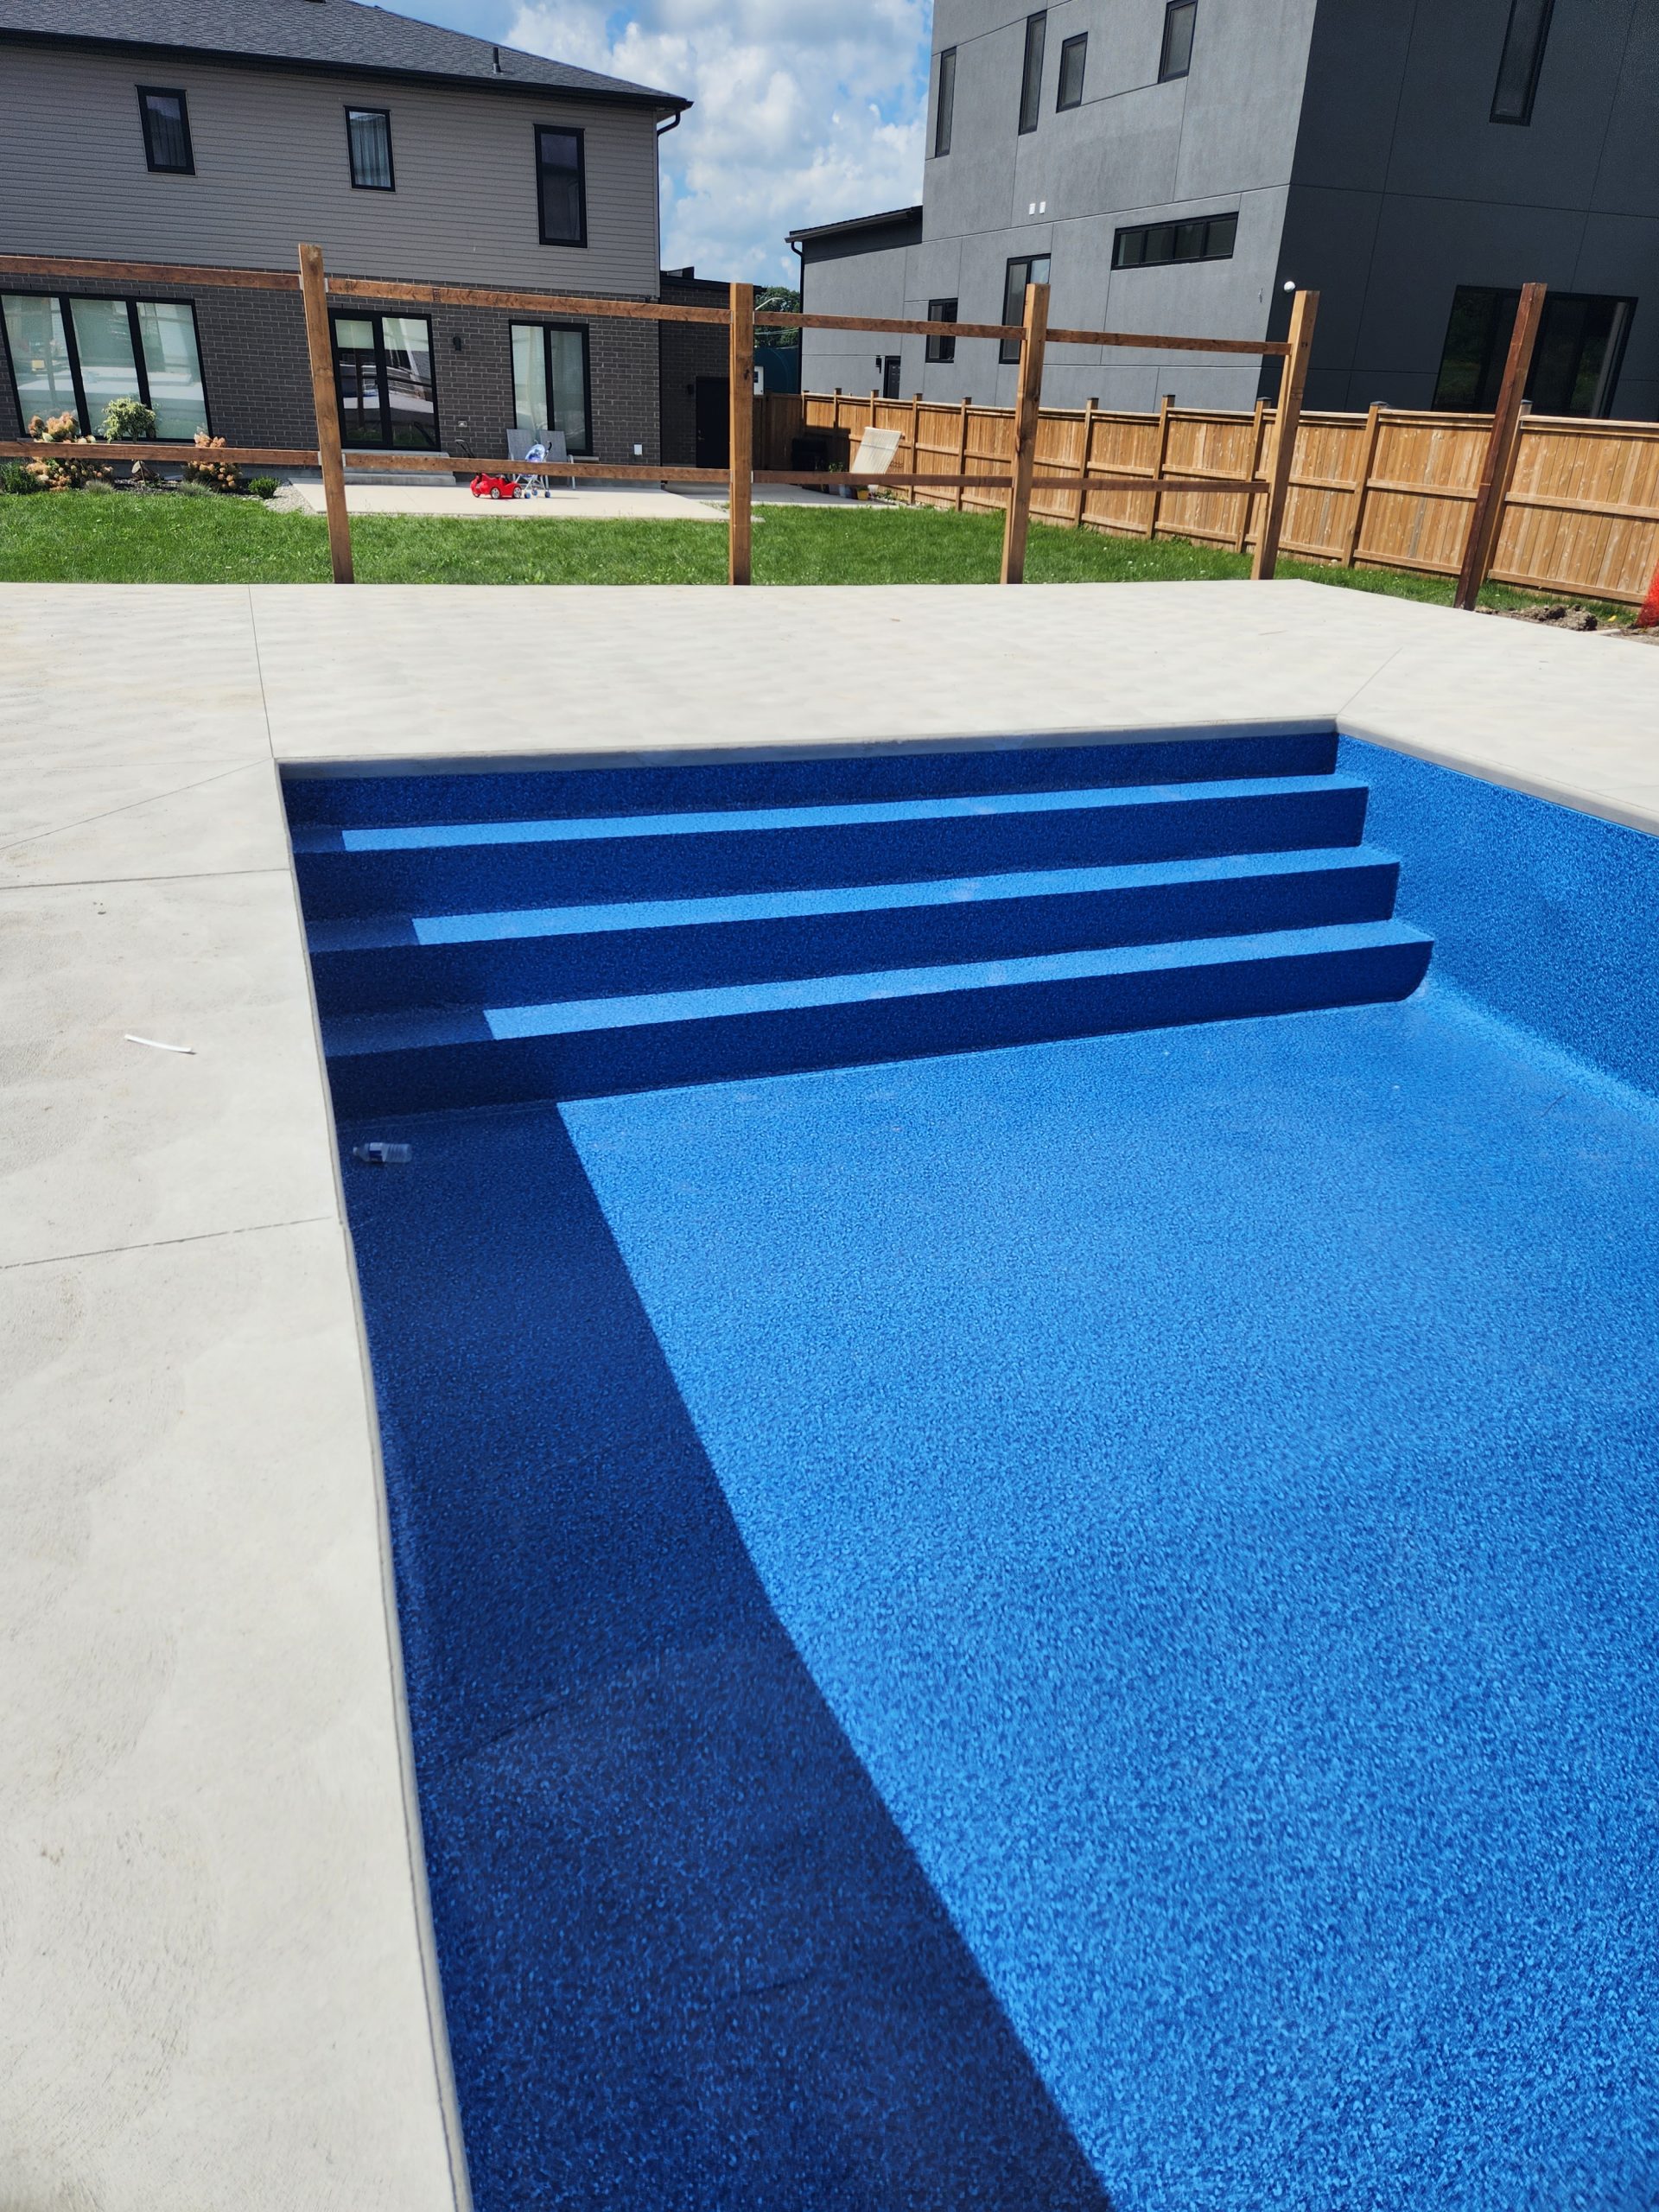
We prepped the pool for “liner day” and returned the next day to install the liner. Thank you to Vinyl Masters for their assistance installing the vinyl over the steel stairs.
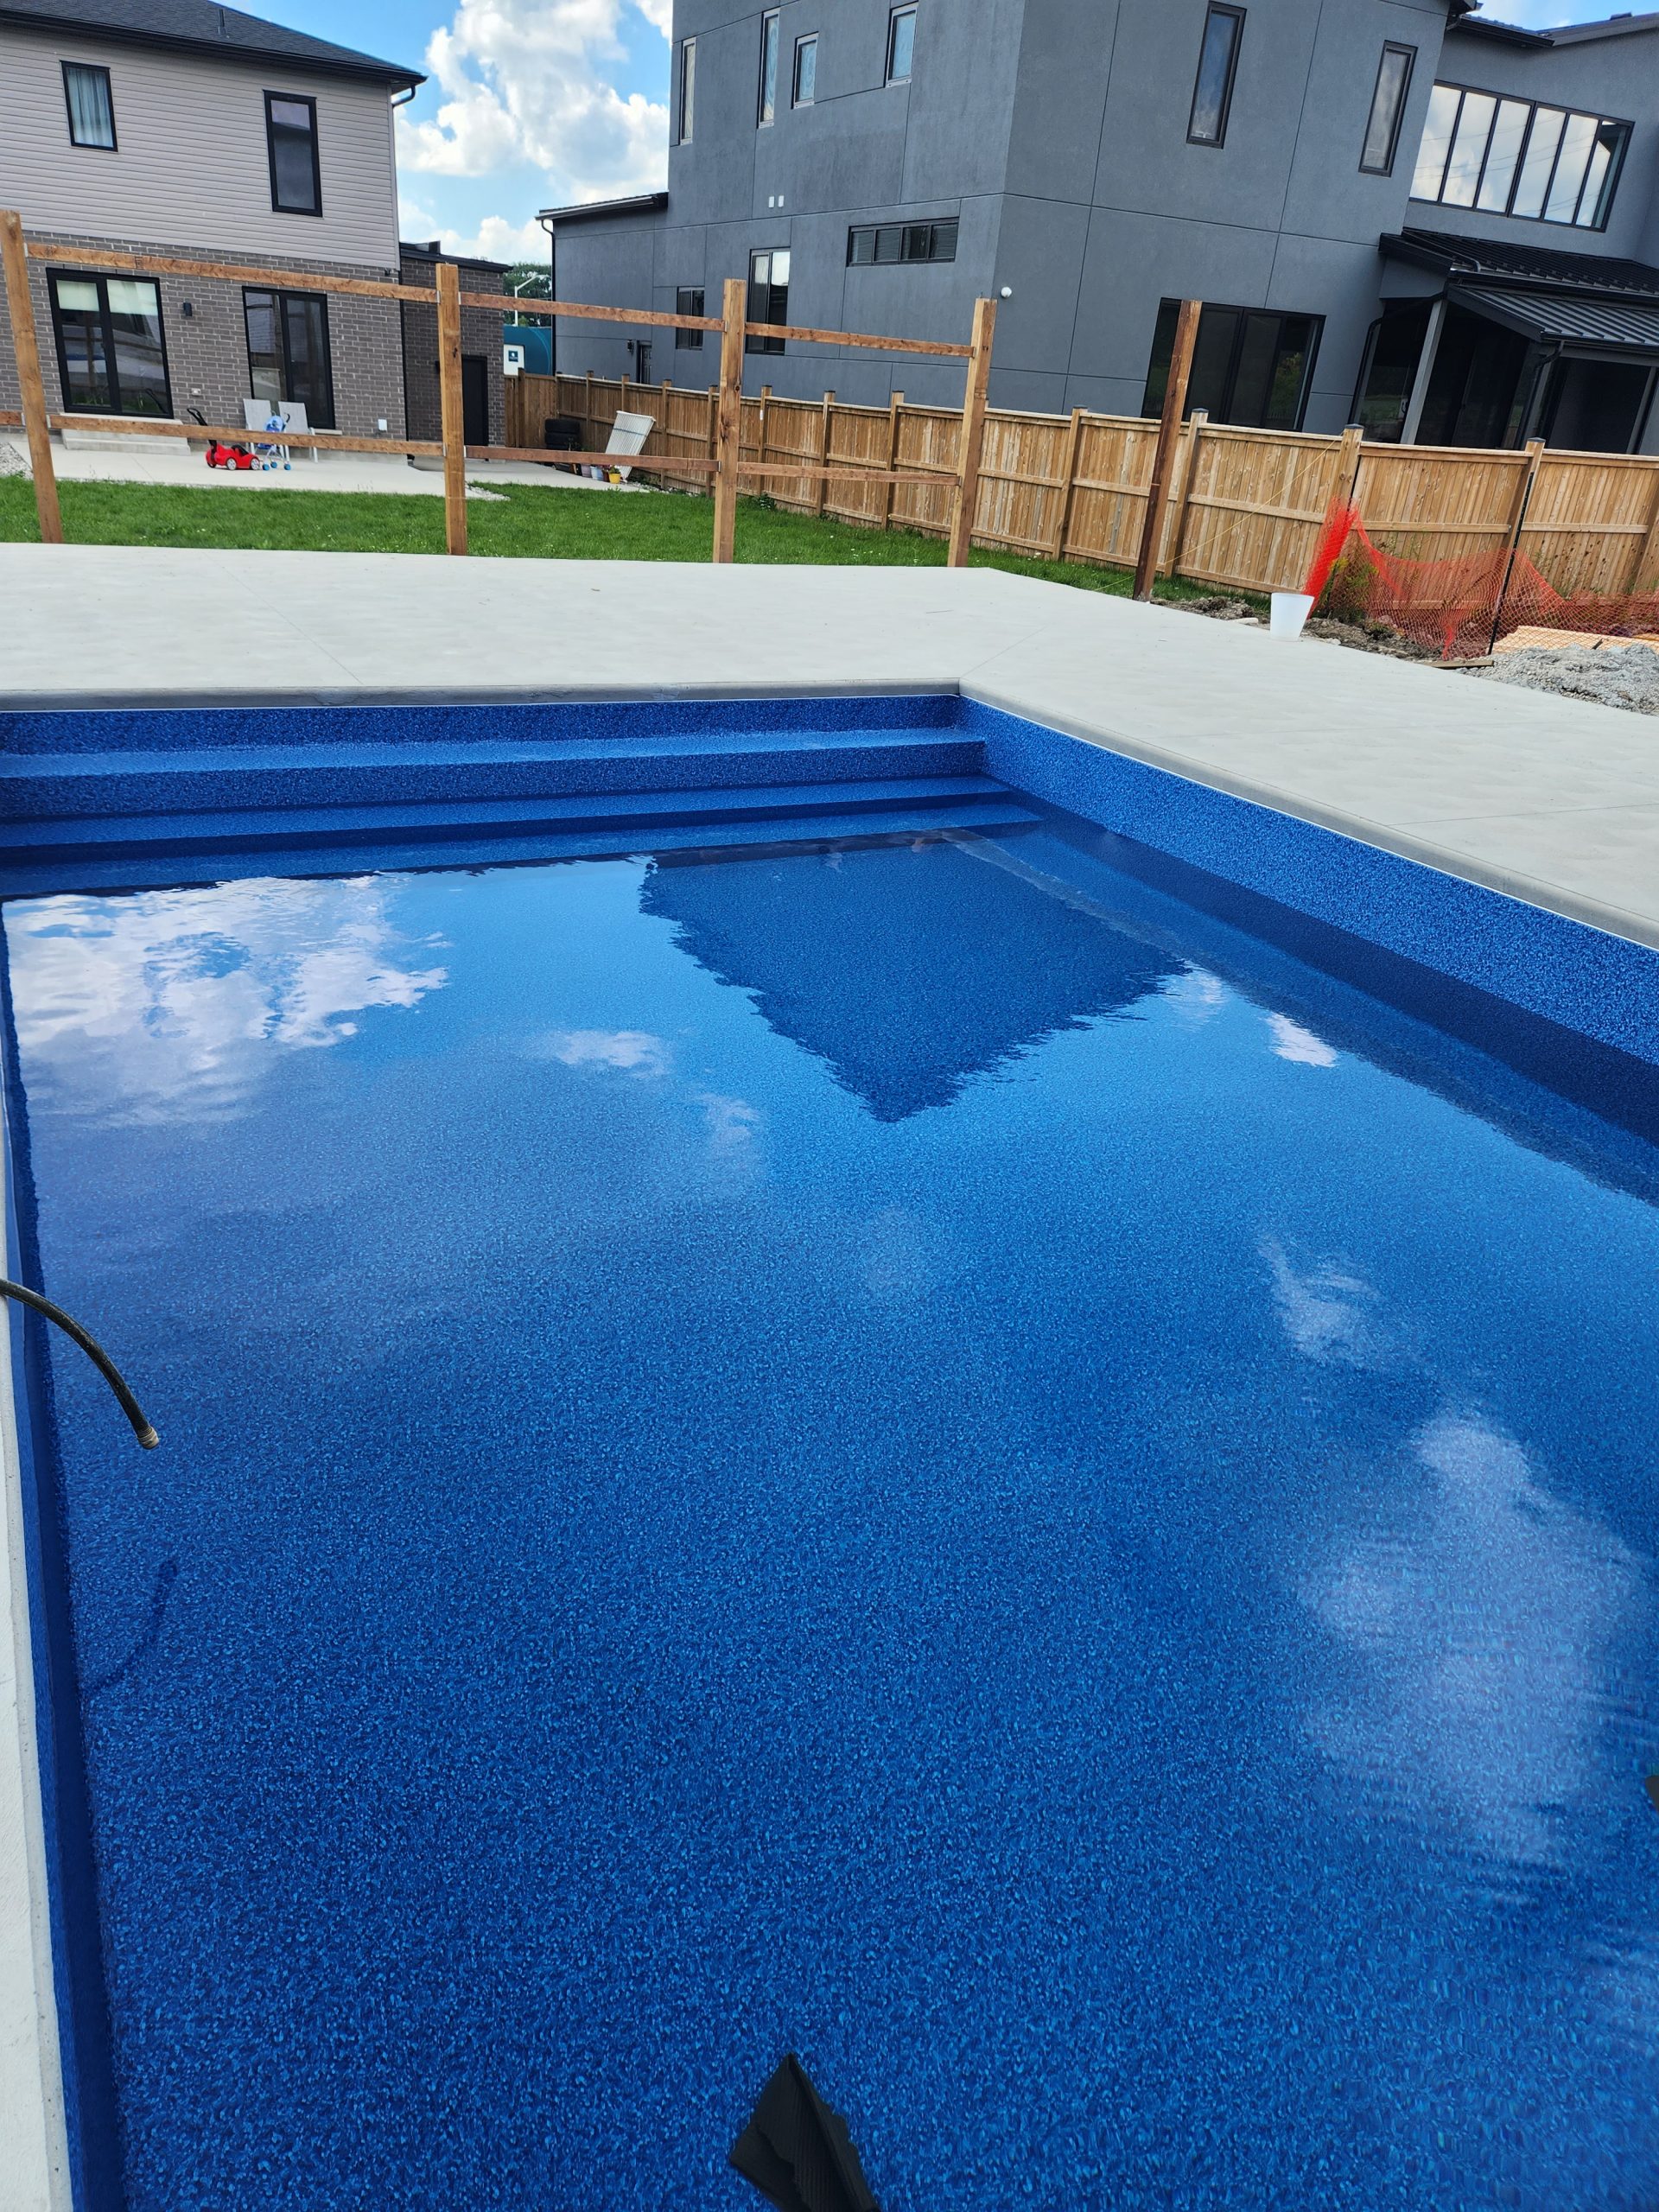
And there you have it! The step-by-step pool construction process from beginning to end. In only sixteen days we went from breaking ground to filling the new pool with water ready to swim! To make the process so smooth, it’s important to confirm the details during the quoting and design phase. To learn more about that process, click here.